Affiliate disclosure: As an Amazon Associate I earn from qualifying purchases. That means if you buy through a link on this page, I may earn a small commission at no extra cost to you. Read the full policy on our affiliate disclosure page.
Your monitor sits too low, your keyboard has nowhere to go, and the cables are winning. A good monitor stand fixes all three at once, and it is one of the cheapest upgrades a gaming desk can get. The seven setups below cover the whole range, from a warm bamboo shelf that lifts two screens at once to a gas spring arm that lets you float your monitor exactly at eye level. Each one is a complete desk you can copy, stand included, so pick the shape that fits your room and your screen size. If your desk is on the small side, our guide to 15 gaming desk setup ideas for small rooms pairs well with every idea here.
In this article
- 1. Bamboo Shelf That Lifts Two Screens
- 2. Dual Gas Spring Arm, Zero Desk Clutter
- 3. One Arm, One Ultrawide, Clean Desk
- 4. Freestanding Dual Stand for Renters
- 5. Wood Riser With a Drawer for the Small Stuff
- 6. Eye Level Ergonomics for Long Sessions
- 7. Clamp Mount With Cables Hidden Away
- FAQ
- Conclusion
At a Glance: Which Stand Fits Your Desk?
| Setup | Best for | Hero product |
|---|---|---|
| Bamboo shelf, two screens | Warm, natural desks | ROCDEER Bamboo Dual Monitor Shelf |
| Dual gas spring arm | Floating screens, free desk space | HUANUO Dual Monitor Arm, Gas Spring |
| Single arm, one ultrawide | Minimal, single screen setups | Amazon Basics Gas Spring Single Monitor Arm |
| Freestanding dual stand | Renters, no clamp desks | HUANUO Dual Monitor Stand |
| Wood riser with drawer | Small desks, hidden storage | gianotter Wood Monitor Stand Riser |
| Eye level ergonomics | Long sessions, neck comfort | HUANUO Gas Spring Dual Monitor Stand |
| Clamp mount, hidden cables | Tidy desks, cable control | VIVO Dual Monitor Desk Mount STAND-V002 |
1. Bamboo Shelf That Lifts Two Screens at Once
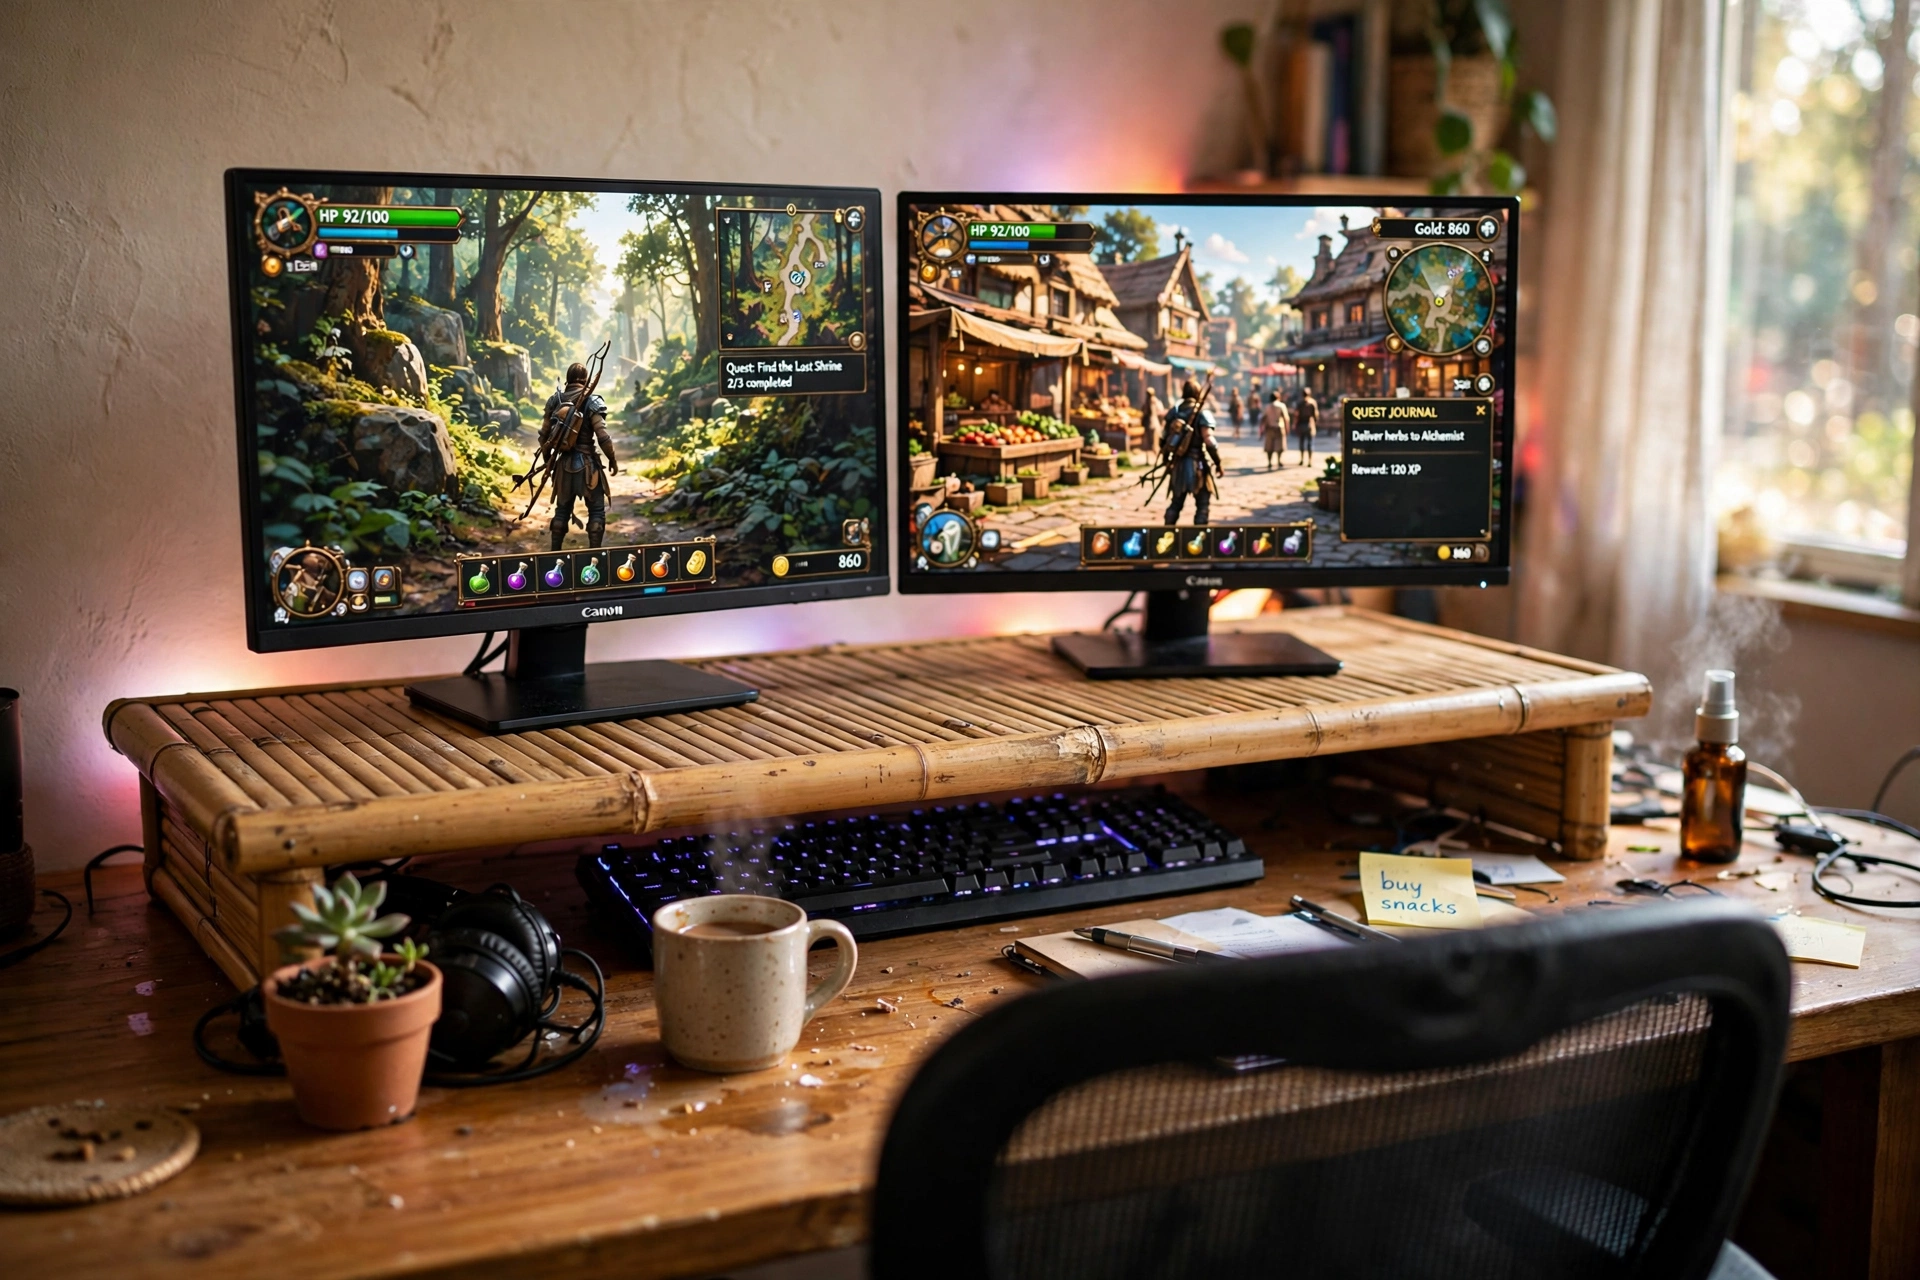
Start with the simplest fix in this list. A wide bamboo shelf sits on your desk, both monitors go on top, and suddenly your eye line is level and the space underneath is free. The keyboard slides under the shelf when you are done, controllers and a notebook live in the gap too, and the whole desk reads calmer even though nothing was thrown away. Warm wood softens the usual black plastic of a gaming setup, and a strip of RGB light behind the desk keeps the gamer feel without turning the room into a light show.
- What works here: the shelf holds two screens and still leaves a usable cubby underneath.
- Watch for: measure your desk depth first, since a wide shelf needs room for the keyboard in front of it.
- Best touch: the natural bamboo grain warms up dark walls and dark furniture.
Pair it with a fast monitor and a chair you actually like sitting in, and this is a setup that looks finished on day one.
Plug both monitors and the desk lamp into a power strip under the desk, so the cables stay tidy and the shelf setup is easy to switch off at night.
2. Dual Gas Spring Arm, Zero Desk Clutter
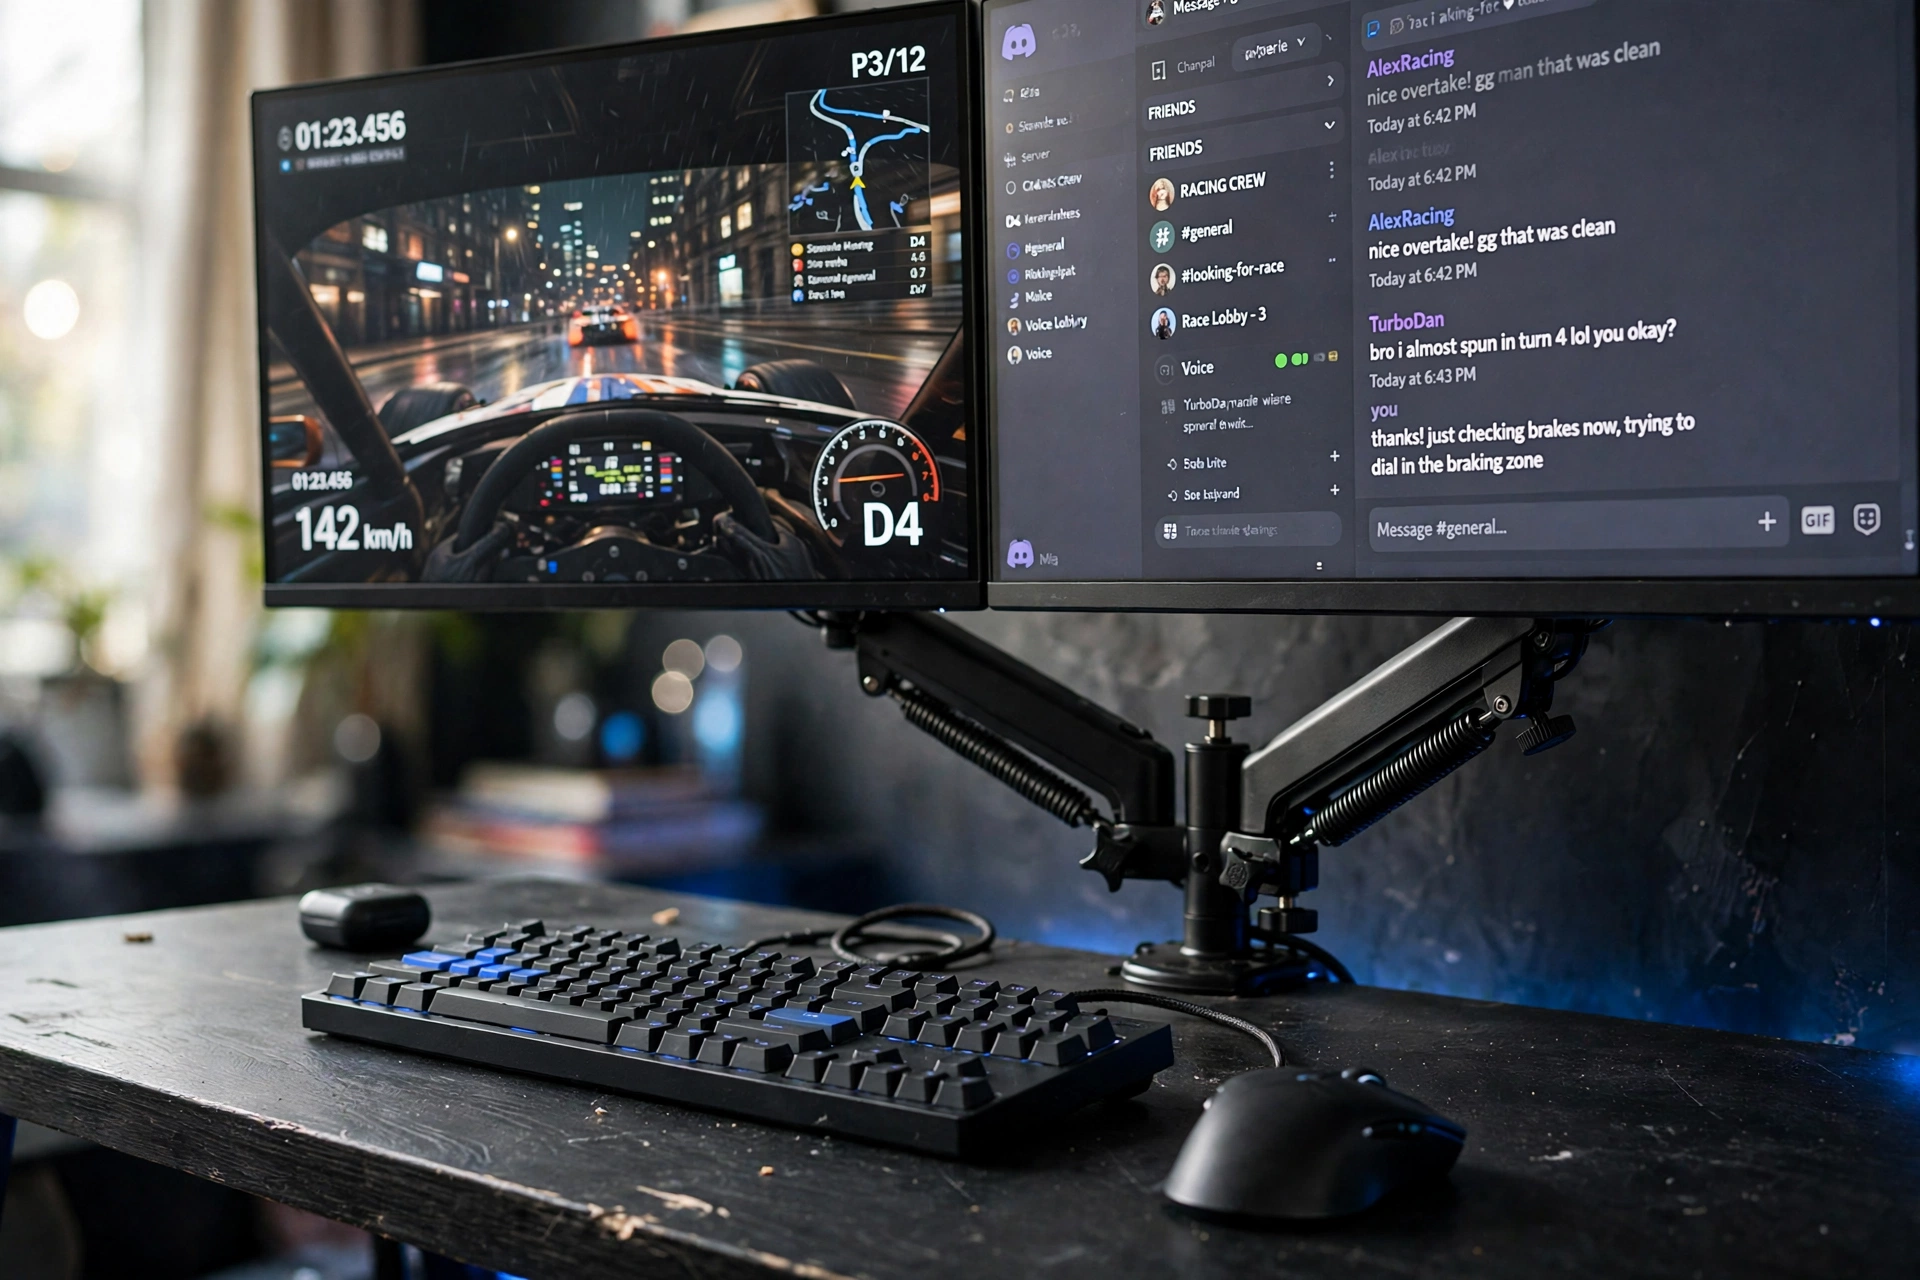
If monitor feet are eating your desk, an arm is the answer. This one clamps to the back edge, lifts both screens off the surface, and leaves the whole desktop for your keyboard, mouse, and a drink that no longer has to dodge a monitor base. The gas spring lets you raise, lower, tilt, and swivel each screen with one hand, so switching from a game to a second screen for chat or a guide takes seconds.
Set it up in three moves
- Clamp the arm to the back of the desk and tighten it down.
- Hang both monitors on the VESA plates and level them.
- Adjust the gas spring tension until each screen stays where you put it.
Blue LED light along the back edge keeps the mood, and because the screens float, the desk looks bigger than it is. This is the setup to copy if you want a clean, modern battlestation with almost no visible hardware.
Sit in a comfortable chair with good back support, keep a small storage drawer beside the desk for cables and accessories, and plug the monitors and the light into a power strip under the desk.
3. One Arm, One Ultrawide, Clean Desk
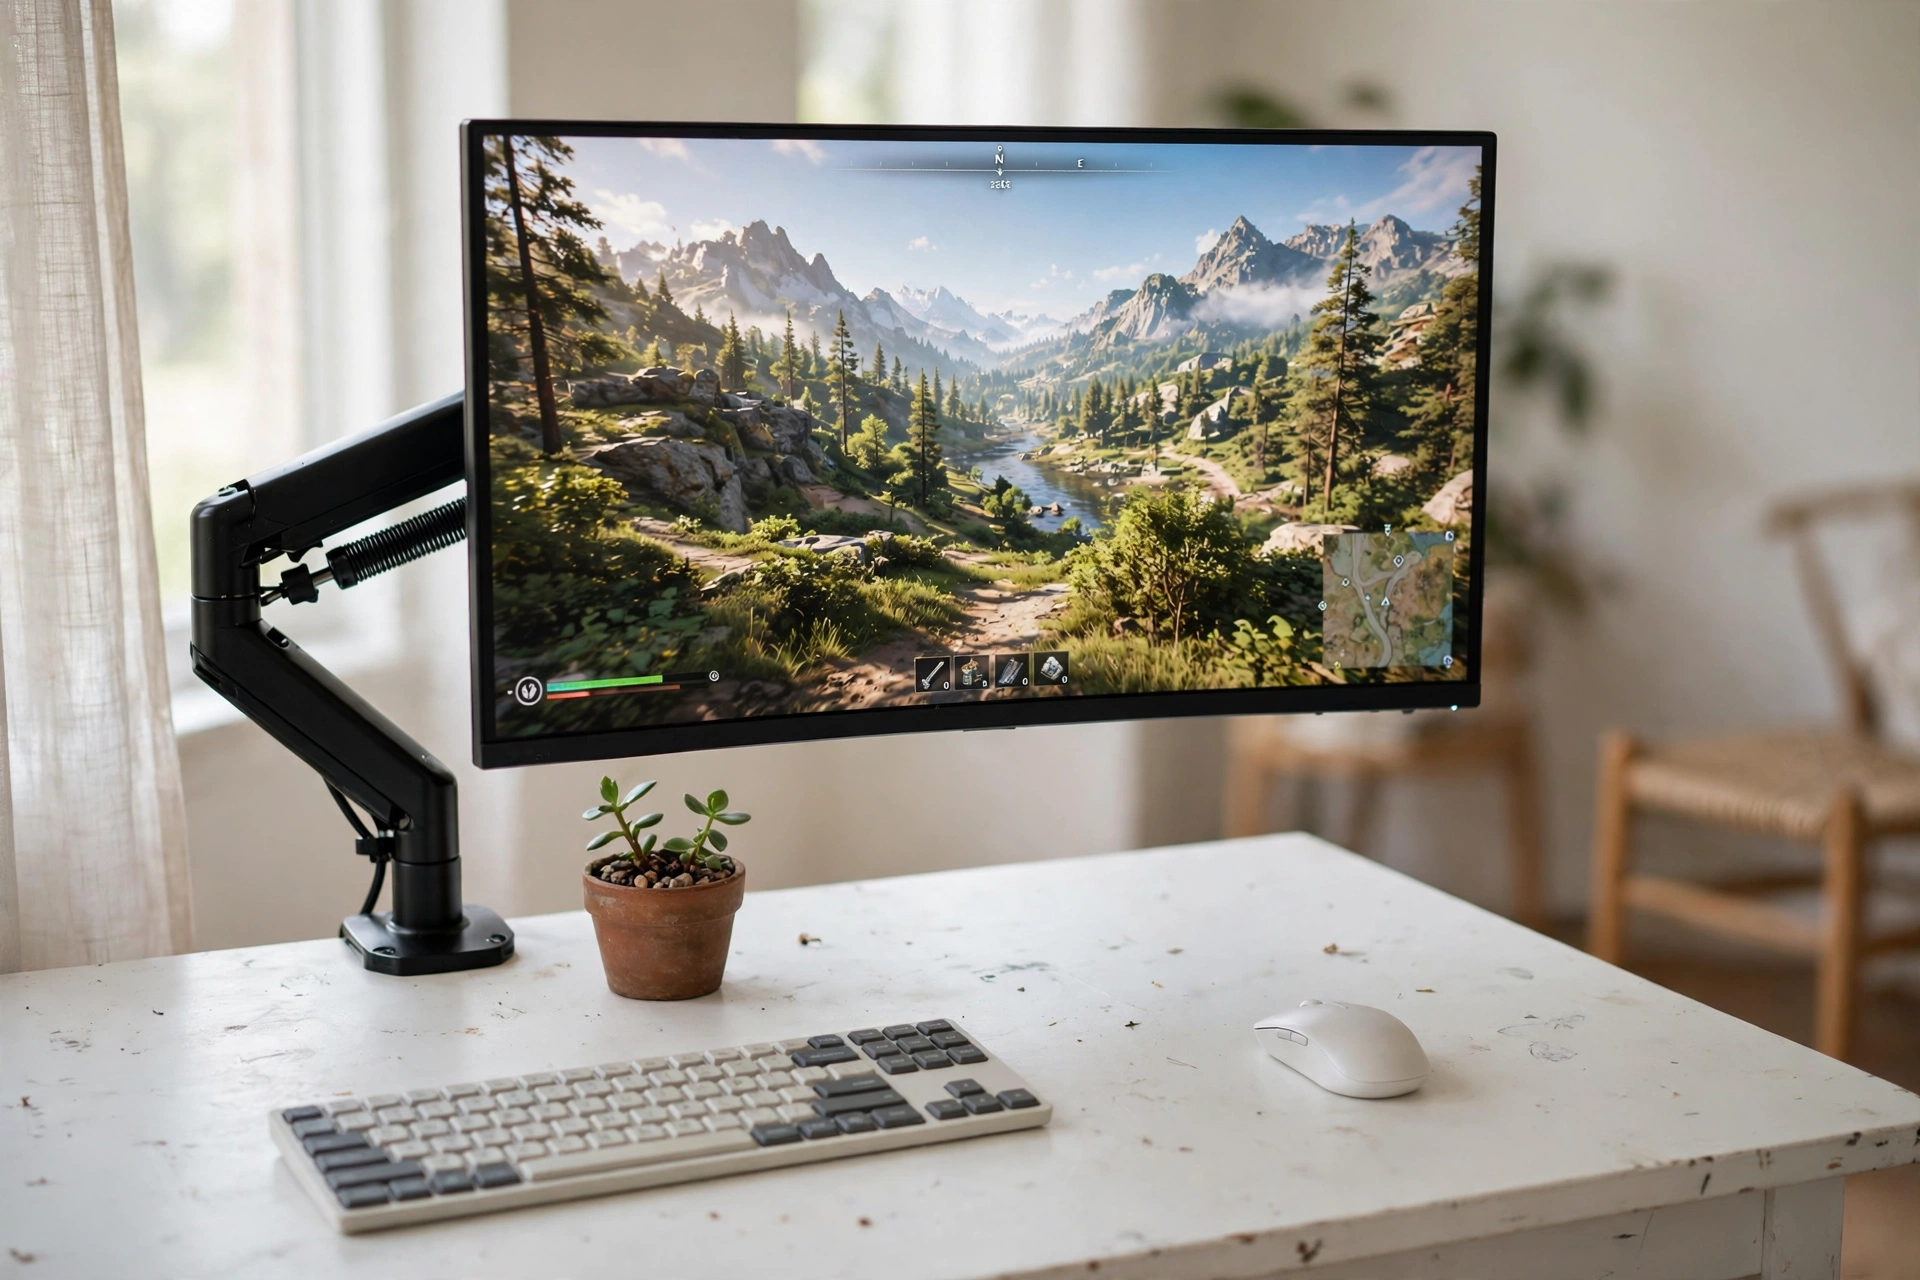
One screen can be enough when it is the right screen. A single gas spring arm holds an ultrawide at exactly the height you want, and the rest of the desk stays almost empty: a wireless keyboard, a mouse, a small plant, and daylight. That is the whole setup, and it works because there is nothing in the way.
This is also the easiest version to keep tidy. With no second monitor stand and no tangle of bases, dusting takes a minute and the desk always looks ready. A monitor light bar across the top of the screen adds gentle light for evening sessions without a desk lamp taking up space. If you are building your first proper setup and want to keep it simple, start here and read our 15 PC gaming setup ideas for beginners for the rest of the pieces.
Quick tip: set the arm so the top of the screen sits just below eye level. Your neck will thank you after the first long evening.
Sit in a comfortable chair with good back support, plug the monitor and the light bar into a power strip under the desk, and keep a small storage tray nearby for cables and notes.
4. Freestanding Dual Stand for Renters
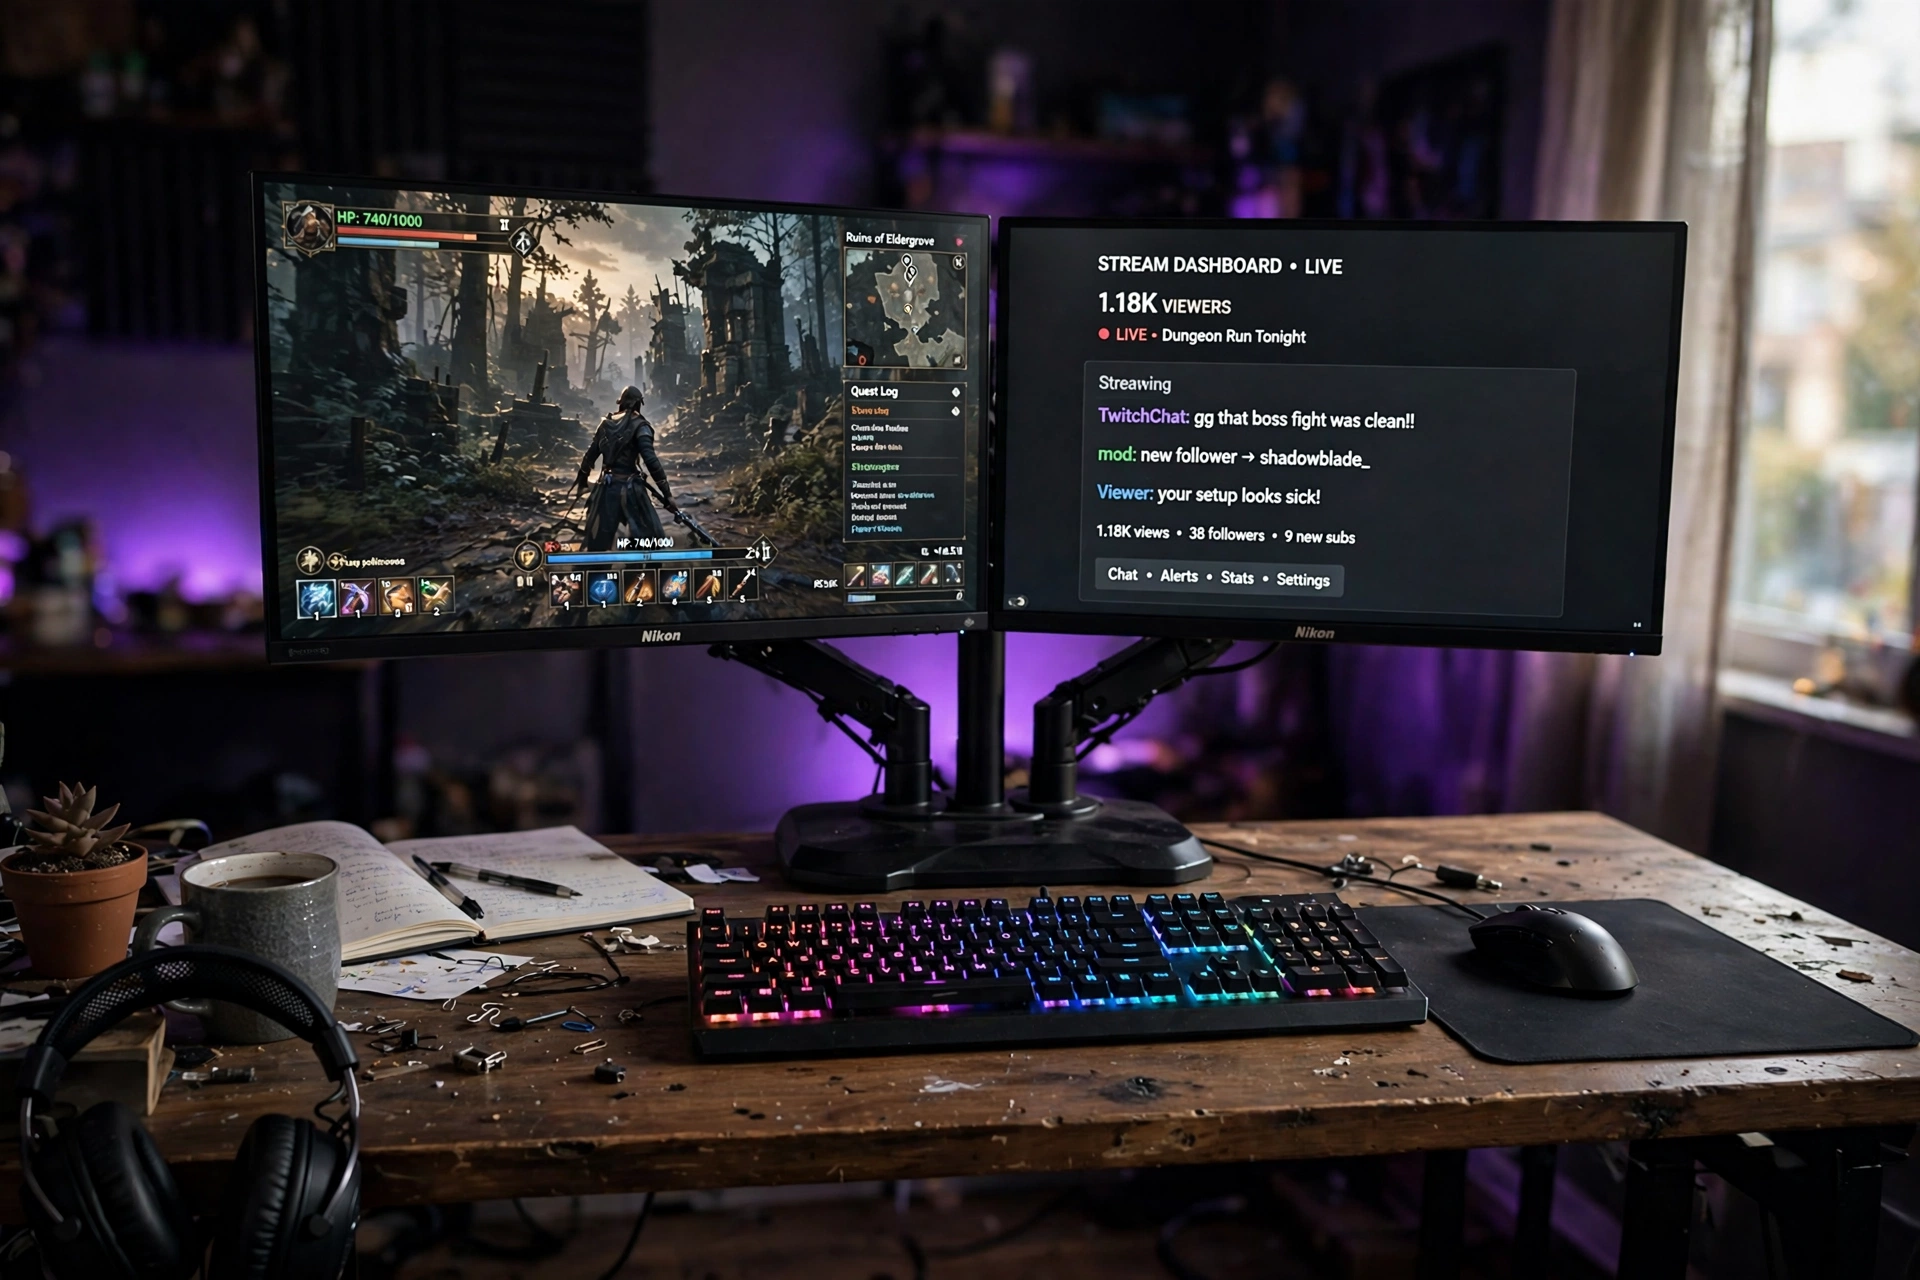
Not every desk can take a clamp. Glass tops, thin tops, and rented desks all say no to a C-clamp, and that is where a freestanding stand earns its keep. It sits on a heavy base, holds two screens at a comfortable height, and moves with you when you rearrange the room or move house. No holes, no marks, no landlord conversation.
| Clamp mount | Freestanding stand |
|---|---|
| Frees the most desk space | Works on any desk, even glass |
| Needs a thick desk edge | Base takes a little desk room |
| Best for permanent setups | Best for renters and movers |
An RGB keyboard and a big glowing mouse pad fill the desk below the screens, a headset hangs from the edge, and purple ambient light ties it together. It looks like a full battlestation, and nothing about it is fixed to the furniture.
Sit in a comfortable chair with good back support, plug the screens and the mouse pad into a power strip under the desk, and keep a small storage basket nearby for the headset and controllers.
5. Wood Riser With a Drawer for the Small Stuff
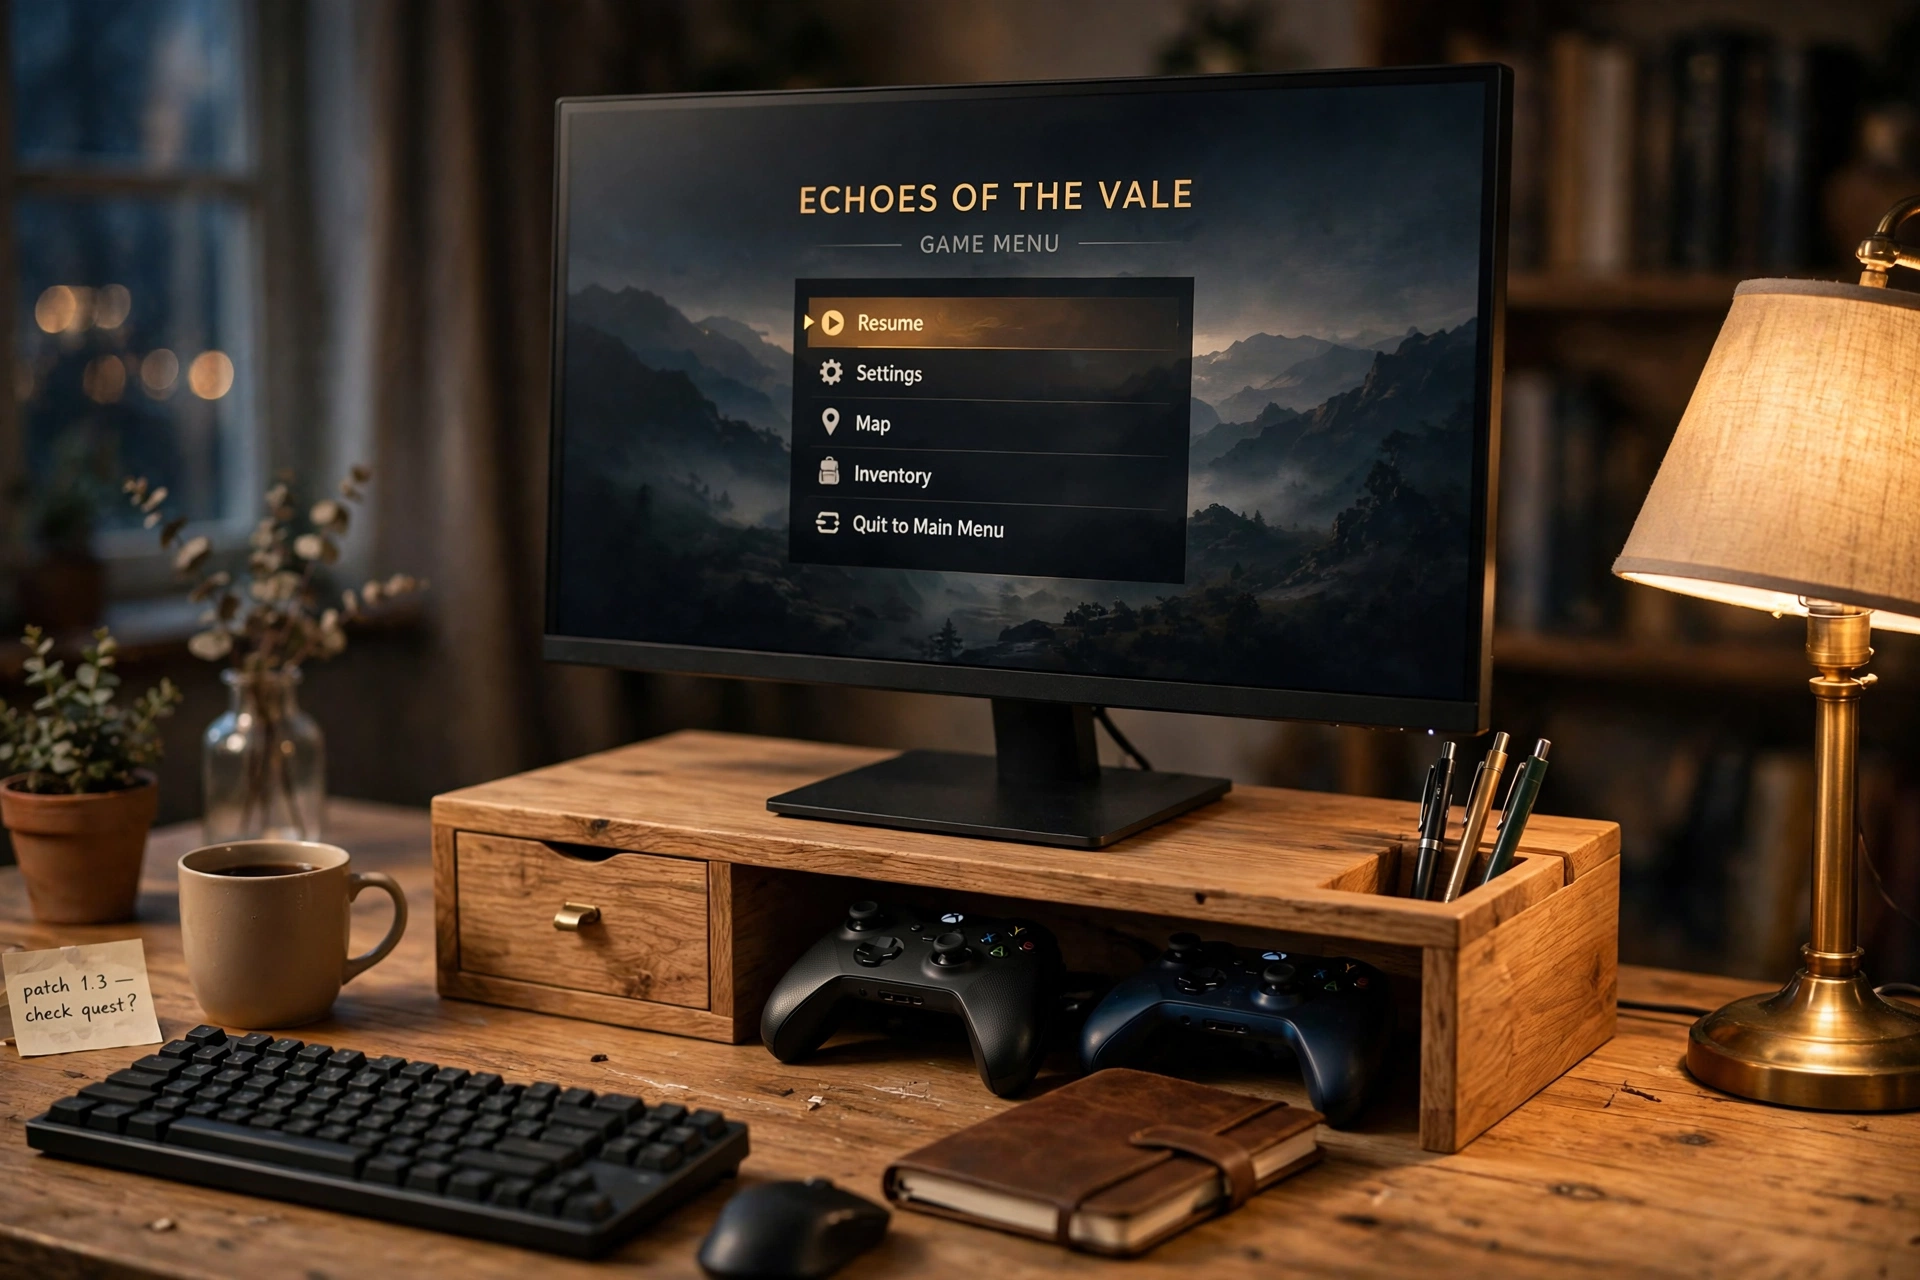
Small desks fail on storage, not on style. This riser solves both. The monitor sits up at a comfortable height, a little drawer swallows pens, cables, and game cards, and the open space underneath hides a notebook and a controller or two. A pen holder at the side keeps the last few loose bits in one place, and the warm wood finish makes the whole corner feel like furniture instead of a pile of gear.
Here is what to check before you copy it:
- Measure the drawer depth against the things you actually want to store.
- Leave the keyboard in front of the riser, not underneath, so typing stays comfortable.
- Keep the lamp behind the monitor so the screen has no glare.
A good mouse with a comfortable shape rounds out the setup, and because everything has a home, the desk stays clear even on a busy week.
Sit in a comfortable chair with good back support, and plug the monitor into a power strip under the desk, so long sessions at the riser stay easy on your back.
6. Eye Level Ergonomics for Long Sessions
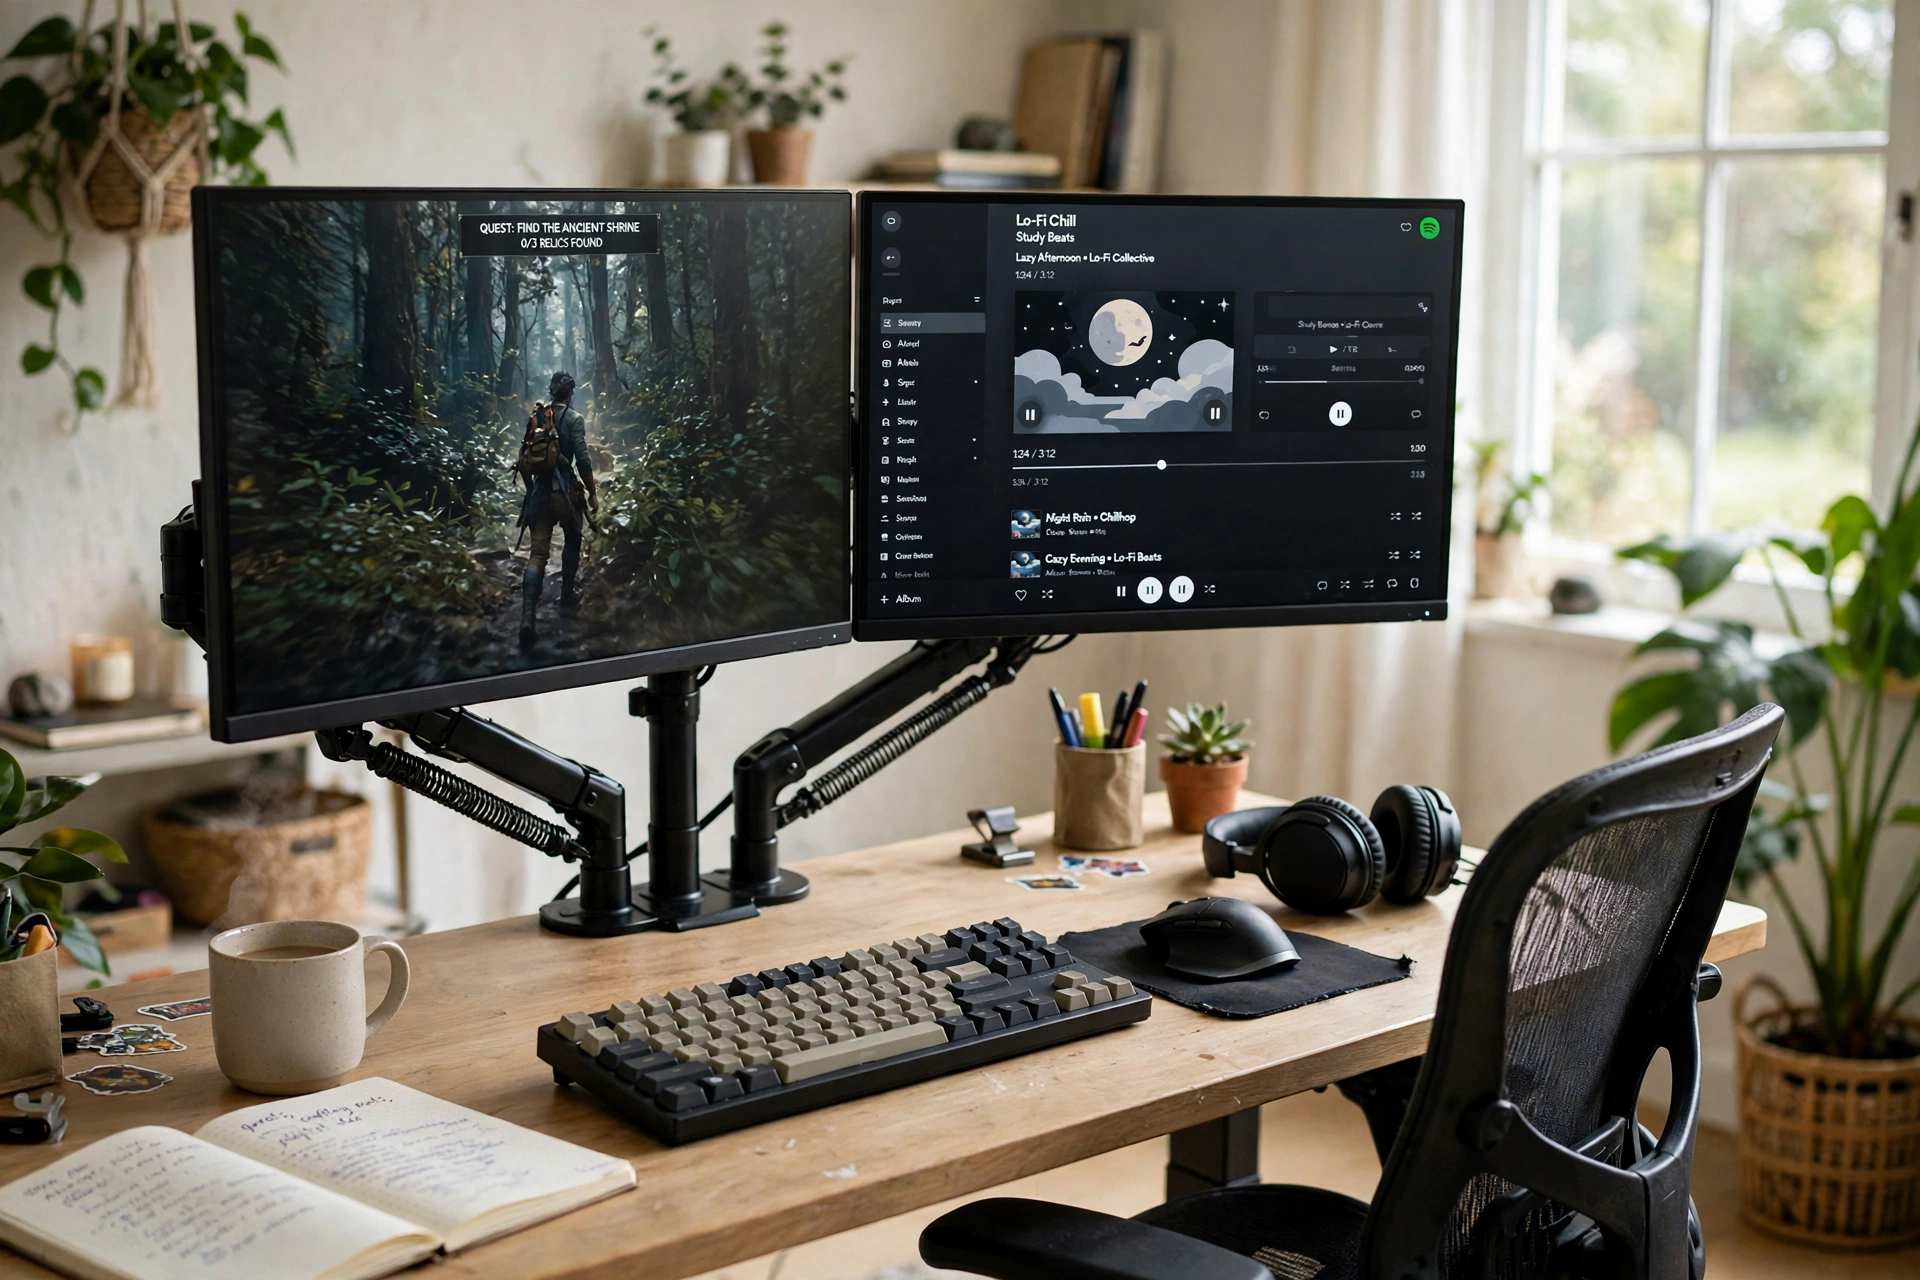
Most neck pain from gaming is a height problem, not a chair problem. When the screen sits too low, your head tilts down for hours, and that adds up fast. This setup fixes the angle properly: a dual gas spring stand lifts both monitors to eye level, the keyboard and mouse sit at a relaxed reach, and an ergonomic chair does the rest.
What works here:
- Both screens at eye level, so your neck stays neutral.
- Gas spring arms adjust in seconds if you share the desk.
- Plants and daylight keep the room from feeling like a cave.
- A light bar on the main screen softens evening eye strain.
It is a calm setup, and that is the point. Bright, airy, and easy on the body, it is built for people who play for hours and want to feel fine the next morning.
Plug the monitors and the light bar into a power strip under the desk, keep the cables routed behind the desk, and keep a small storage drawer nearby, so the ergonomic setup stays tidy.
7. Clamp Mount With Cables Hidden Away
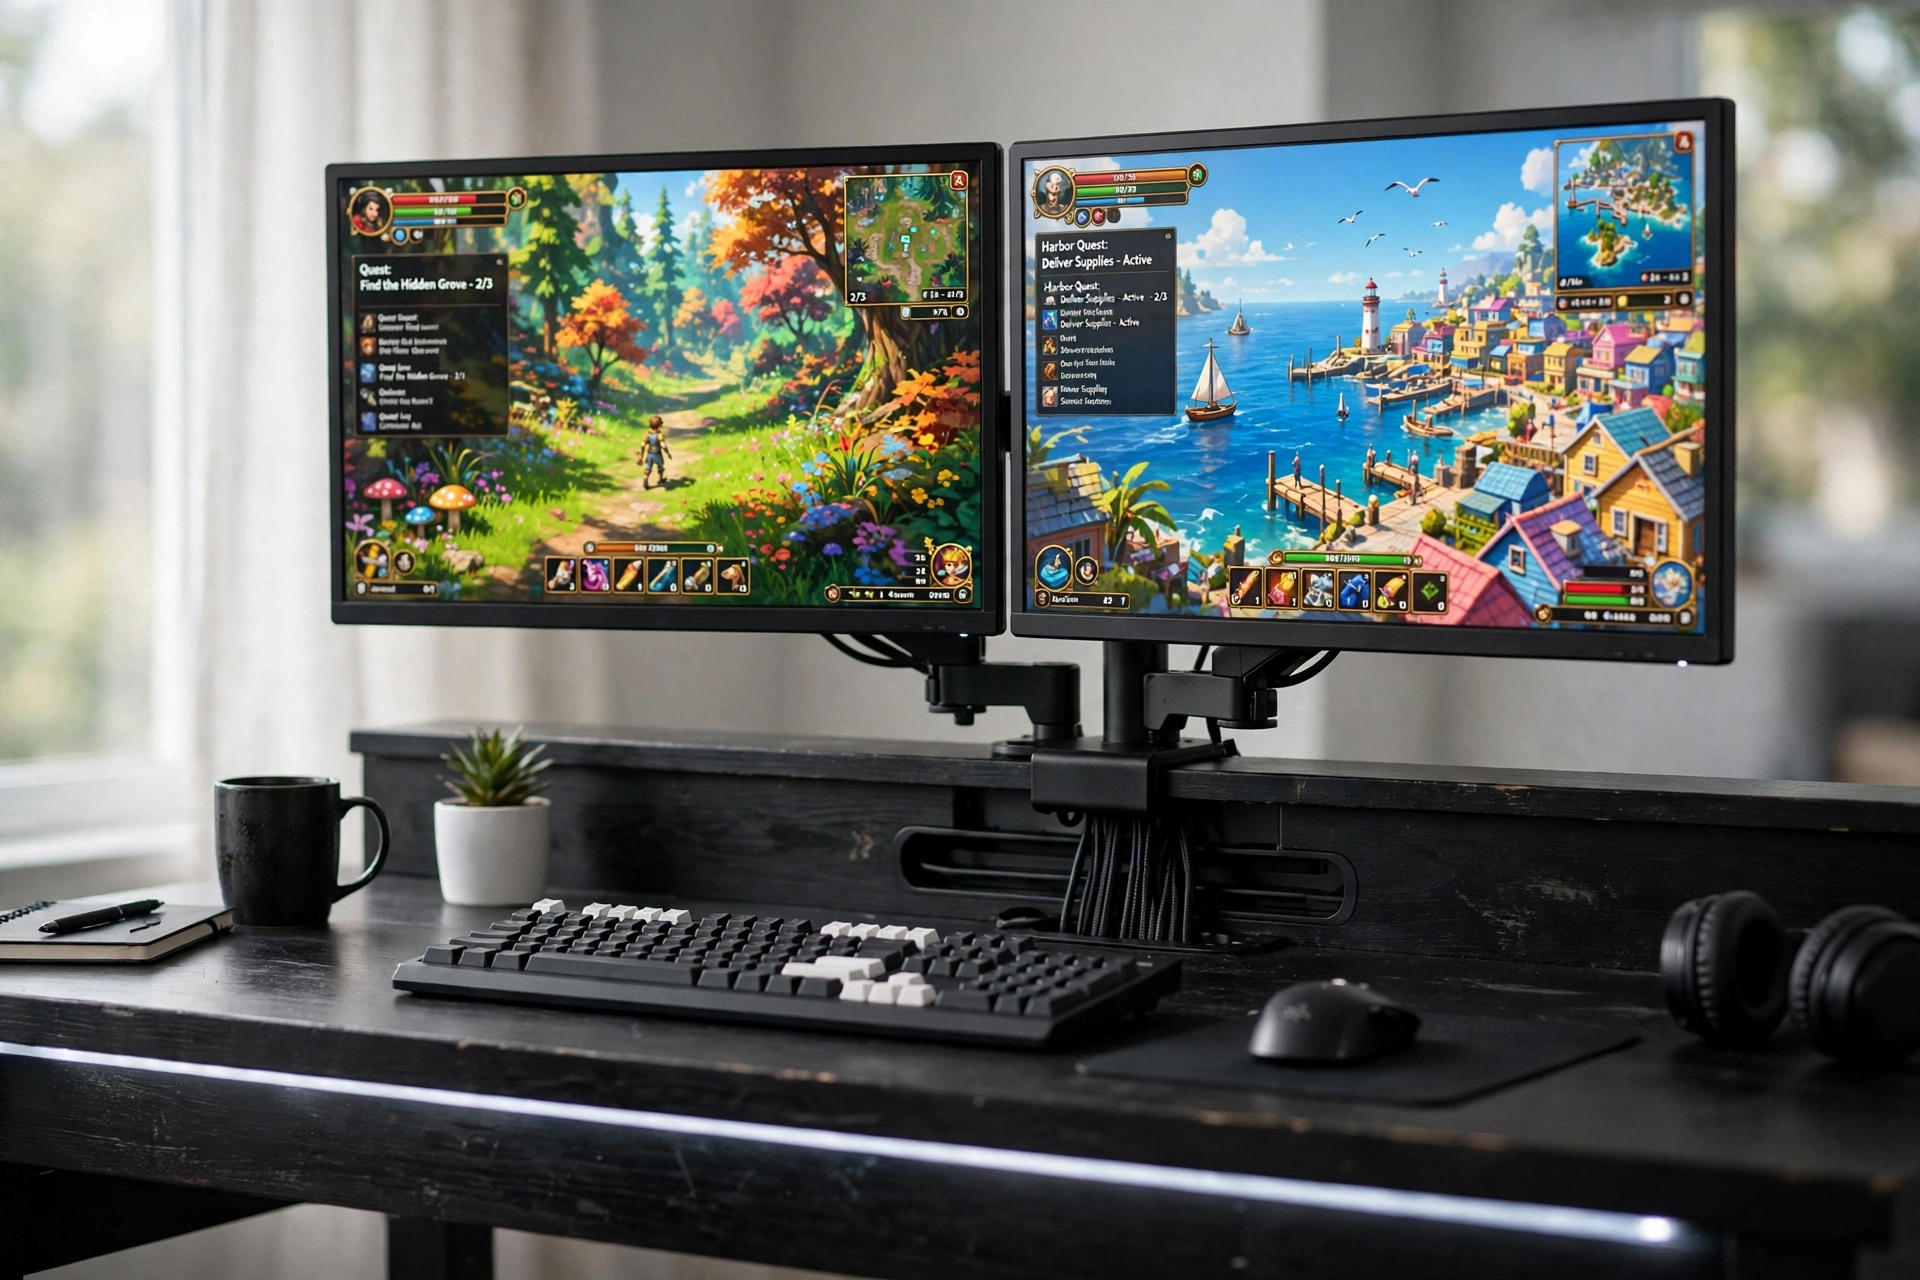
The last setup is for anyone who looks at the back of their desk and sighs. A clamp mount holds both screens, and every cable runs down the back of the desk in a channel instead of hanging in a tangle. Power, HDMI, and the keyboard cable all take the same route, so the front of the desk shows nothing but the game.
A thin LED strip under the desk edge adds a soft glow that makes the black and white scheme feel finished rather than plain. The trick is to do the cable routing while the mount is still loose, because it is much easier to slide cables into the channel before the monitors are hung and leveled. Once it is done, the desk keeps itself tidy, and the only thing left to adjust is which game to play.
Quick tip: leave a little slack in each cable at the monitor end so the screens can still tilt and swivel without pulling loose.
Sit in a comfortable chair with good back support, and keep a small storage basket beside the desk for controllers and cables, so long sessions at the clamp mount setup stay comfortable.
Frequently Asked Questions
Do I need a monitor stand if my monitor already has a stand?
The stand that comes in the box holds the screen up, but it usually sits low and eats desk space. A riser or arm lifts the screen to eye level and frees the surface underneath, which is the real upgrade.
Will a monitor arm fit my monitor?
Most arms use the VESA pattern, usually 75 by 75 or 100 by 100 millimeters. Check the back of your monitor for four screw holes in a square, or look up the model specs before you order.
How much weight can a monitor stand hold?
It depends on the model, but most desk risers hold far more than one or two monitors, and most arms are rated for screens up to about 20 pounds each. Check the listing for the weight limit and compare it with your monitor.
Are gas spring arms better than fixed stands?
Gas spring arms adjust height and angle with one hand, which is great if you share a desk or switch between sitting and standing. Fixed stands and wood risers are simpler and often cheaper, and they suit setups that rarely change.
Can I use a monitor stand on a glass desk?
A freestanding stand works on glass, but a clamp mount usually does not, since the clamp can crack or slip on a thin glass top. If your desk is glass, pick a freestanding base or a wood riser.
How do I hide the cables with a monitor arm?
Run each cable through the clips or channel on the arm, then down the back of the desk in a cable channel or with adhesive clips. Leave a little slack at the monitor end so the screens can still move.
Conclusion
A monitor stand is a small change with an outsized payoff: better posture, a tidier desk, and a setup that finally looks finished. Start with the shape that matches your desk, a bamboo shelf for warmth, a gas spring arm for a floating clean look, or a freestanding stand if you rent. Add the screen, the light, and the storage that fit how you actually play, and the rest falls into place. If you want more ways to stretch a budget while the room still looks great, our 15 budget gaming setup ideas that look expensive is a good next read.
