The Home Office Upgrade Nobody Talks About
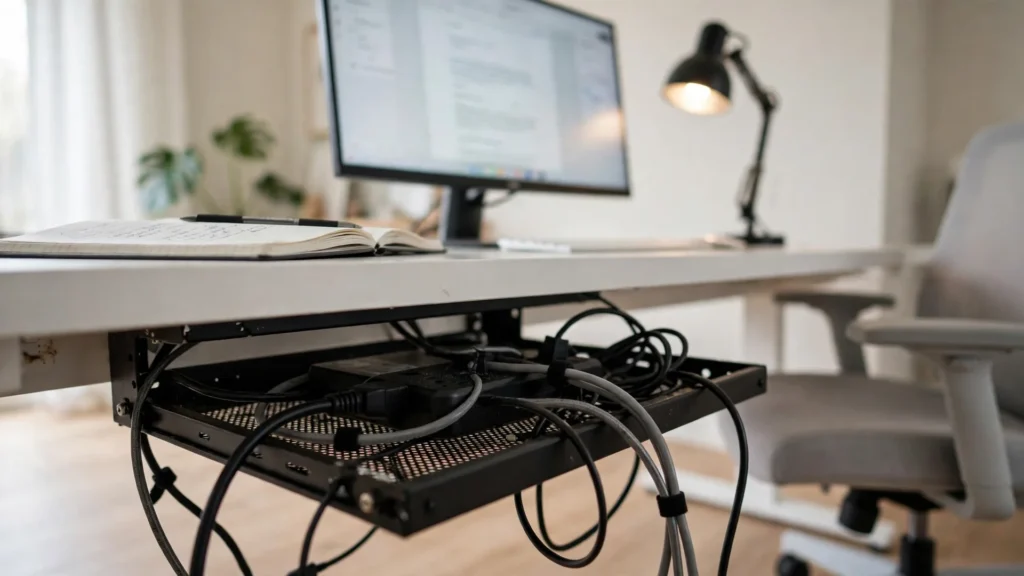
By Maya Bennett, Founder & Editor. Everyone talks about new desks, new chairs, and new monitors. Nobody talks about what hangs underneath the desk, and that is the upgrade that changes the room most. A cable tray mounted under the desktop gathers the power strip, the chargers, and the loose wires into one hidden basket, and the desk suddenly looks finished. The rest of the setup in this guide is an ordinary working desk, so the tray is the only new thing here. For more room ideas, browse the Home Office Ideas collection on desk and glow.
As an Amazon Associate I earn from qualifying purchases. Read our affiliate disclosure for details.
In this guide
The upgrade setup
How to fit it
What changes after you add it
What to pair it with
Mistakes to avoid
FAQ
Conclusion
At a glance
| Part | What it is | Why it matters |
|---|---|---|
| The upgrade | A metal cable tray under the desk | The one new buy, hidden out of sight |
| Fitting | Clamp mounted, no drilling | Fits in about fifteen minutes |
| The change | No cables on the floor or in view | The desk looks planned, not assembled |
| Pairings | A cable box and a tidy strip | Small things that keep the tray working |
| Mistakes | Wrong size, overloaded tray, loose cables | Three easy fixes before you mount anything |
One honest note before we start: the tray is a small, simple buy, and it is the only upgrade in this guide. The desk, chair, monitor, and lamp are the ordinary pieces of a working home office, not part of the upgrade.
The upgrade setup: a desk with nothing hanging down
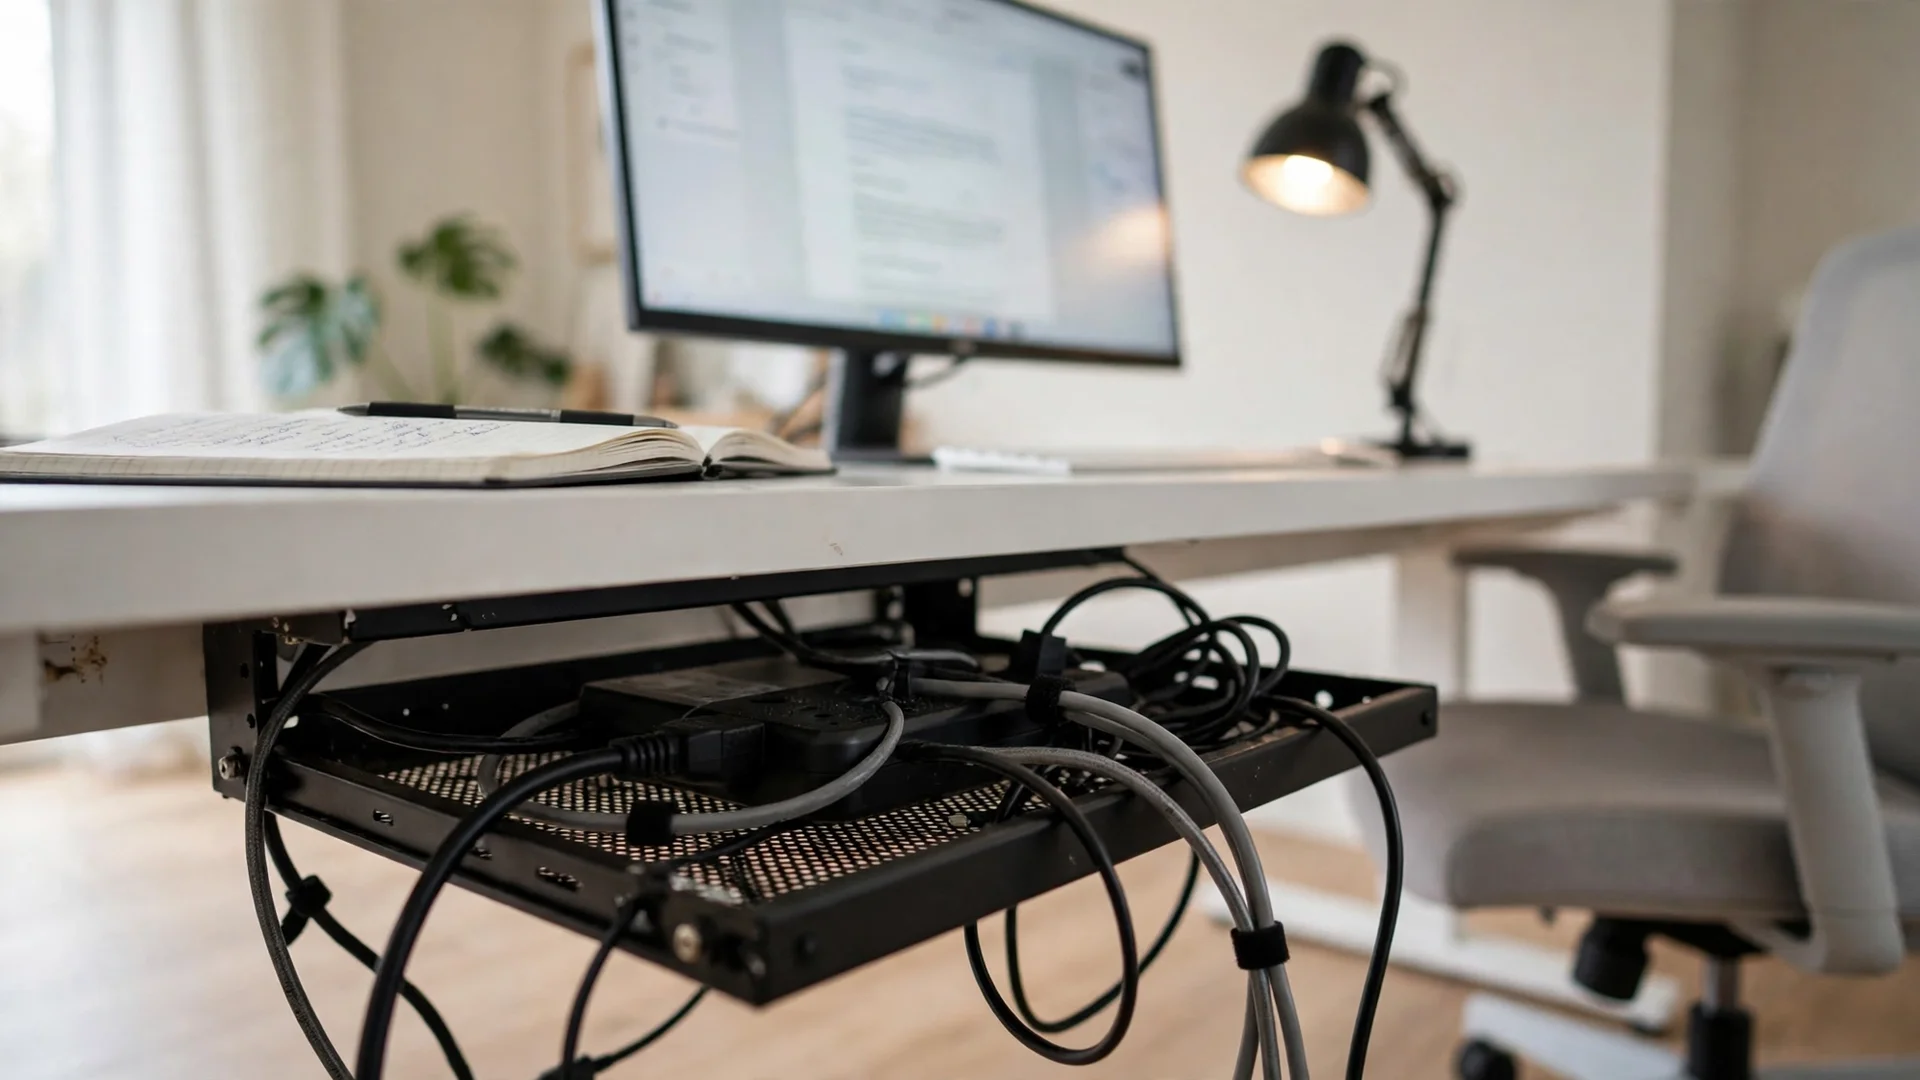
This is a plain desk that got one small addition, and that addition does most of the talking. A black metal cable tray clamps under the desktop and holds the power strip, the monitor cable, the laptop charger, and the lamp cable in one basket. The monitor sits at eye level on a white 55 inch desk, a padded light gray chair waits in front of it, and a warm wood lamp stands at the left end for reading and paperwork. A notebook and a mug live on the right, where they are easy to reach without covering the keyboard.
Storage stays simple. A small tray under the desk holds the power strip, and the strip cable runs down the back of the desk leg, out of sight. Nothing here was rearranged for a photo. The tray is the only new piece, and the rest of the desk is the same desk it was yesterday, just tidier underneath.
THE UPGRADE
Under Desk Cable Management Tray No Drill, Metal Mesh Cable Management Under Desk with Clamp Mount, 2 Hole Cable Tray with Wire Management and Cord Organizer for Home Office Standing Desk
Why this one: A metal mesh tray that clamps to the desk edge with no drilling, with holes on each side for cables to pass through.
Worth knowing: The tray holds about 15 lbs, so keep heavy power bricks on the floor and only cables and small chargers in the tray.
THE DESK
Tribesigns Computer Desk, 55 inch Large Office Desk, White
Why this one: A wide white desk that gives the monitor, the lamp, and a notebook room to sit side by side without crowding.
Worth knowing: White tops show pen marks and coffee rings, so keep a desk mat under the writing area.
THE CHAIR
Serta Ashland Home Office Desk Chair, Light Gray
Why this one: A padded light gray chair that looks calm beside a white desk and suits long sits.
Worth knowing: Light fabric shows marks, so keep pens and coffee on the desk, not the chair.
THE SCREEN
Amazon Basics 24-inch Full HD IPS Monitor, 75 Hz, 1080P, HDMI, Display Port and VGA Input, Adjustable Stand, VESA Compatible, Built-in Speakers for Office and Home, Black
Why this one: A 24 inch monitor with built in speakers, so the desk needs no extra sound gear.
Worth knowing: Built in speakers suit calls and video, not music at high volume.
THE POWER
Belkin Surge Protector Power Strip, 6 AC Multiple Outlets, Flat Rotating Plug, 8ft Long Heavy-Duty Extension Cord for Home, Office, Travel, Computer Desktop and Charging Brick, White
Why this one: A 6 outlet surge protector with an 8 foot cord that sits in the tray and feeds the monitor, the lamp, and the laptop charger.
Worth knowing: The strip is wide, so check it fits the tray before mounting the tray.
How to fit it
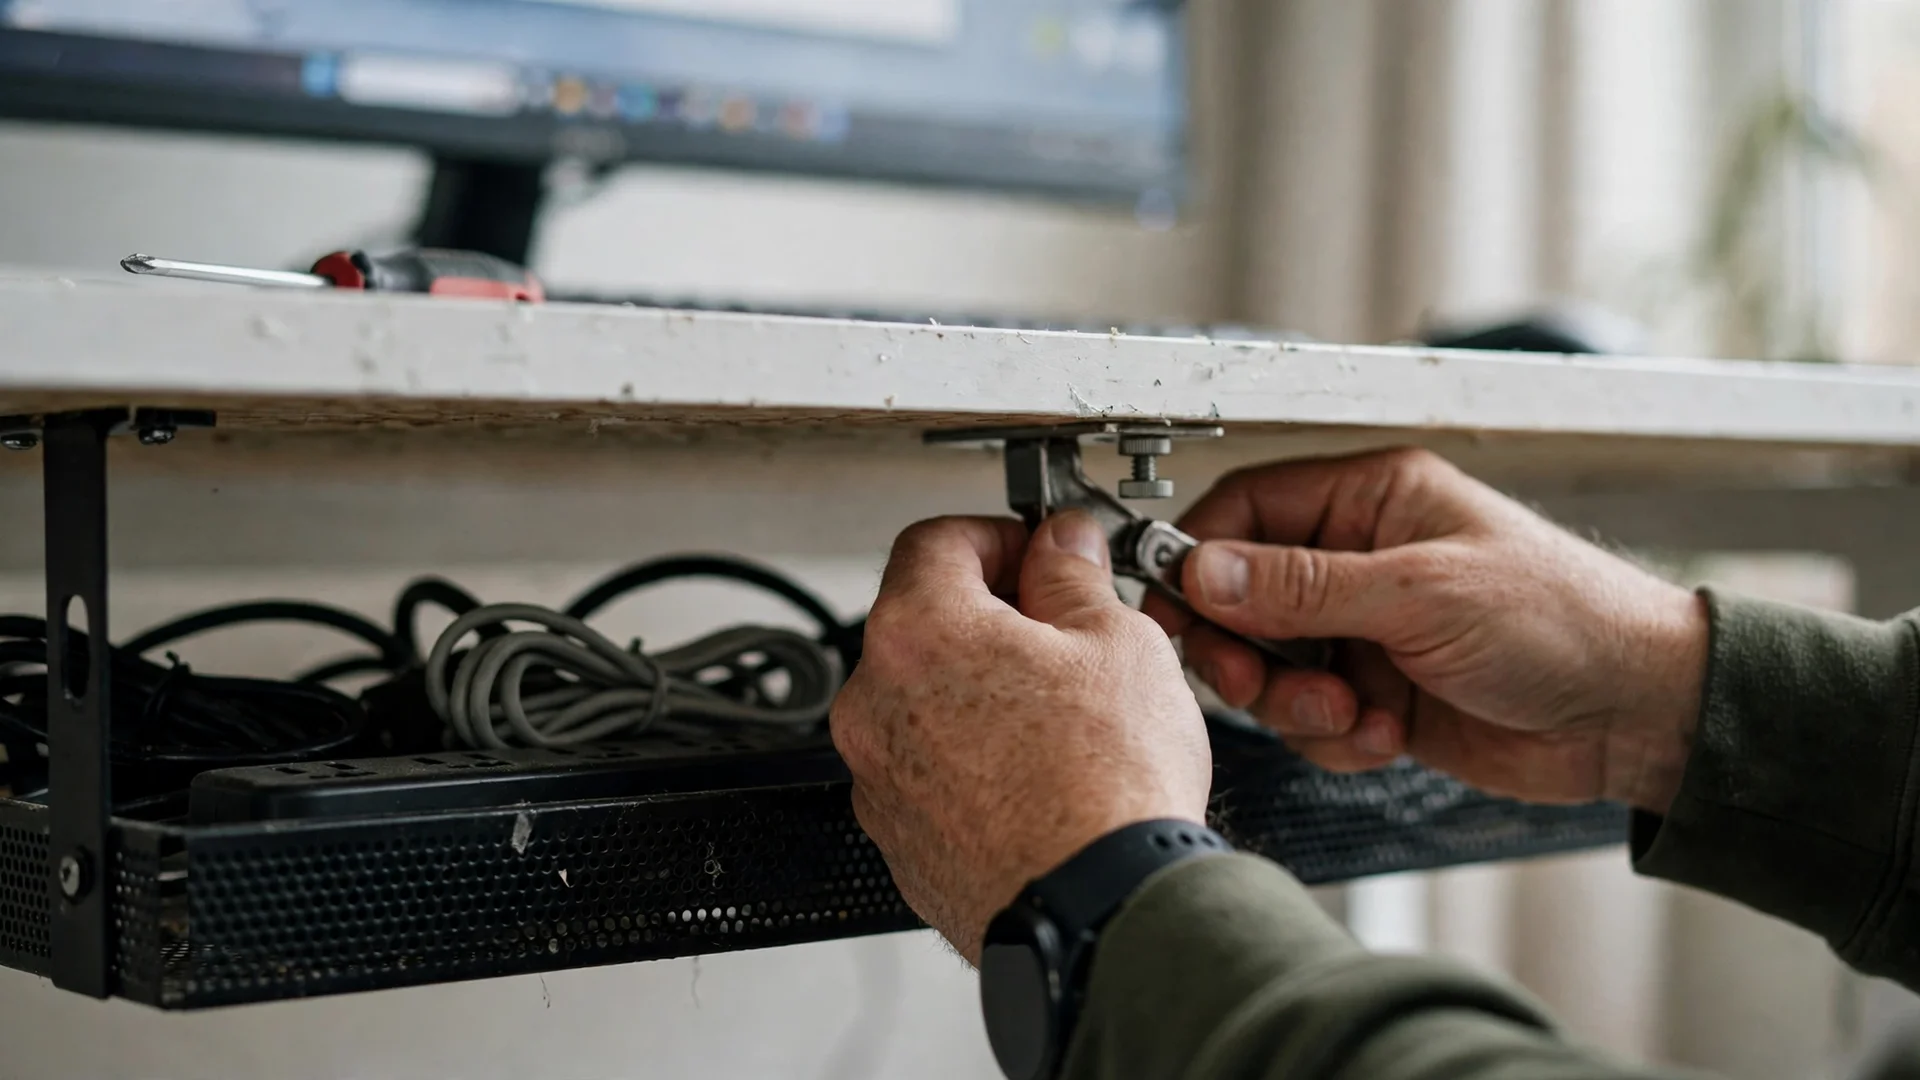
Fitting the tray takes about fifteen minutes and no drilling. The clamps grip the back edge of the desktop, so you can mount it, load it, and move it later without leaving holes. Put it toward the back of the desk, where the monitor and lamp cables already gather, and leave a little slack in each cable so nothing pulls tight when you adjust the monitor.
- Clear the desk and unplug everything you plan to move into the tray.
- Clamp the tray to the back edge and check it sits level.
- Lay the power strip in the tray first, then the chargers.
- Feed each cable through the side holes and plug it in last.
If the desk has a modesty panel or a drawer at the back, check the clamp fits around it before you buy. A tray that cannot clamp is a tray that sits in a drawer, and this upgrade only works when it is actually under the desk.
What changes after you add it

The first thing you notice is that the floor is clear. No cables snake across the rug, no power strip sits in the dust, and the chair wheels stop catching on wires. The second change is visual. With the cables gone, the desk looks like a piece of furniture again, and the monitor, the lamp, and the notebook are the only things your eyes land on.
The third change is the one nobody mentions. Cleaning gets easier, because you can vacuum under the desk without moving a nest of wires, and adding a new device takes a minute instead of a hunt behind the desk. It is a small change, but you feel it every time you sit down, which is more than most upgrades can say.
Try this: Label each charger with a small tag before it goes in the tray, so you never unplug the wrong one in a hurry.
What to pair it with
The tray works on its own, but two small things make it work better. A cable organizer box hides the strip completely when the tray is too shallow for a wide strip, and a few cable clips keep the short runs from the tray to the monitor from drooping. A plain wall behind the monitor helps too, because a tidy desk against a busy wall still looks busy.
- A cable organizer box for a wide power strip that does not fit the tray.
- A few clips to keep short cable runs from drooping below the tray.
- A desk lamp with USB ports, so phone charging never needs a loose cable.
- A label for each charger, so the tray stays organised after the first week.
You do not need to buy all of these at once. Start with the tray, live with it for a week, and add the piece that solves the annoyance you actually notice. For most desks, that annoyance is a wide strip, not a missing lamp. For more small desk ideas, browse the Home Office Ideas collection.
PAIRS WITH IT
Cable Organizer Box Set of Three, Power Cover Cord Holder
Why this one: A set of three cable boxes that hides a wide power strip completely when the tray alone is not enough.
Worth knowing: The boxes hide the strip, so put a small label on the outside showing which switch is which.
Mistakes to avoid

The most common mistake is ordering the wrong size. Measure the desk depth and the strip length first, then pick the tray that fits both with a little to spare. A tray that is too short leaves the strip hanging out one end, and a tray that is too deep bumps your knees. The second mistake is overloading it. The tray is for cables and small chargers, not for heavy power bricks, which belong on the floor.
The third mistake is pulling every cable tight. Leave a little slack, so the monitor can tilt and the laptop can move without tugging the tray. And keep the tray off the front edge of the desk. A tray that shows from the front is a tray that looks like clutter, while a tray tucked at the back is invisible, which is the whole point.
Frequently asked questions
Will a cable tray fit any desk?
It fits most flat desks with a clear back edge for the clamps. If the desk has a thick lip, a modesty panel, or a drawer at the back, measure the clamp opening against it before ordering.
How long does it take to fit?
About fifteen minutes, including unplugging the cables and feeding them back through the tray. Most of that time is tidying, not the clamping itself.
Can the tray hold a power strip?
Yes, if the strip fits the tray length and weight limit. The tray in this guide holds about 15 lbs, so measure the strip first and keep heavy power bricks on the floor.
Does it work with a standing desk?
Yes, and it helps most there, because a standing desk moves and loose cables tug. Leave slack in every cable so the desk can rise and lower without pulling the tray.
Will it make my desk look better on video calls?
It helps the background, because the camera sees the desk top and the wall, not the floor. With the cables hidden, the background reads as a tidy desk rather than a tangle of wires.
Is this the same upgrade as an LED strip?
No. An LED strip adds light behind the monitor, while a cable tray removes clutter under the desk. They solve different problems, and they work well together, but this guide is about the tray alone.
Conclusion
A home office does not always need a big change. One cable tray under the desk, fitted in fifteen minutes, clears the floor, tidies the view, and makes cleaning and adding devices easier. Measure the desk, clamp the tray at the back, lay the strip in first, and leave a little slack in every cable, and the upgrade will look like it was always part of the room. For more ideas to shape the rest of your workspace, browse the Home Office Ideas collection.
