
How to Soundproof a Home Office
A quieter home office starts with finding where sound actually gets in, then closing those gaps one by one. No single product makes a room silent, but a sealed door, soft surfaces, and heavy fabric together cut down a surprising amount of everyday noise. This guide works through seven steps in the order that matters most, from the biggest leaks to the finishing touches. Browse more room ideas in the Home Office Ideas collection on desk and glow.
As an Amazon Associate I earn from qualifying purchases. Read our affiliate disclosure for details.
In this guide
1. Find where sound leaks
2. Seal the door
3. Cover hard walls
4. Add a thick rug
5. Hang heavy curtains
6. Seal small gaps
7. Mask what is left
FAQ
Conclusion
At a glance
| Step | What it does |
|---|---|
| 1. Find where sound leaks | Shows where to spend effort first |
| 2. Seal the door | Closes the biggest gap in the room |
| 3. Cover hard walls | Cuts echo inside the room |
| 4. Add a thick rug | Softens footsteps and floor noise |
| 5. Hang heavy curtains | Adds a layer over the window |
| 6. Seal small gaps | Closes the small leaks around edges |
| 7. Mask what is left | Covers the noise that remains |
Step 1. Find where sound leaks

Before you buy anything, find out where the sound comes from. Close the door and ask someone to talk in the next room, then stand close to the door, the window, and any vents. The gap under the door is usually the worst leak, and you can often see daylight through it. Windows come next, then thin walls and shared vents. Write down the leaks in order, worst first, and work through them in that order. Spending on wall panels before sealing the door is like patching a roof while the window is open.
- Close the door and listen at the door, window, and vents.
- Look for daylight under the door and around the frame.
- Note which sounds bother you most: voices, footsteps, or traffic.
- Fix the biggest leak first, then test again before buying more.
Step 2. Seal the door

The gap under an interior door can be an inch wide, and sound walks straight through it. A double sided door draft stopper slides under the door and blocks that gap from both sides, and it moves with the door, so you never have to put it back in place. Fit it first, then check the sides and top of the door frame for light showing through. Self adhesive weatherstripping closes those edges for very little money. This one step often makes the biggest single difference in a home office, and it takes only a few minutes to fit.
Why this one: A double sided stopper that slides under the door and blocks the gap from both sides without any tools.
Worth knowing: It only seals the gap under the door, not gaps around the sides or top.
Step 3. Cover hard walls

Bare walls bounce sound around the room, which is why a home office can sound echoey on calls even when the door is shut. Acoustic foam panels on the wall behind your desk soak up some of that echo and make your voice sound clearer to the people you talk to. They will not block much sound coming through the wall from next door, so be honest about what they do. Place panels on the wall you face and the wall behind you first, since those are the surfaces your voice hits. A bookshelf full of books does a similar job if foam panels are not your style.
Why this one: Self adhesive wedge panels in a 12 pack, easy to place on the wall behind the desk to cut echo.
Worth knowing: Foam panels cut echo inside the room but do not block much sound coming through the wall itself.
Step 4. Add a thick rug

A hard floor reflects sound and carries every footstep to the room below. A thick rug breaks that up. Choose one big enough to sit under both the desk and the chair, so the chair rolls on the rug instead of catching its edge. A two inch pile feels soft underfoot and soaks up more sound than a flat weave. Add a rug pad underneath if the rug slides, and keep a chair mat on top if you use a rolling chair, because wheels sink into deep pile. The room will also feel warmer and look more finished, which is a useful bonus.
Why this one: A thick two inch shag pile in a large size that fits under a desk and chair to soften the floor.
Worth knowing: The deep shag pile traps dust and needs regular vacuuming; a chair mat helps a rolling chair move over it.
Step 5. Hang heavy curtains
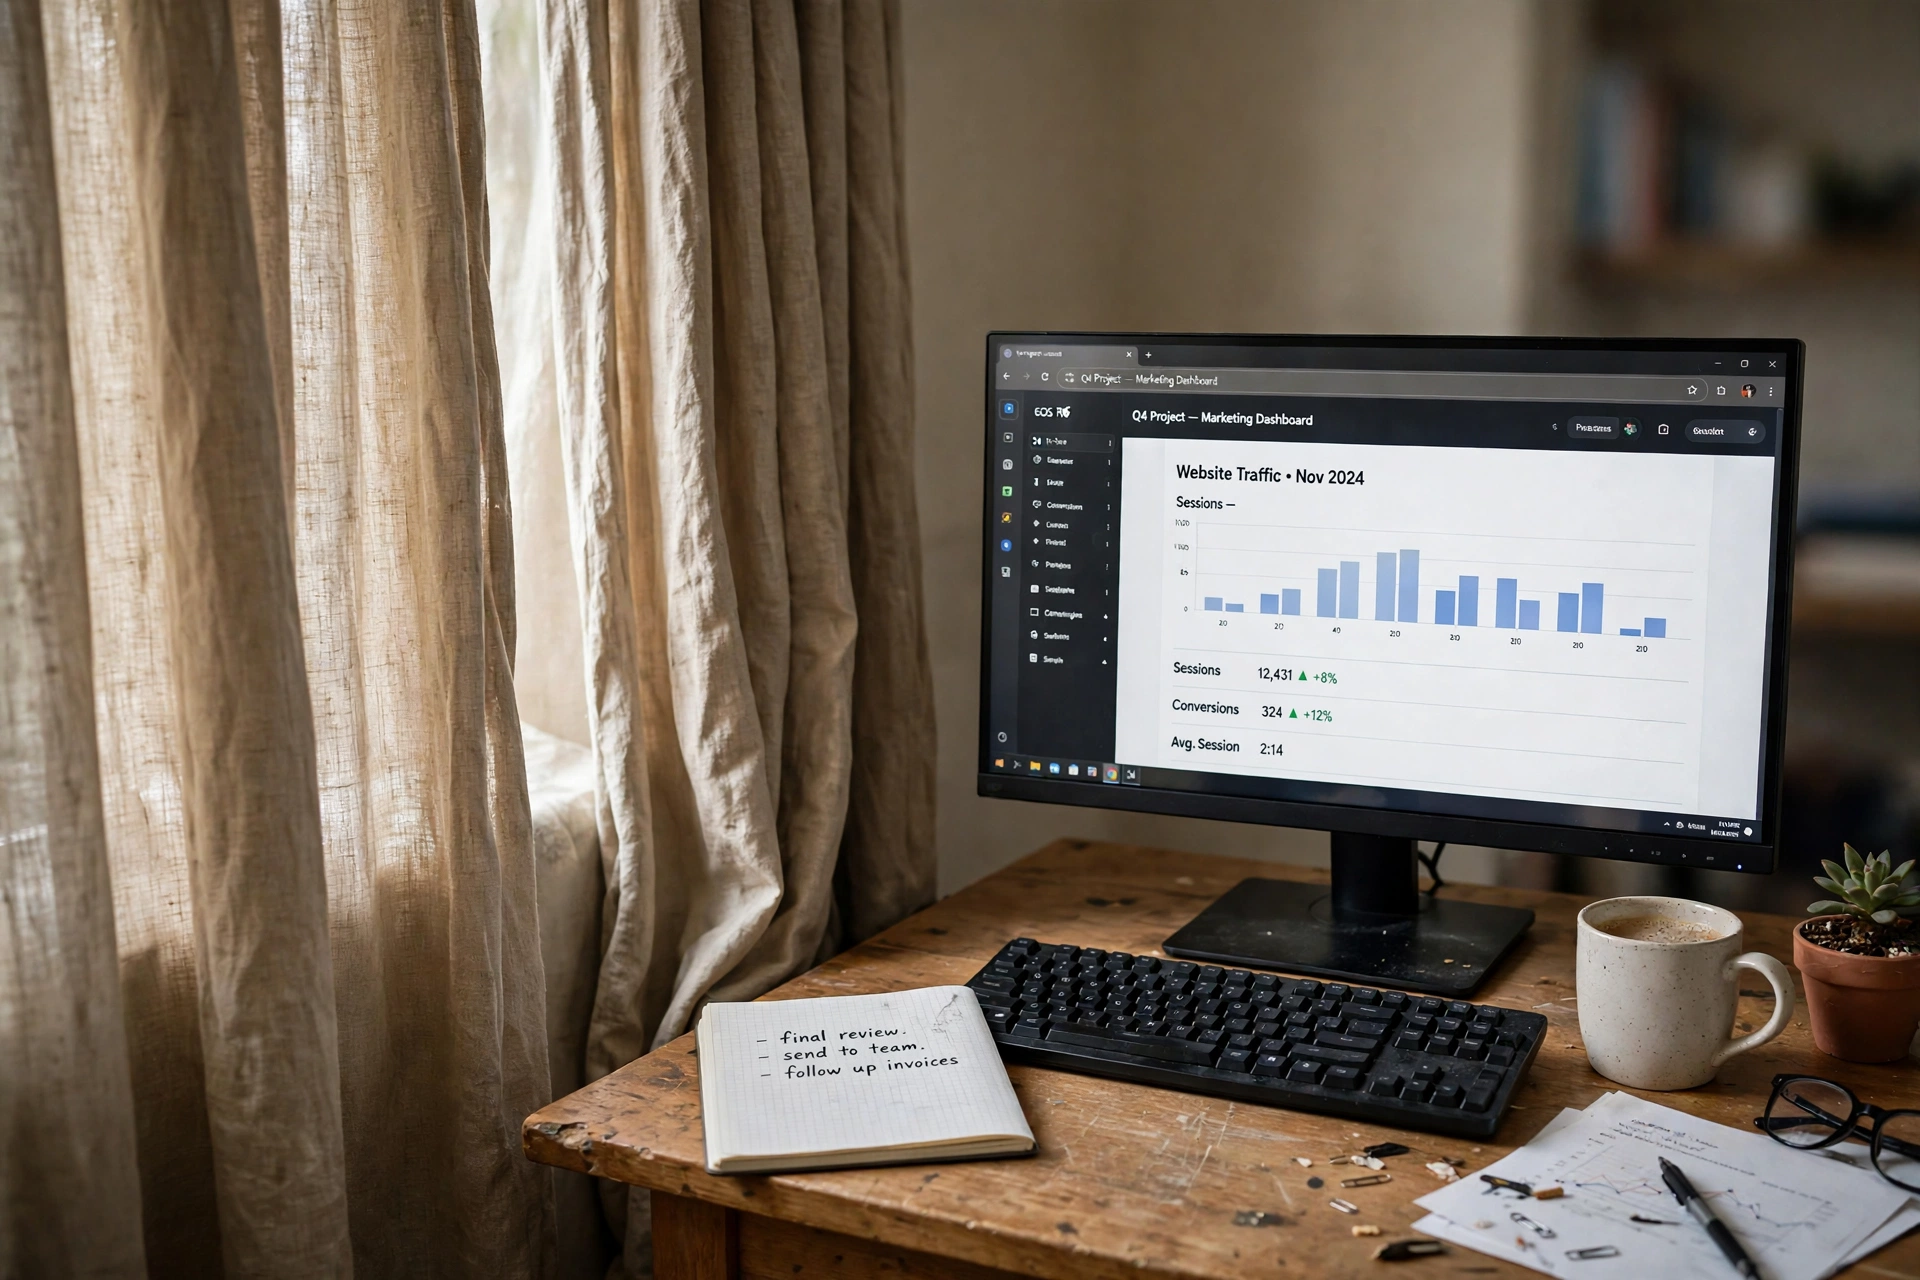
A window is a thin sheet of glass in a wall, so it lets in street noise and lets your calls out. Heavy lined curtains add a soft layer over the glass and take the edge off both. Hang them wider than the window frame and let them reach the floor, so they cover the whole opening instead of just the glass. They also block light for video calls and keep the room warmer in winter, which makes them one of the more useful buys in this guide. Check the curtain rod first, because lined panels are heavy and a weak rod will sag.
Why this one: Heavy black lined panels that cover the window fully and also block light for calls.
Worth knowing: Heavy lined panels reduce noise only modestly and need a sturdy curtain rod.
Step 6. Seal small gaps
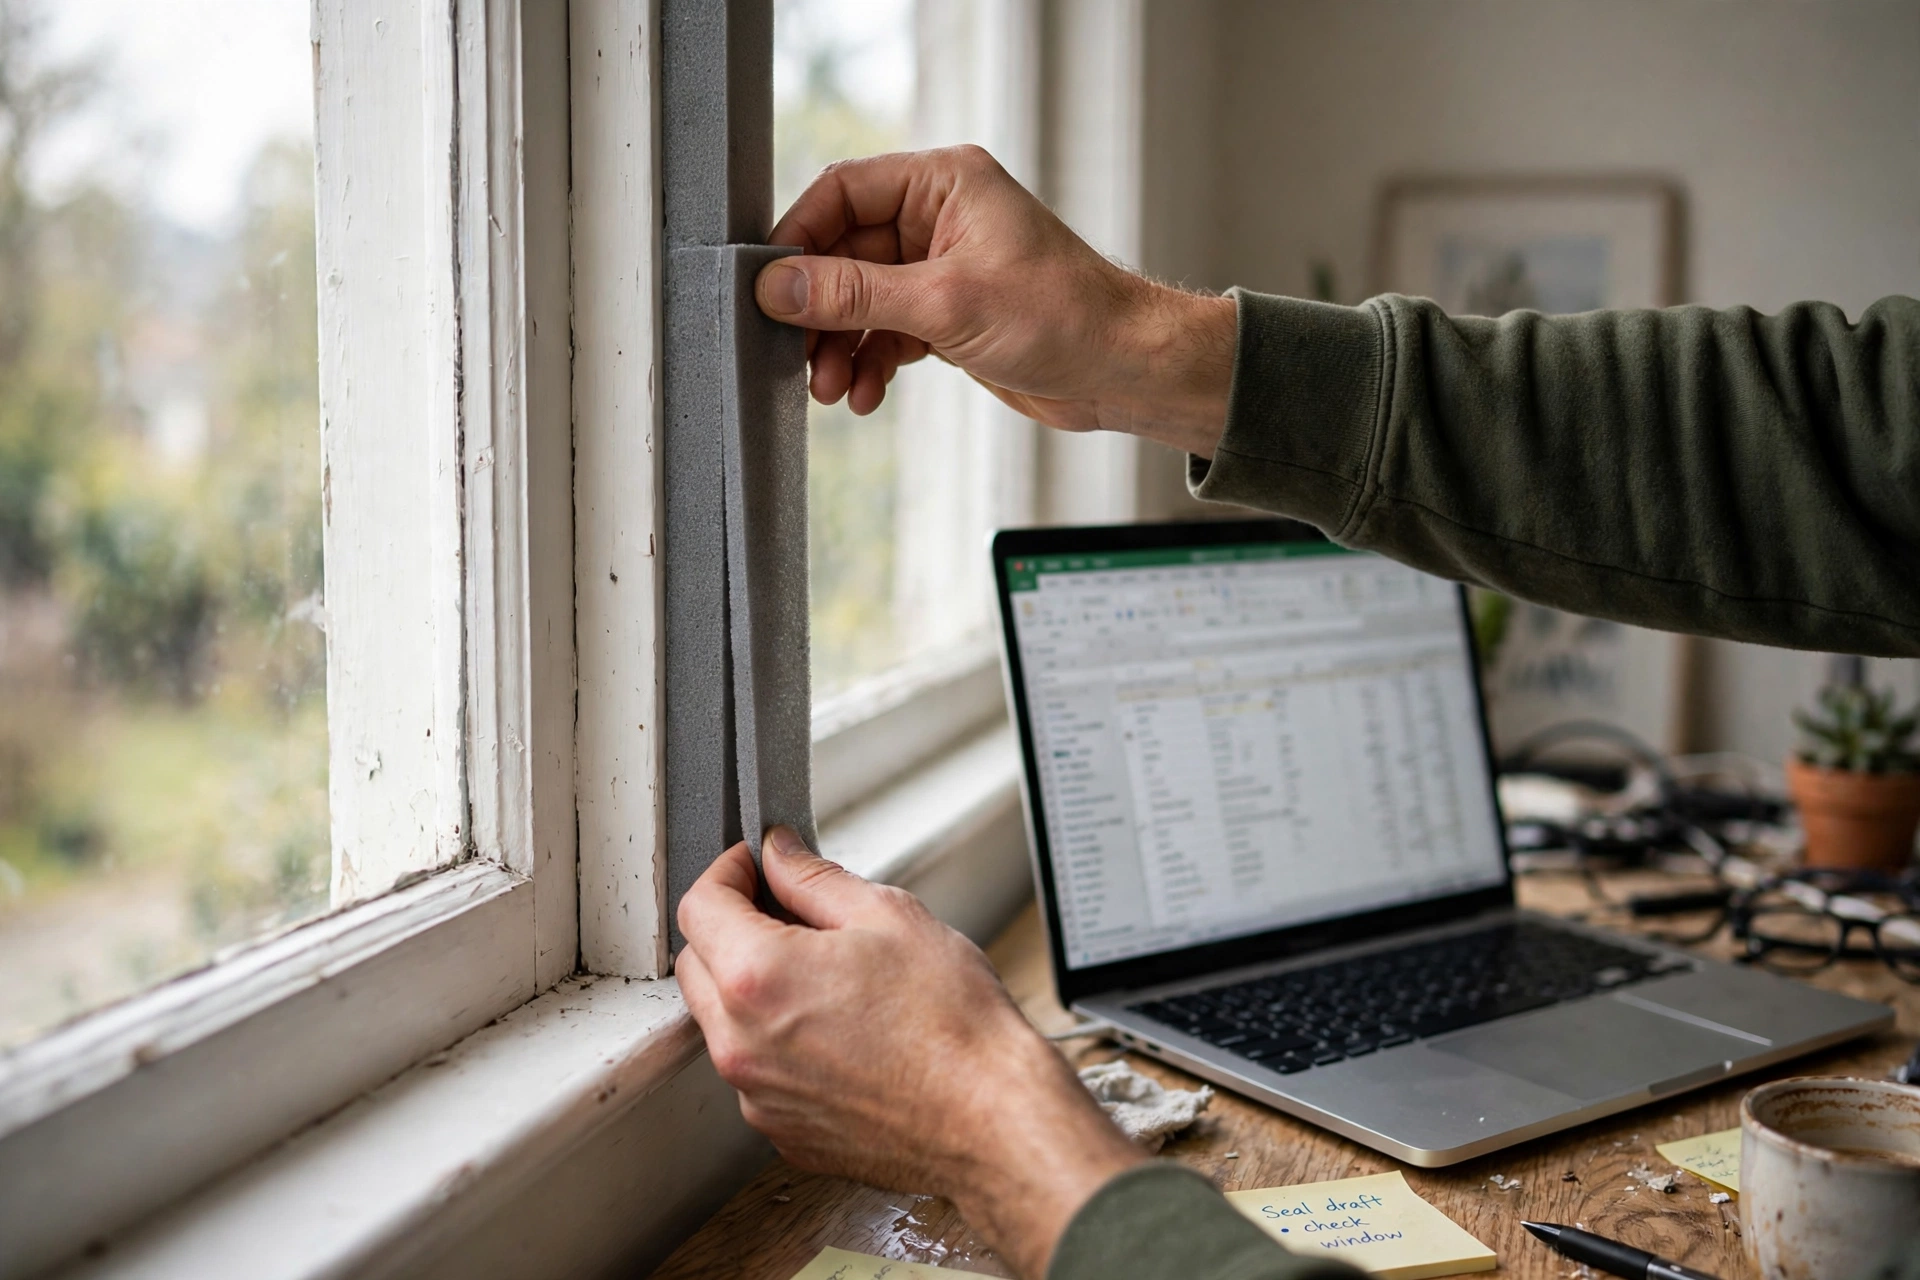
Once the door and window are covered, the small gaps are what is left. Run your hand around the window frame on a windy day and feel for cold air, which marks a gap sound can use too. Self adhesive foam tape fits along the frame edges, and a tube of acoustic sealant closes gaps where the frame meets the wall. Check around pipes, vents, and power sockets on shared walls as well, since a small hole can carry a surprising amount of sound. These fixes are fiddly and cheap, and they are the step most people skip, even though they add up.
- Feel around window and door frames for draughts.
- Press foam tape along the frame edges where air leaks.
- Seal gaps where frames meet the wall.
- Check vents, pipes, and sockets on shared walls.
Step 7. Mask what is left
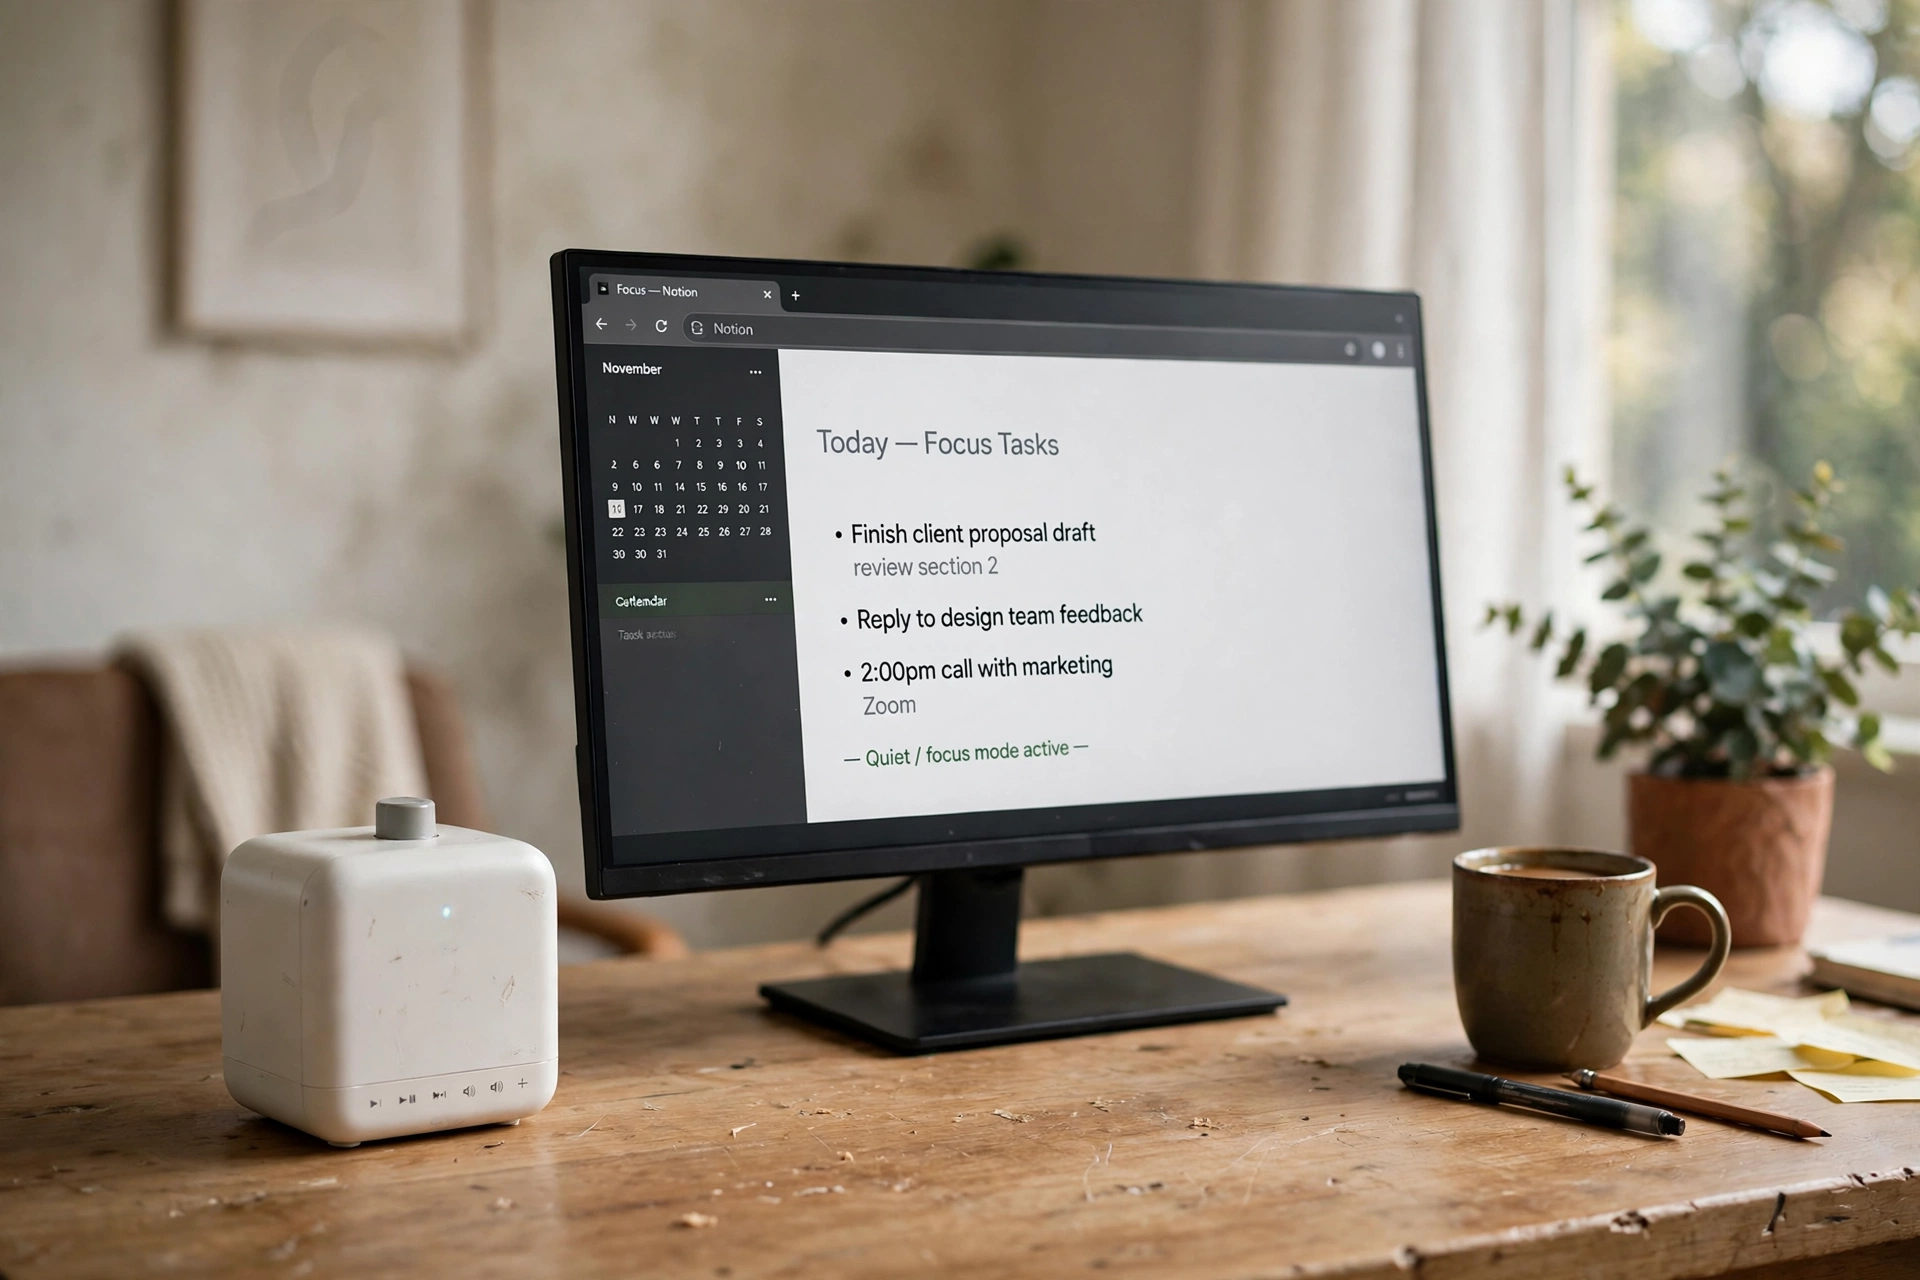
Some noise will always get through, especially voices from the next room or traffic outside. A white noise machine covers it with a steady fan sound that your brain tunes out, which makes sudden noises less jarring. Place it near the door or the window, where the noise enters, rather than right beside your ear. Keep the volume low, just enough to blur the background, and switch it off when you leave the room. It does not remove noise, it masks it, but for calls and quiet work that is often enough.
Why this one: A real fan inside makes a steady non-looping sound that masks background noise in the office.
Worth knowing: It masks background noise with a real fan sound rather than removing it, and it has only fan-based sounds, no nature sounds.
Frequently asked questions
Can I fully soundproof a home office?
Not fully, not without rebuilding the room. Sealing gaps, adding soft surfaces, and masking what is left can cut everyday noise a lot, but some sound will always get through a normal house wall.
What makes the biggest difference first?
Sealing the gap under the door. It is the largest single leak in most rooms, it costs very little, and you can feel the difference on the same day.
Do acoustic foam panels block outside noise?
Mostly no. They cut echo inside the room and make calls sound clearer, but they block very little sound coming through the wall itself. Sealing gaps does more for outside noise.
Will a rug really help with noise?
Yes, for footsteps and echo on hard floors. A thick rug with a pad underneath softens both, and it helps most in rooms with bare wood or tile floors.
Should I use a white noise machine during calls?
Keep it low and place it away from the microphone. A quiet steady sound masks background noise without being heard on the call, but a loud machine near the mic will be picked up.
Conclusion
Soundproofing a home office is a sequence of small fixes: find the leaks, seal the door, soften the walls and floor, cover the window, close the small gaps, then mask what is left. No one step does the whole job, but together they turn a noisy room into a place where calls sound clear and work feels calmer. For more ideas to shape the rest of your workspace, browse the Home Office Ideas collection.
