Gaming Room Ideas
A rental does not mean a boring gaming room, and it definitely does not mean you have to drill holes in the walls to get a setup that feels finished. I have set up plenty of gaming corners in rented rooms, and the trick is simple: everything stands on the floor, clamps to the desk, or sticks on with removable strips that peel off cleanly. Follow these seven steps in order and you will end up with a proper gaming room that your landlord will never need to know about, plus a move-out check that gets your deposit back.
As an Amazon Associate I earn from qualifying purchases. Read our full affiliate disclosure for more detail.
Work through the steps in order, because each one builds on the last. Measure first, then pick the desk, then raise the screen, then hide the cables, then add light and sound. If your room is small, read this guide alongside the 13 gaming room ideas for small bedrooms, which will help you fit the same setup into a tighter footprint.
In This Article
- Step 1. Read Your Lease and Map the Room First
- Step 2. Choose a Freestanding Desk That Needs No Wall Fixings
- Step 3. Raise the Screen With a Clamp Monitor Arm
- Step 4. Hide the Cables With Damage-Free Clips
- Step 5. Light the Room Without Drilling a Single Hole
- Step 6. Soften Echo With Removable Acoustic Panels
- Step 7. Add Freestanding Storage and Do a Move-Out Check
- At a Glance Comparison
- Frequently Asked Questions
- Conclusion
At a Glance Comparison
| Step | What You Do | What You Need | Rental Safe Because |
|---|---|---|---|
| 1. Lease and map | Check the rules, measure, sketch the layout | Tape measure, notebook, phone camera | Nothing touches the walls |
| 2. Freestanding desk | Pick a desk that stands on its own legs | Wide freestanding desk, comfortable chair | No wall fixing needed |
| 3. Clamp monitor arm | Clamp the arm to the desk edge | Clamp monitor arm, VESA monitor | Clamp grips the desk, not the wall |
| 4. Hide cables | Route cables along the desk with clips | Removable cord clips, power strip | Clips peel off cleanly |
| 5. Add light | Stick LED strips behind the desk and screen | Adhesive LED strip, floor or desk lamp | Adhesive backing, no screws |
| 6. Soften echo | Hang foam panels with removable strips | Foam panels, removable hanging strips, rug | Strips remove without marks |
| 7. Storage and check | Add a freestanding shelf, photograph the room | Freestanding bookcase, storage bins | Shelf stands on the floor |
Step 1. Read Your Lease and Map the Room First
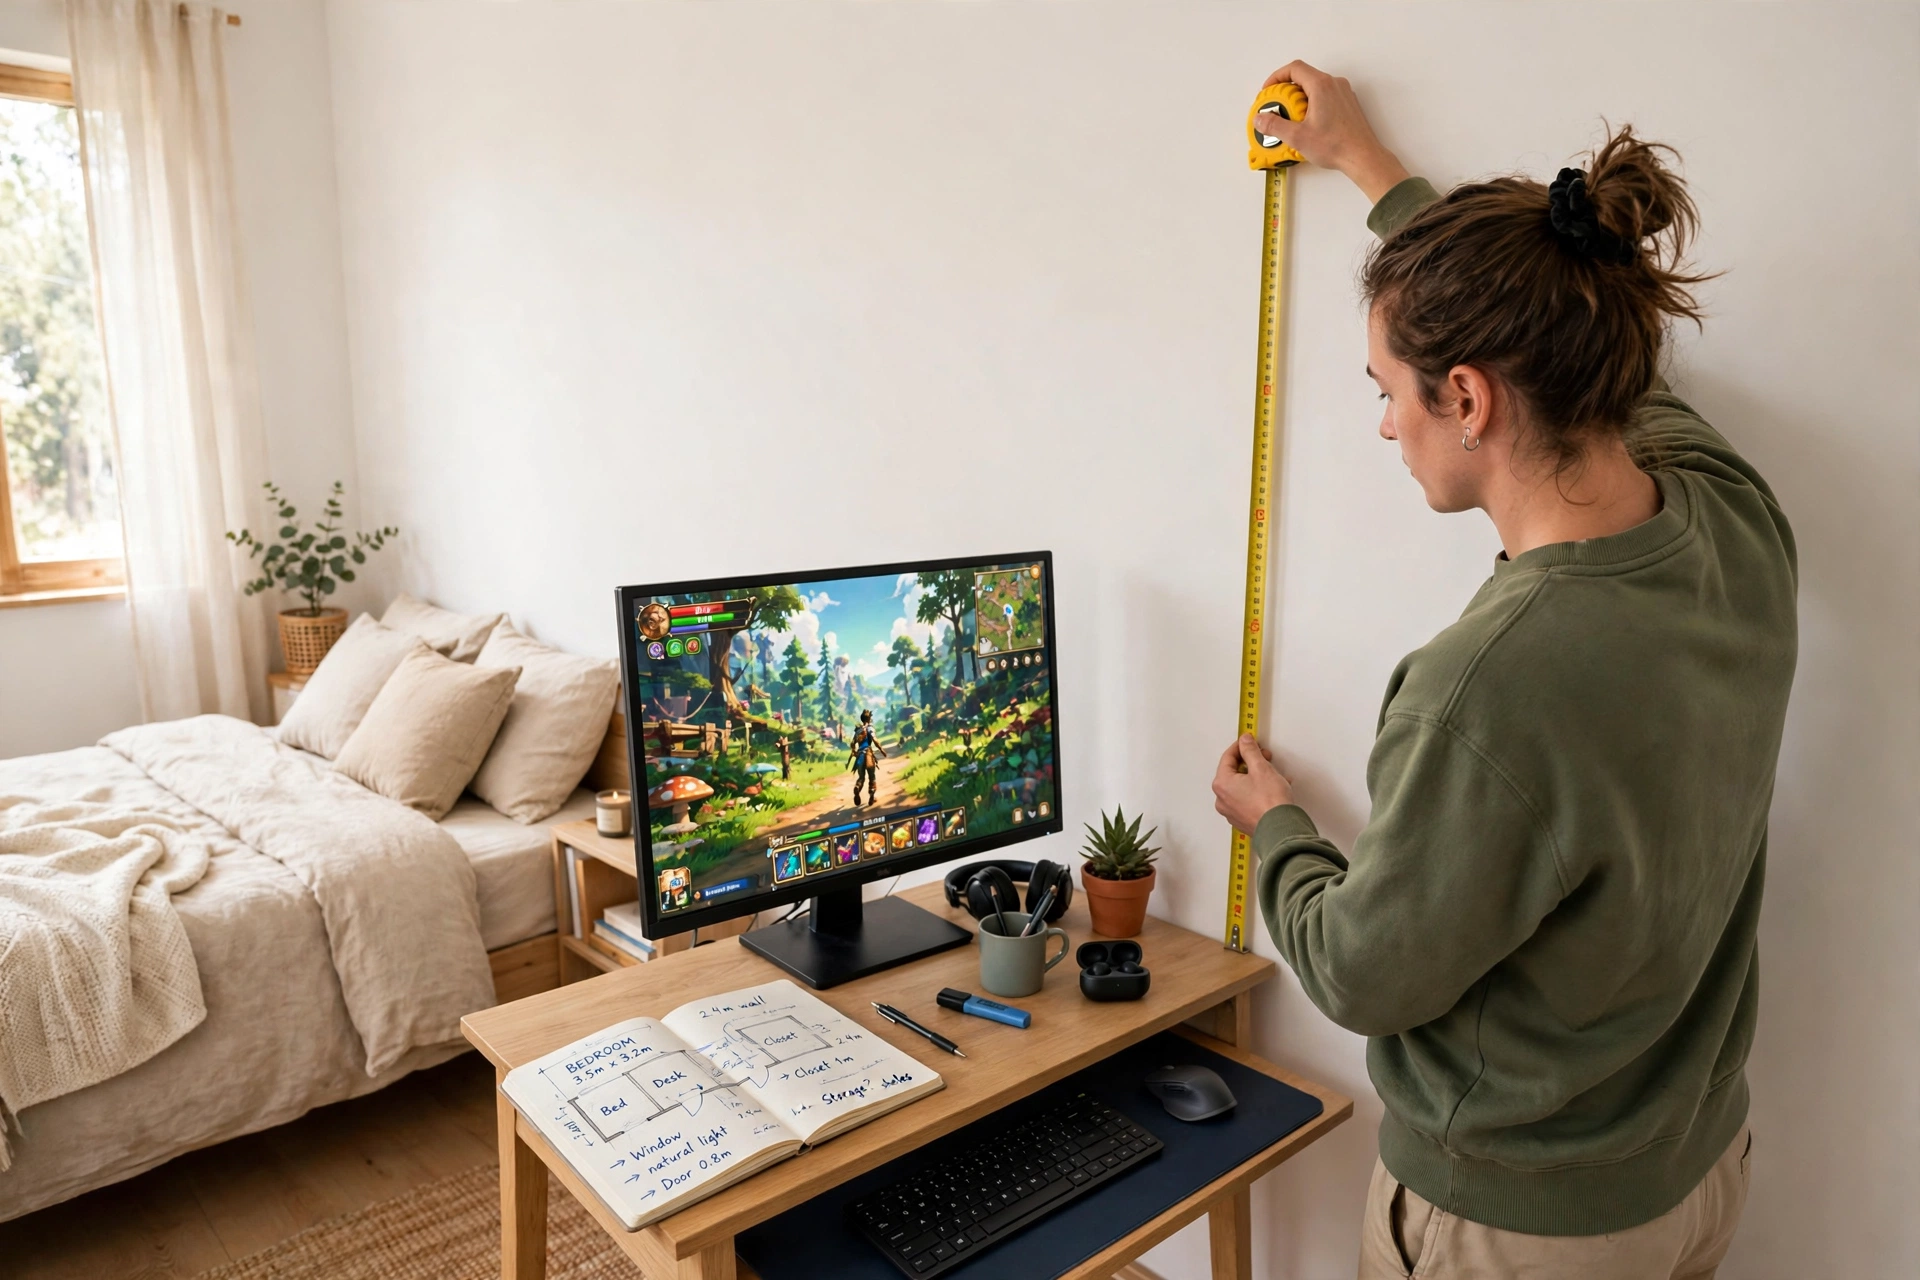
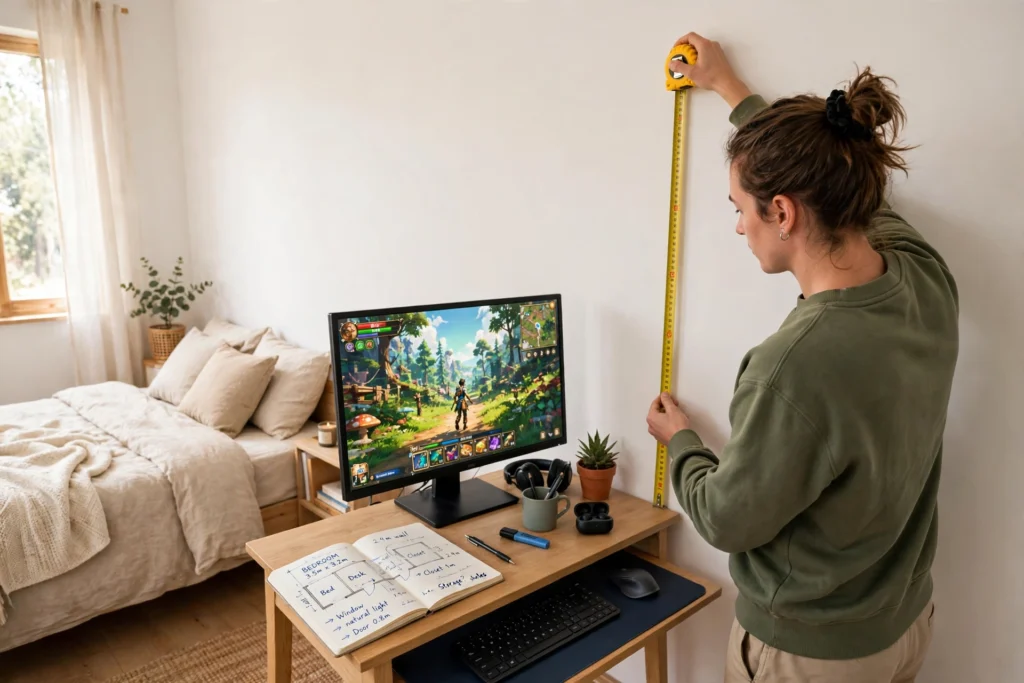
Before you buy anything, read the lease. Most rental agreements ban drilling, nailing into walls, and mounting heavy items, and some also ban adhesive hooks on fresh paint, so check the exact wording and note anything about wall damage and deposits. Take dated photos of every wall, corner, and skirting board now, before a single piece of furniture arrives, because those photos are your proof at move-out that the marks were already there. Then measure the room properly: wall lengths, the window and door positions, the distance from the desk wall to the bed, and the height and location of every power outlet. Sketch the plan in a notebook, with the desk on the wall that has the outlets and the chair facing away from the window so daylight never glares on the screen. A good rule is to leave at least one clear side of the desk open so you can pull the chair out and reach the cables behind it without moving furniture. This step costs nothing and saves you from the classic rental mistake, which is buying a desk that blocks a door or a monitor arm that does not fit the desk edge.
Step 2. Choose a Freestanding Desk That Needs No Wall Fixings
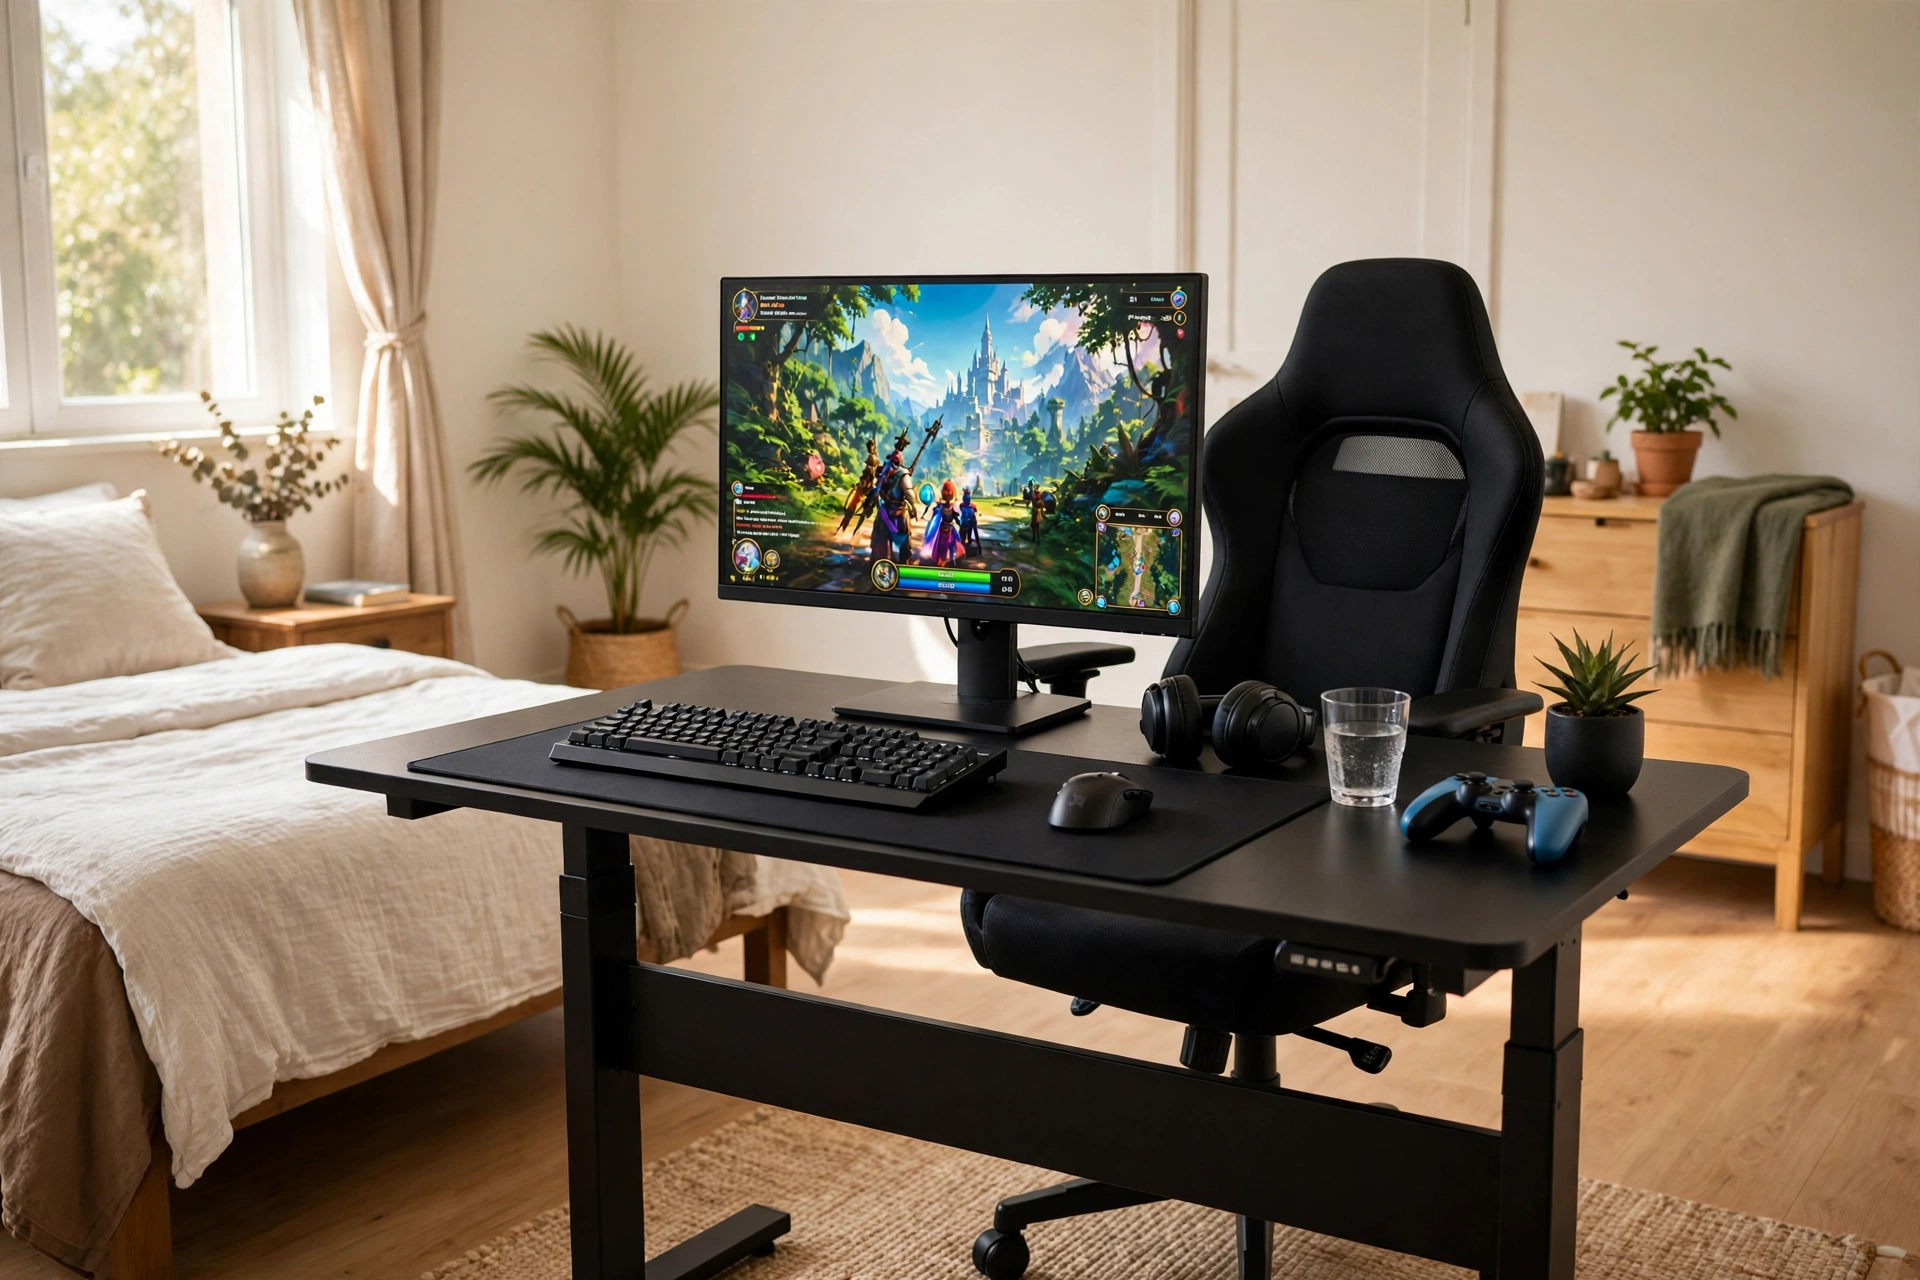
Your desk is the foundation of the whole room, so pick one that stands firmly on its own legs and never needs a wall bracket for stability. A wide 60 inch top gives you room for a monitor, a keyboard, a headset stand, and a lamp without crowding, and it leaves space underneath for a power strip and a small storage box. Check the desk edge before you buy, because step 3 needs a solid edge for a clamp, so a desk with a thick wooden or metal edge works best and a glass top does not. Sit in your chair at the desk if you can, and make sure your knees fit underneath and your elbows rest comfortably at keyboard height. Keep the desk a few inches away from the wall rather than pushed hard against it, so cables can drop behind it and air can flow around your PC or console. Storage stays simple at this stage: a drawer or a shelf under the desk for controllers and games, and nothing fixed to the wall above it.
DESIGNA Computer Gaming Desk 60 Inch, PC Laptop Table Workstation with Free Large Mousepad, Black
Why this one: The wide 60 inch top fits a monitor, keyboard, and lamp side by side, and the included large mousepad keeps the surface neat.
Worth knowing: It has no built-in drawers or cable tray, so storage and cable management need a separate solution, and the black top shows dust easily under bright light.
Step 3. Raise the Screen With a Clamp Monitor Arm
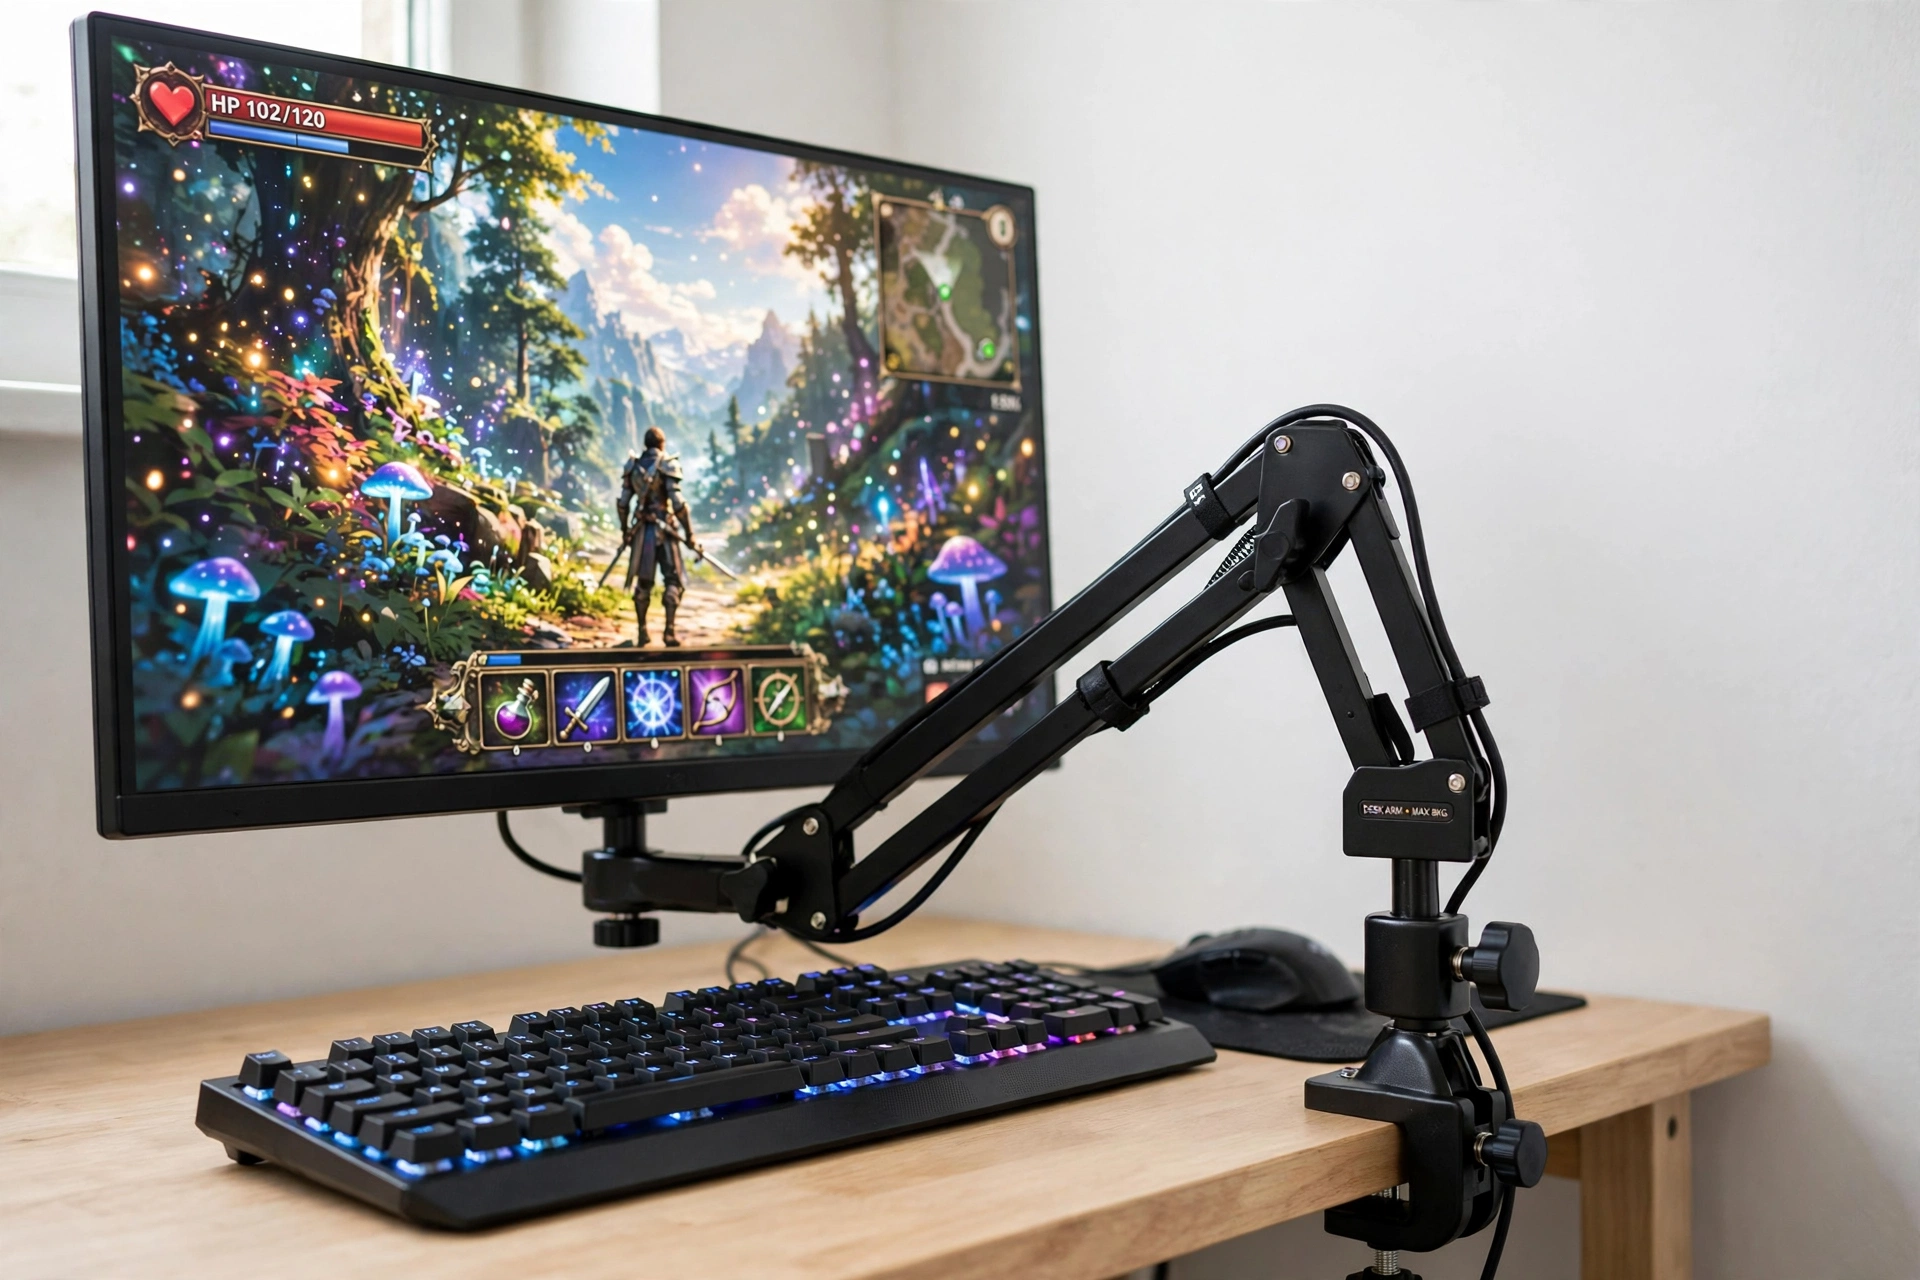
A wall mounted screen is the one thing renters miss most, and a clamp monitor arm is the fix that needs no drilling at all. The arm grips the back edge of your desk with a C-clamp, so the screen floats at eye level and the whole desk surface underneath stays free for your keyboard, notes, and controllers. Check three things before you buy: your monitor size and weight, the VESA hole pattern on its back, and your desk thickness, because the clamp only fits desks within its stated range. Fit the clamp first, tighten it by hand, then hang the monitor on the VESA plate and adjust the tilt and height until the top of the screen sits at eye level when you sit back in your chair. Route the monitor cable down the arm using its built-in clips, so the cable drops neatly behind the desk instead of hanging in a loop. For more ways to lift the screen and free desk space, see the 7 monitor stand ideas for gaming desks, which work just as well in a rental.
Why this one: The C-clamp fixes to the desk edge with no drilling, the arm tilts, swivels, and rotates, and it lifts the screen up from the desktop with one hand.
Worth knowing: It fits monitors up to 32 inches and 19.8 lbs, so check your monitor weight first, and it is not suited to glass desks.
Step 4. Hide the Cables With Damage-Free Clips
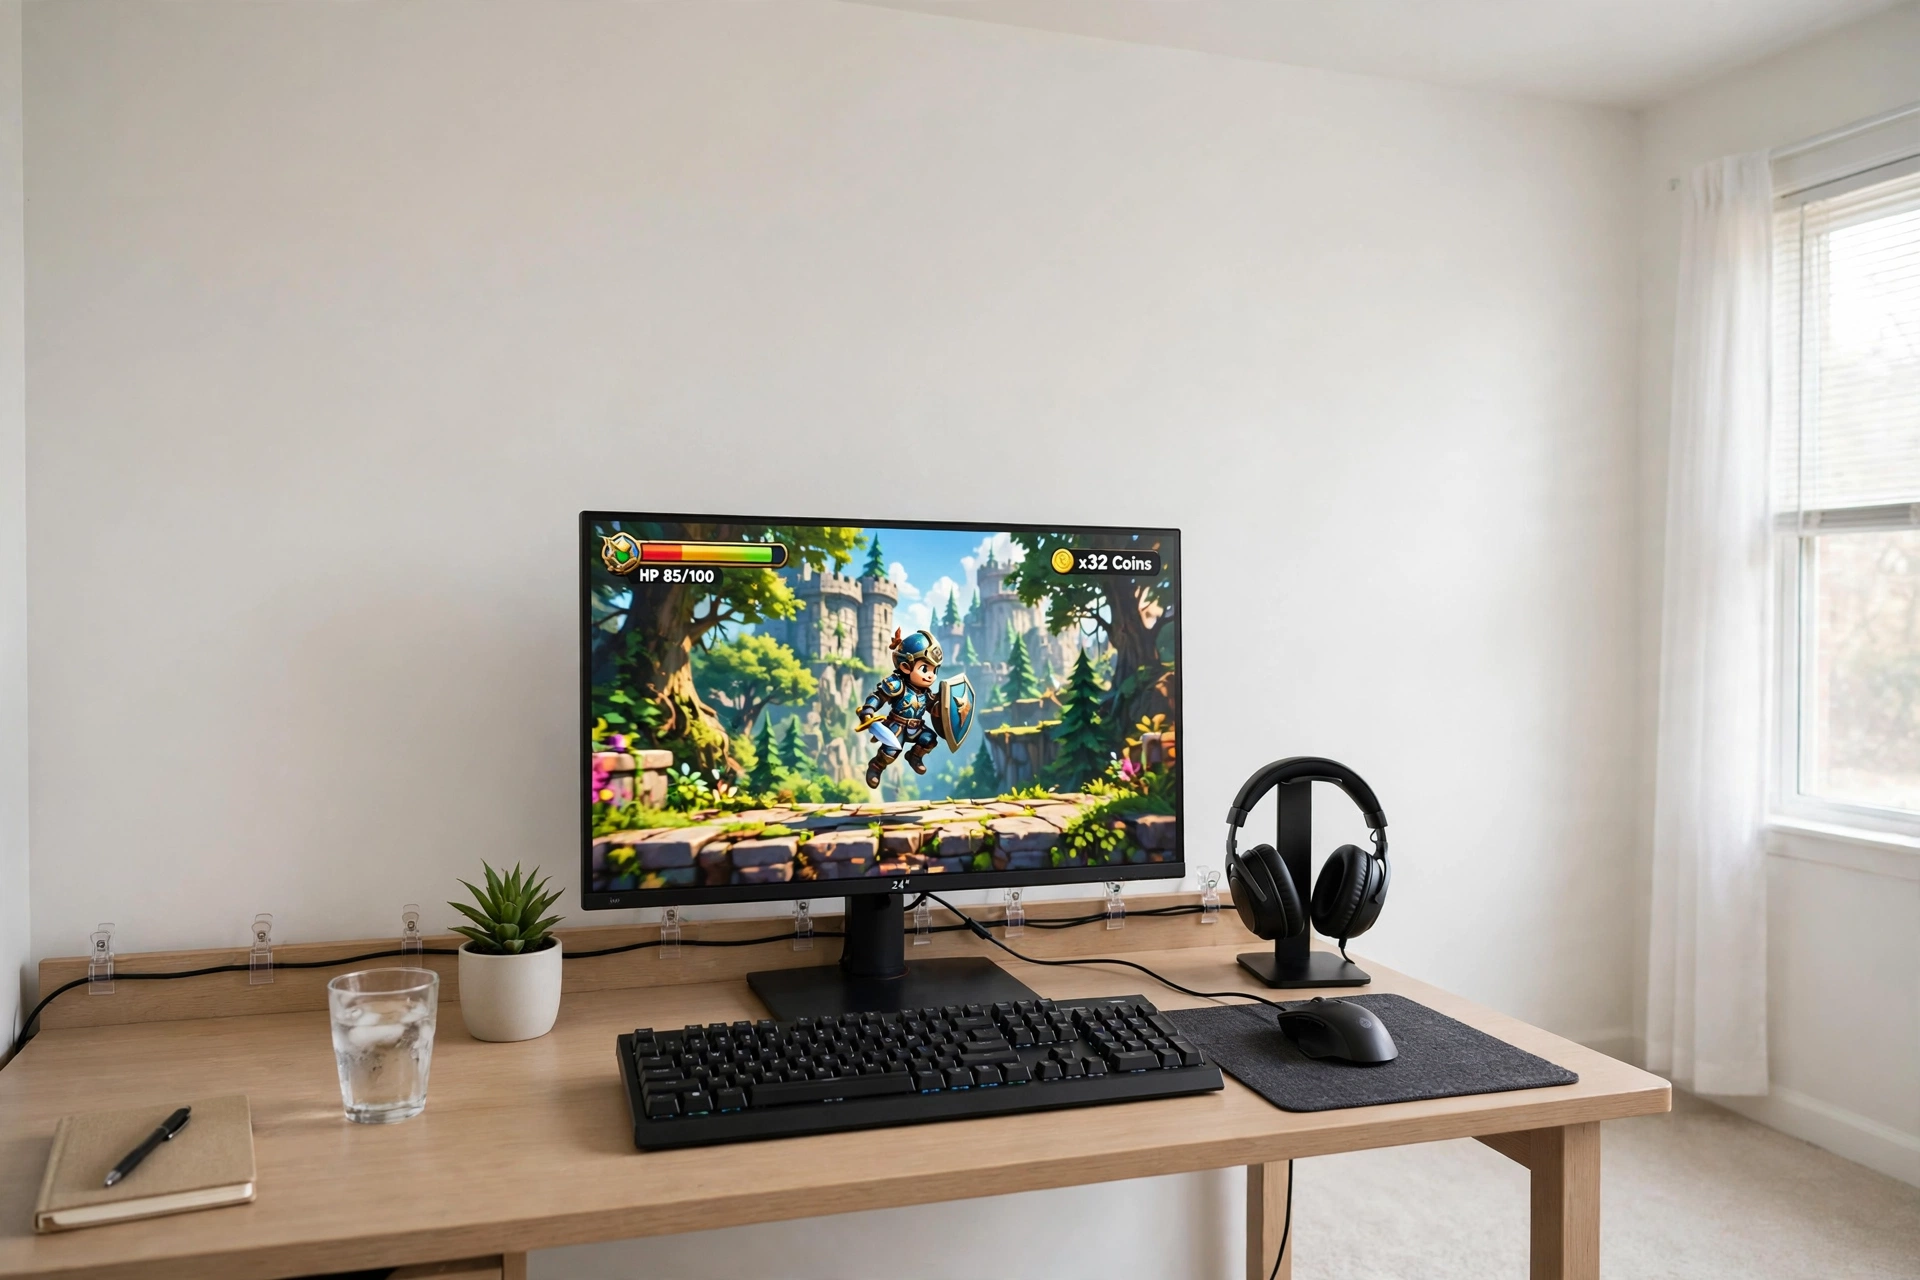
Cables are what make a rental setup look messy, and they are also what gets damaged when a chair wheel rolls over them, so sort them before you add anything decorative. Start at the power strip, which should sit on the floor or under the desk, never screwed to the wall, and plug in the monitor, the PC or console, the lamp, and the charger in one place. Gather the cables into one bundle, run them along the back edge of the desk, and hold them with small removable cord clips that stick on with Command strips and peel off without marks. Leave a little slack at each end so you can pull the monitor arm or the console forward without yanking a plug out. Keep the thick power cables separate from the thin HDMI and USB cables where you can, because a single fat bundle is harder to clip neatly than two slim ones. Test the clips for a day before you load them with every cable, and clean each surface with rubbing alcohol first so the strips bond properly.
Why this one: The clear clips hold cords along the desk edge or wall and remove cleanly with the included Command strips, and the pack covers a whole setup.
Worth knowing: Each clip holds light cords only, so use them for HDMI, USB, and lamp cables rather than heavy power bricks, and do not stick them on wallpaper.
Step 5. Light the Room Without Drilling a Single Hole
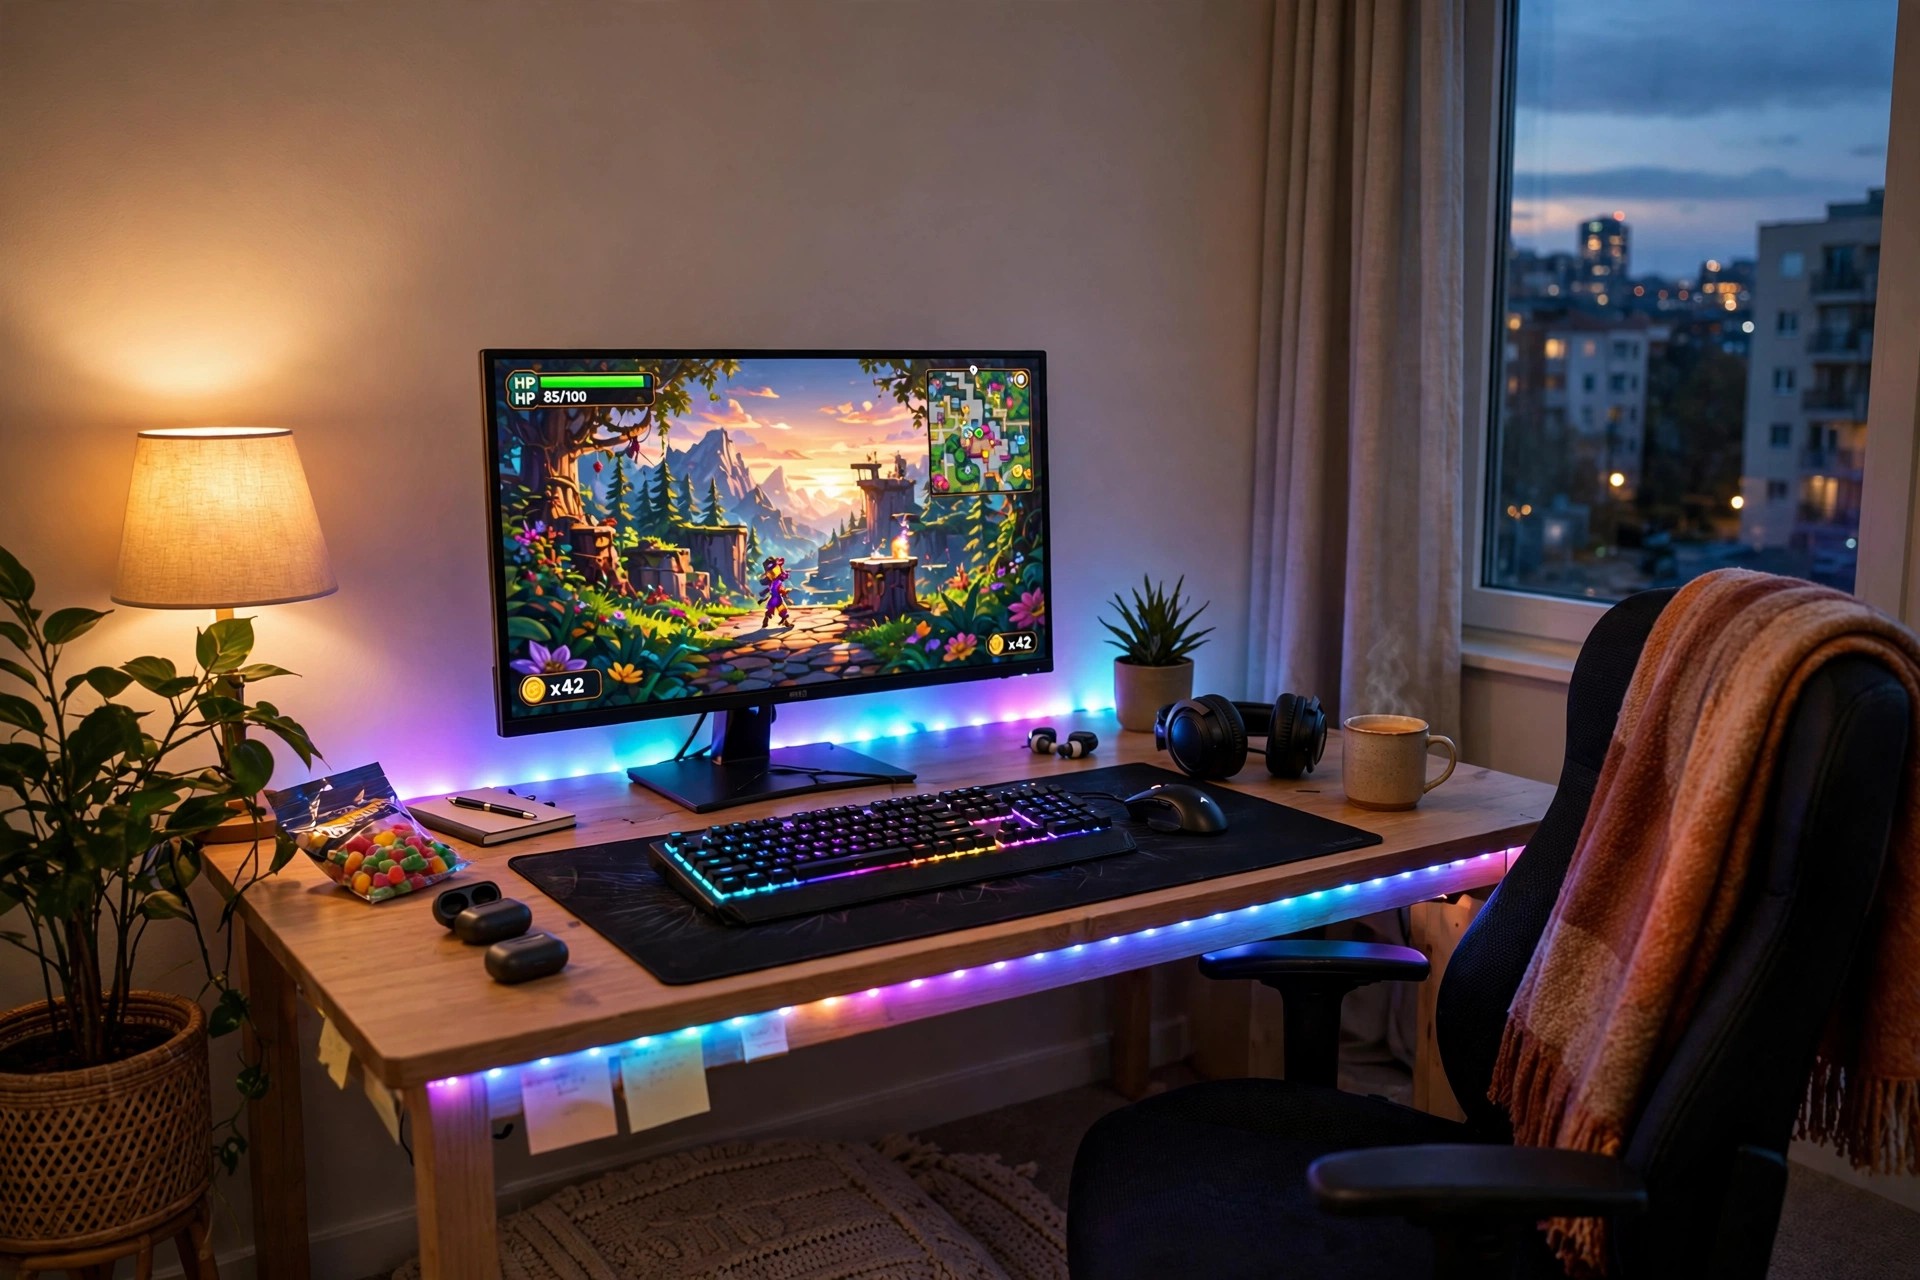
Lighting is where a rental gaming room goes from plain to personal, and none of it needs a screw. Run an adhesive LED strip along the back edge of the desk and behind the monitor, so the glow spills onto the wall and softens the screen in a dark room. Clean the surface first, measure the strip before you stick it down, and press it firmly along its whole length, because a strip that peels at one end will droop within a week. Add one warm lamp for task light, either a small desk lamp on the desk or a floor lamp in the corner, so you are never playing by screen light alone. Set the strip to a warm white or a single soft color for everyday play, and save the full rainbow for parties, because one calm color makes the room feel bigger and calmer. Power the strip from a USB port on the monitor or a spare plug on the power strip, and keep its controller within reach so you can dim it without getting up.
Govee 16.4ft RGBIC LED Strip Lights, Work with Alexa and Google Assistant
Why this one: The RGBIC segments let different parts of the strip show different colors at once, which is ideal for a glow behind the monitor, and app and voice control make it easy to dim for late night play.
Worth knowing: It needs the app and a Wi-Fi connection for smart features, and the adhesive backing can peel on textured or dusty walls, so clean the surface first and plan the layout before sticking it down.
Step 6. Soften Echo With Removable Acoustic Panels
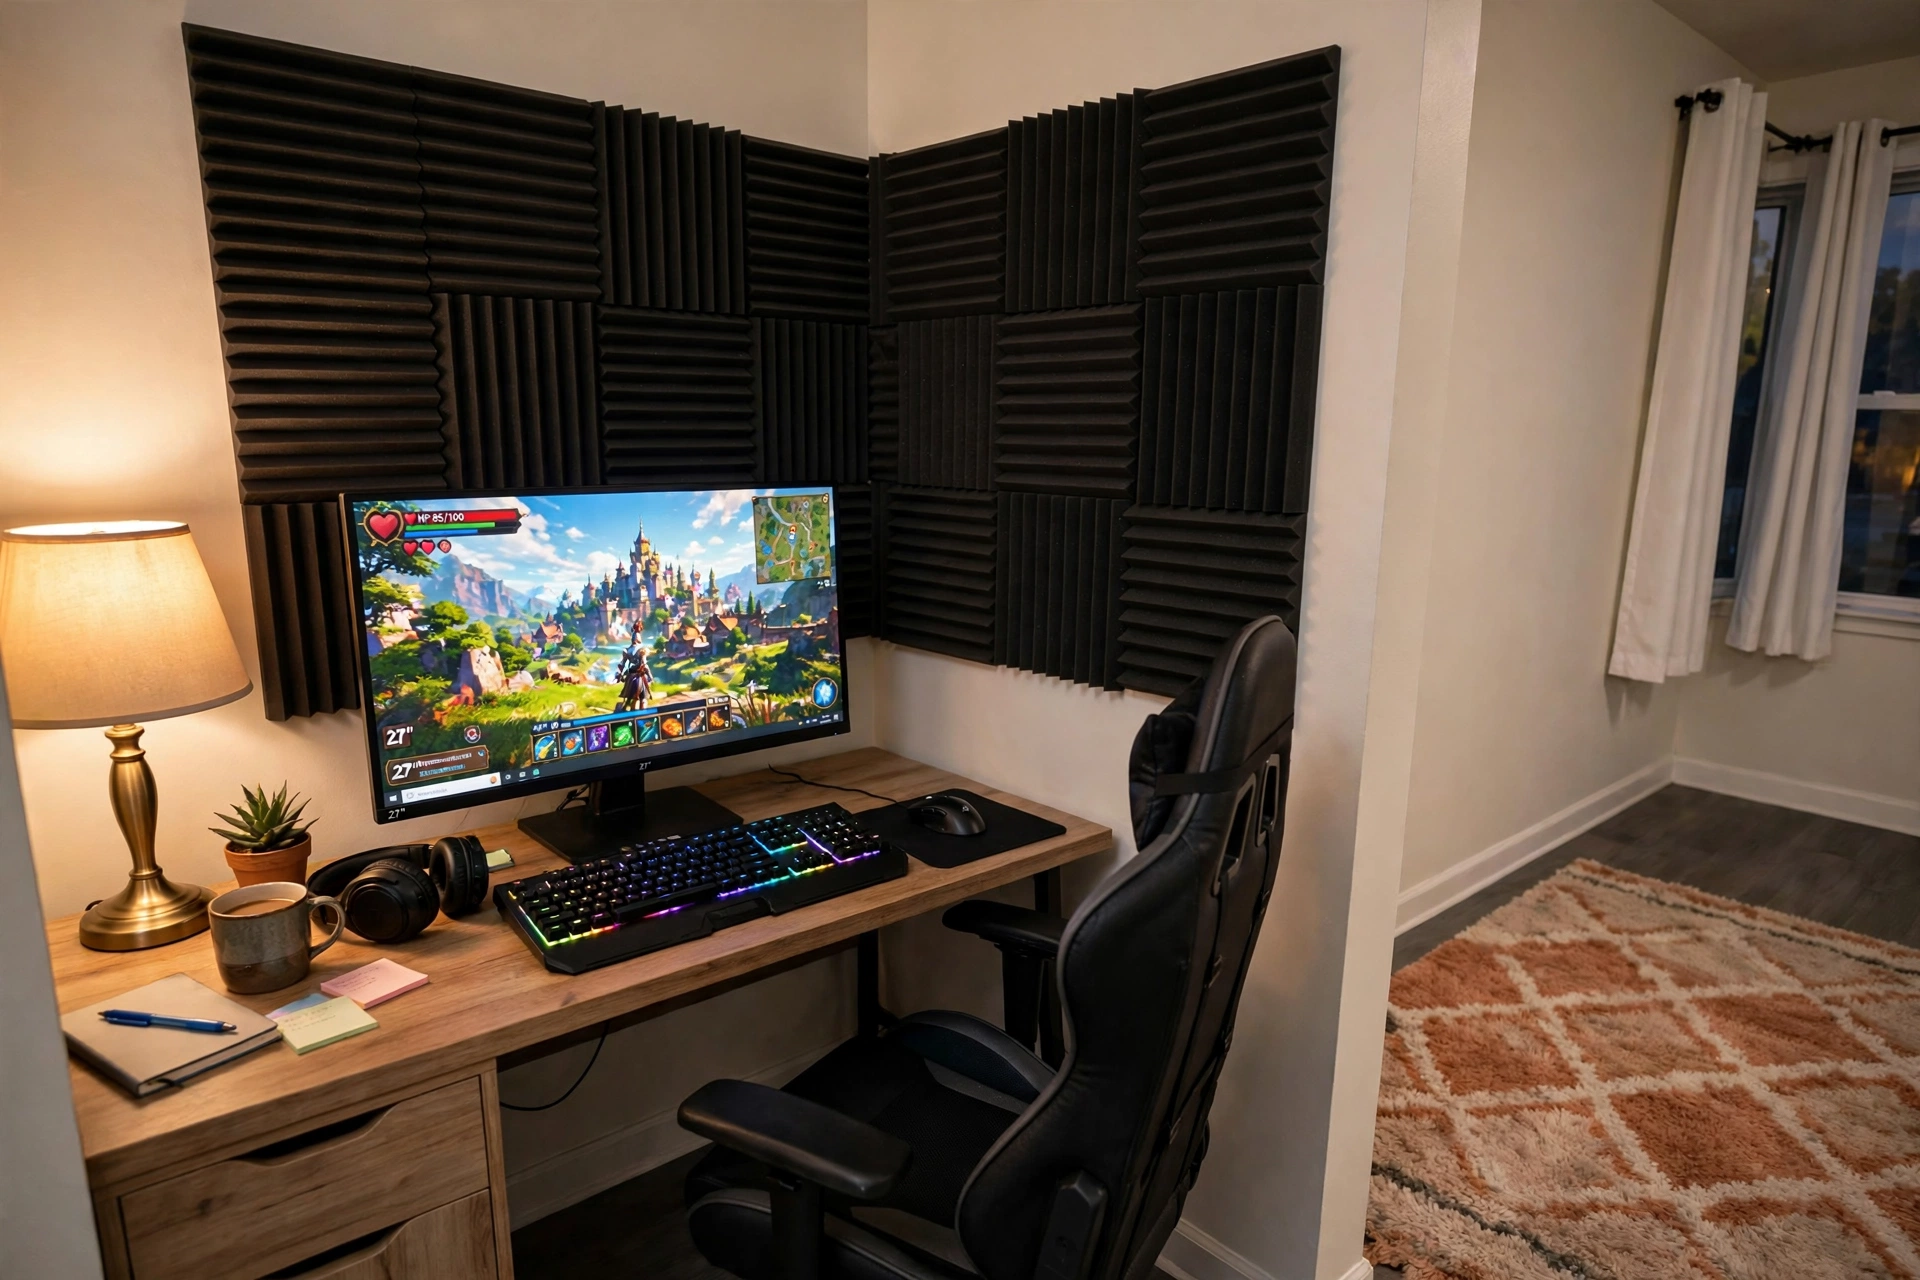
Hard rental walls bounce sound around, so voices echo on calls and game audio sounds harsh, but you do not need to screw panels to the wall to fix it. Start with the floor, because a thick rug under the desk and chair absorbs a surprising amount of echo on its own, and add heavy curtains if the window rattles the sound. Then hang a small set of self-adhesive foam panels on the wall directly behind the monitor, which is where your voice bounces back toward your microphone. Here is the rental trick: do not use the panels own sticky backing straight on painted walls, because it can pull paint off when you remove it. Stick removable picture hanging strips to the back of each panel instead, press the panel to the wall, and it will hold firmly and peel off cleanly at move-out. Keep the pattern to one neat rectangle or diamond behind the desk rather than covering the whole wall, because a small tidy arrangement looks deliberate and a wall full of foam looks like a studio. For more ideas on quieting a gaming room, see the 7 gaming room soundproofing ideas.
Why this one: The high density foam panels recover quickly, cut easily to size, and absorb echo well behind a desk in a small room.
Worth knowing: The built-in adhesive is strong and can pull paint off a rented wall, so mount them with removable hanging strips instead, as described in this step.
Why this one: The strips hold up to 15 lbs, stick to painted walls, finished wood, and tiles, and remove cleanly without holes, marks, or sticky residue.
Worth knowing: Do not hang them over a bed or on wallpaper, and wait seven days after painting before using them so the paint can cure.
Step 7. Add Freestanding Storage and Do a Move-Out Check
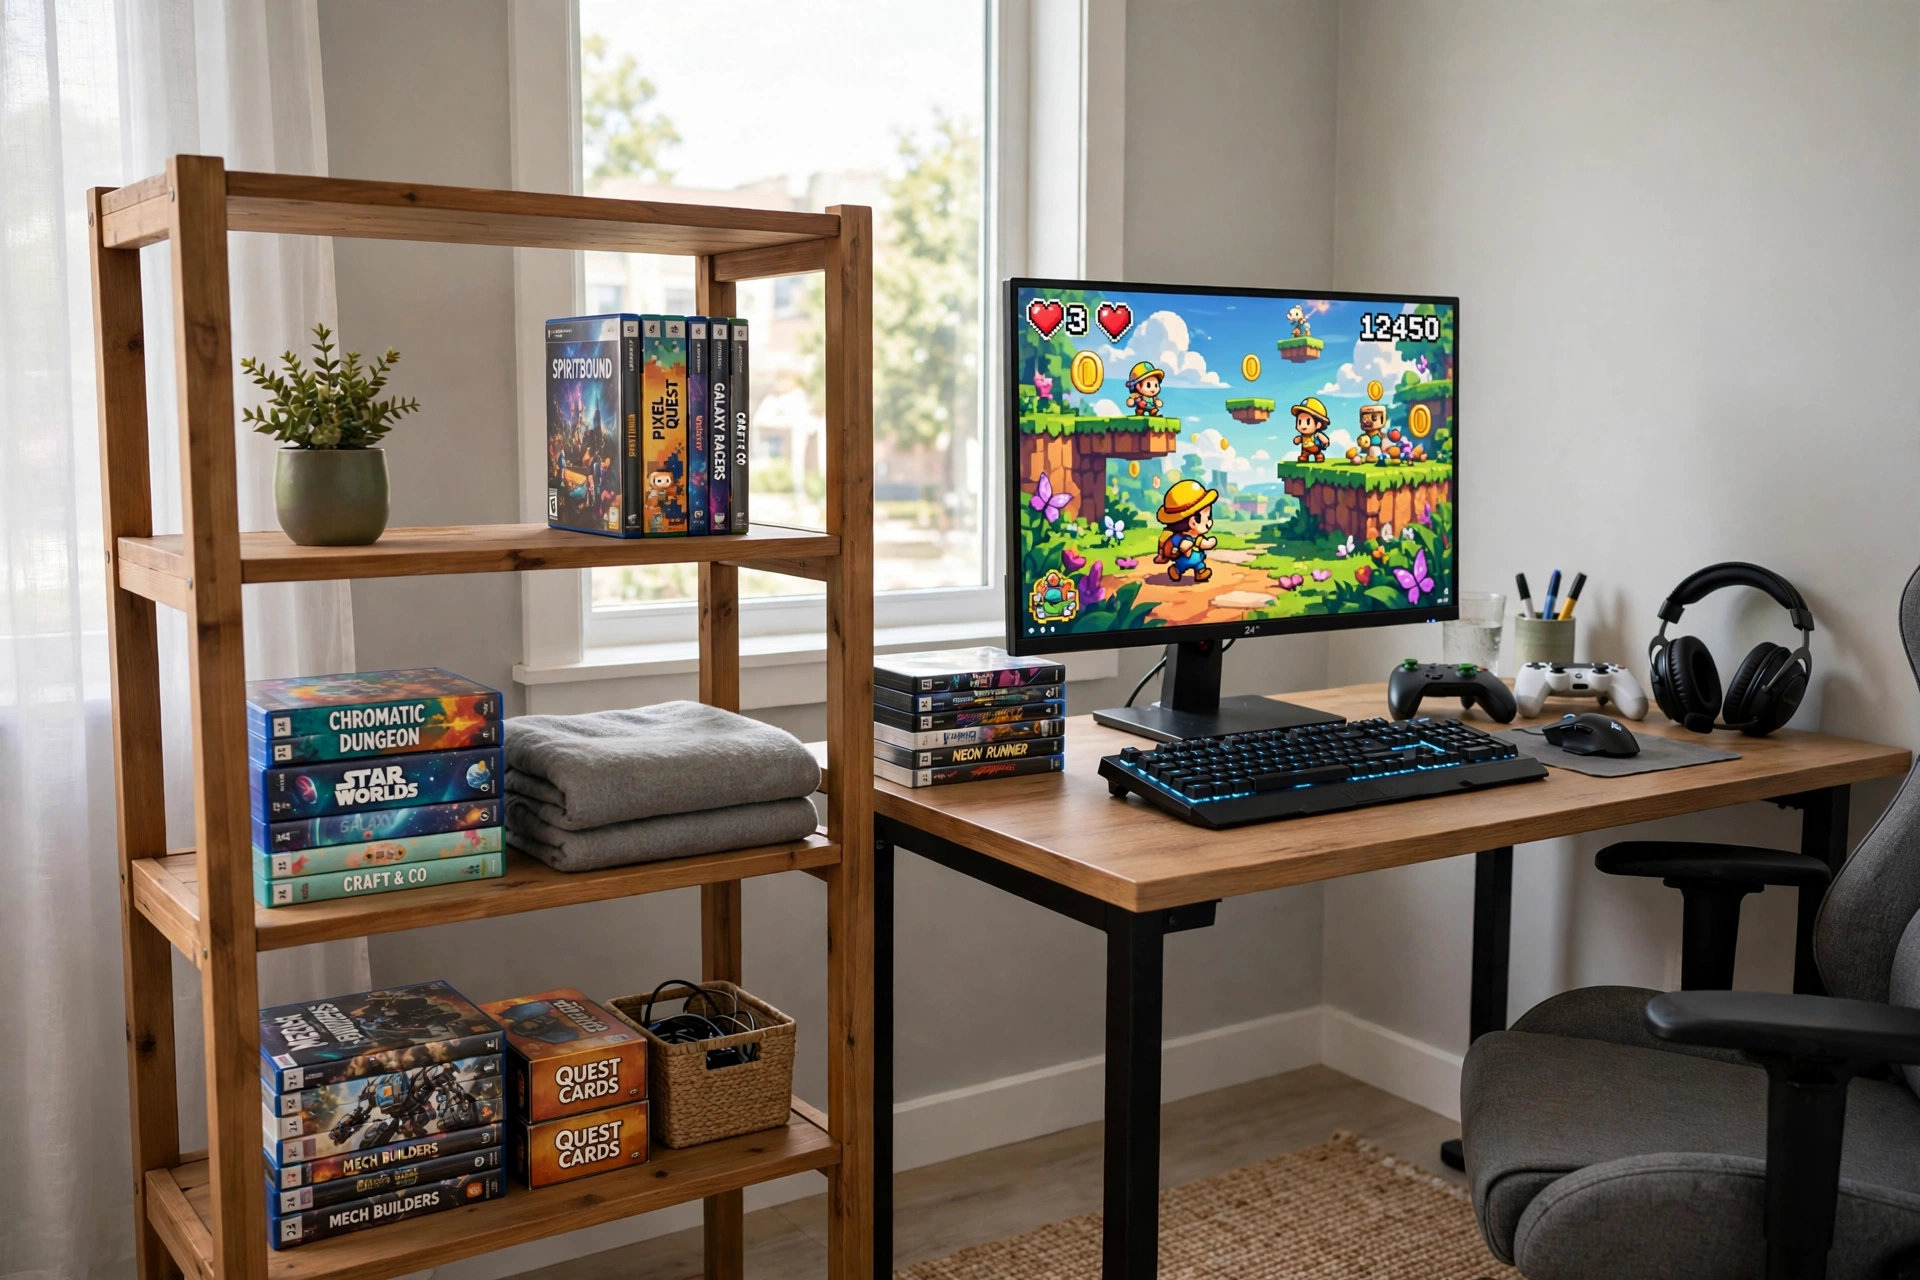
Finish with storage that stands on the floor, because a shelf you can carry out is worth more in a rental than a wall of fixed shelving you have to patch and paint. A small three-tier bookcase beside the desk holds games, controllers, headsets, and a couple of plants, and its top shelf doubles as a display for figures or a second small screen. Use bins or boxes on the lower shelves for cables, chargers, and spare controllers, so nothing loose ends up on the desk. Keep heavy items on the bottom shelf so the unit stays stable, and never use a freestanding shelf as a ladder to reach something high. Then do your move-out check while everything is still fresh: photograph every wall, the desk area, and the floor, and compare them with the photos from step 1. Peel off one test strip in a hidden corner to confirm it removes cleanly, then leave the rest in place until moving day, when you pull each strip slowly straight down, wipe the walls, and walk out with your deposit intact.
Furinno Basic 3-Tier Bookcase Storage Shelves, French Oak Grey
Why this one: The freestanding open shelf design fits beside a desk, holds up to 15 lbs per shelf, and needs no wall fixing at all.
Worth knowing: Each shelf holds 15 lbs, so keep heavy consoles and books on the bottom shelf, and it needs a flat, even floor to stand steady.
Frequently Asked Questions
Can I mount a monitor in a rental without drilling?
Yes. Use a clamp monitor arm like the one in step 3, which grips the desk edge, or a freestanding monitor riser. Both raise the screen to eye level with no holes in the wall, and both come off in seconds when you move.
Will Command strips damage painted walls?
They are designed to remove cleanly when used as directed, but paint condition matters. Clean the surface first, follow the weight limit, wait seven days after fresh paint, and pull the strip slowly straight down at move-out. Test one strip in a hidden corner first if your paint is old or flaking.
How do I hide cables in a rental?
Run all cables to one power strip under the desk, bundle them, and hold them along the desk edge with removable cord clips, as in step 4. Keep power cables and thin HDMI and USB cables in separate slim bundles, and leave a little slack at each end.
Can I soundproof a gaming room without drilling?
You can soften echo a lot without drilling. A thick rug, heavy curtains, and foam panels hung with removable strips, as in step 6, cut most of the bounce in a small room. They will not block all sound through the walls, but they make calls and game audio far clearer.
What should I photograph before I move out?
Photograph every wall, corner, skirting board, and floor area near your setup, and compare them with the dated photos you took in step 1. Pull each strip slowly straight down, wipe away any dust, and keep the photos until your deposit is returned.
Conclusion
A rental gaming room is a system, not a compromise. Measure first, pick a desk that stands on its own, clamp the screen instead of mounting it, clip the cables, stick the lights, hang the panels with removable strips, and finish with a shelf you can carry out. Do the steps in order, photograph the room before and after, and you will have a setup that looks permanent and removes in an afternoon. Start with step 1 this weekend, and your gaming room will be ready to play in long before your next game night.
