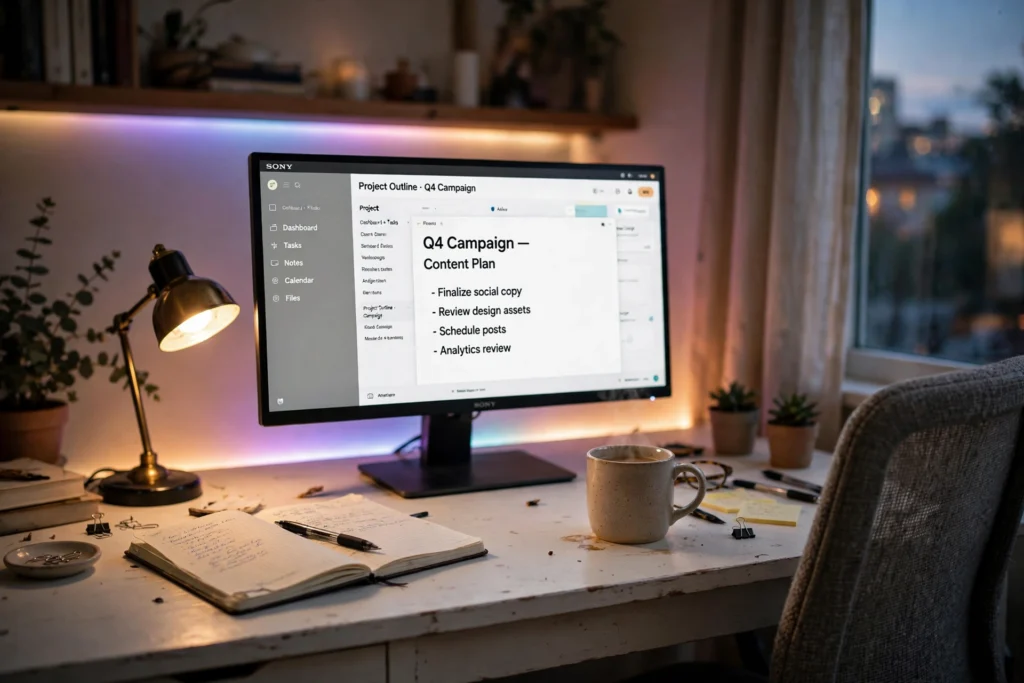
The Home Office Upgrade That Costs Under $20
By Maya Bennett, Founder & Editor. Some upgrades ask for a new desk, a new chair, or a whole weekend of building. This one asks for about twenty minutes and one small box. A USB LED strip stuck behind the monitor changes how the whole desk looks and feels after dark, and the strip itself costs under $20. The rest of the setup in this guide is the desk I already had, so the upgrade is the only new thing here. For more room ideas, browse the Home Office Ideas collection on desk and glow.
As an Amazon Associate I earn from qualifying purchases. Read our affiliate disclosure for details.
In this guide
The upgrade setup
Where to put the strip
What changes after you add it
What to pair it with
Mistakes to avoid
FAQ
Conclusion
At a glance
| Part | What it is | Why it matters |
|---|---|---|
| The upgrade | USB LED strip behind the monitor | The one new buy, under $20 |
| Placement | Along the back edge of the monitor | The glow lands on the wall, not in your eyes |
| The change | A soft wash of light in the evening | The desk looks finished after dark |
| Pairings | A lamp, a tray, a tidy cable run | Small things that keep the glow clean |
| Mistakes | Wrong size, dusty surface, loose cables | Three easy fixes before you stick anything down |
One honest note before we start: only the LED strip itself costs under $20. The desk, chair, and lamp in the setup below are the ordinary pieces of a working home office, not part of the upgrade price.
■ The upgrade setup: a desk that glows after dark
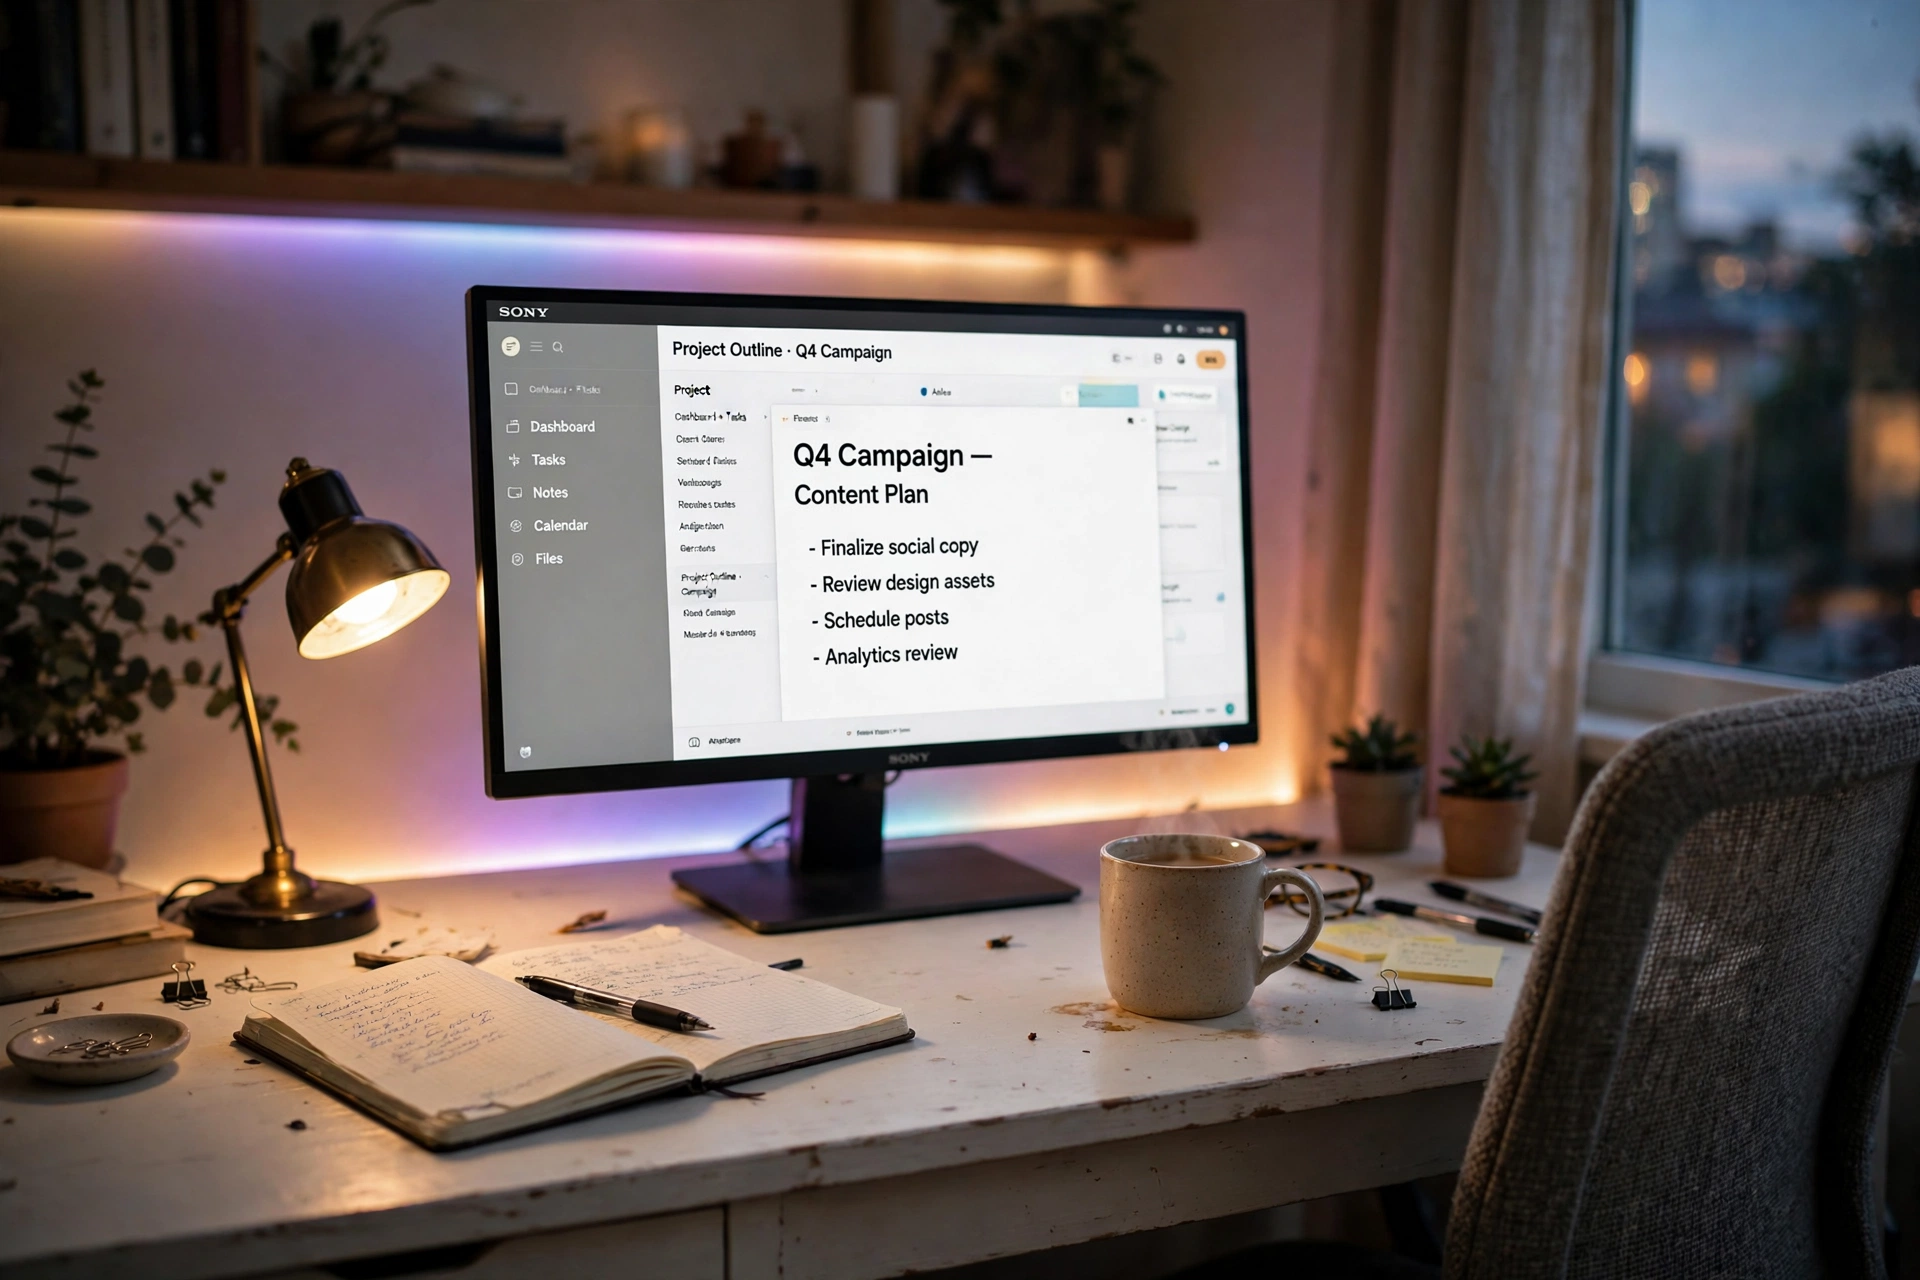
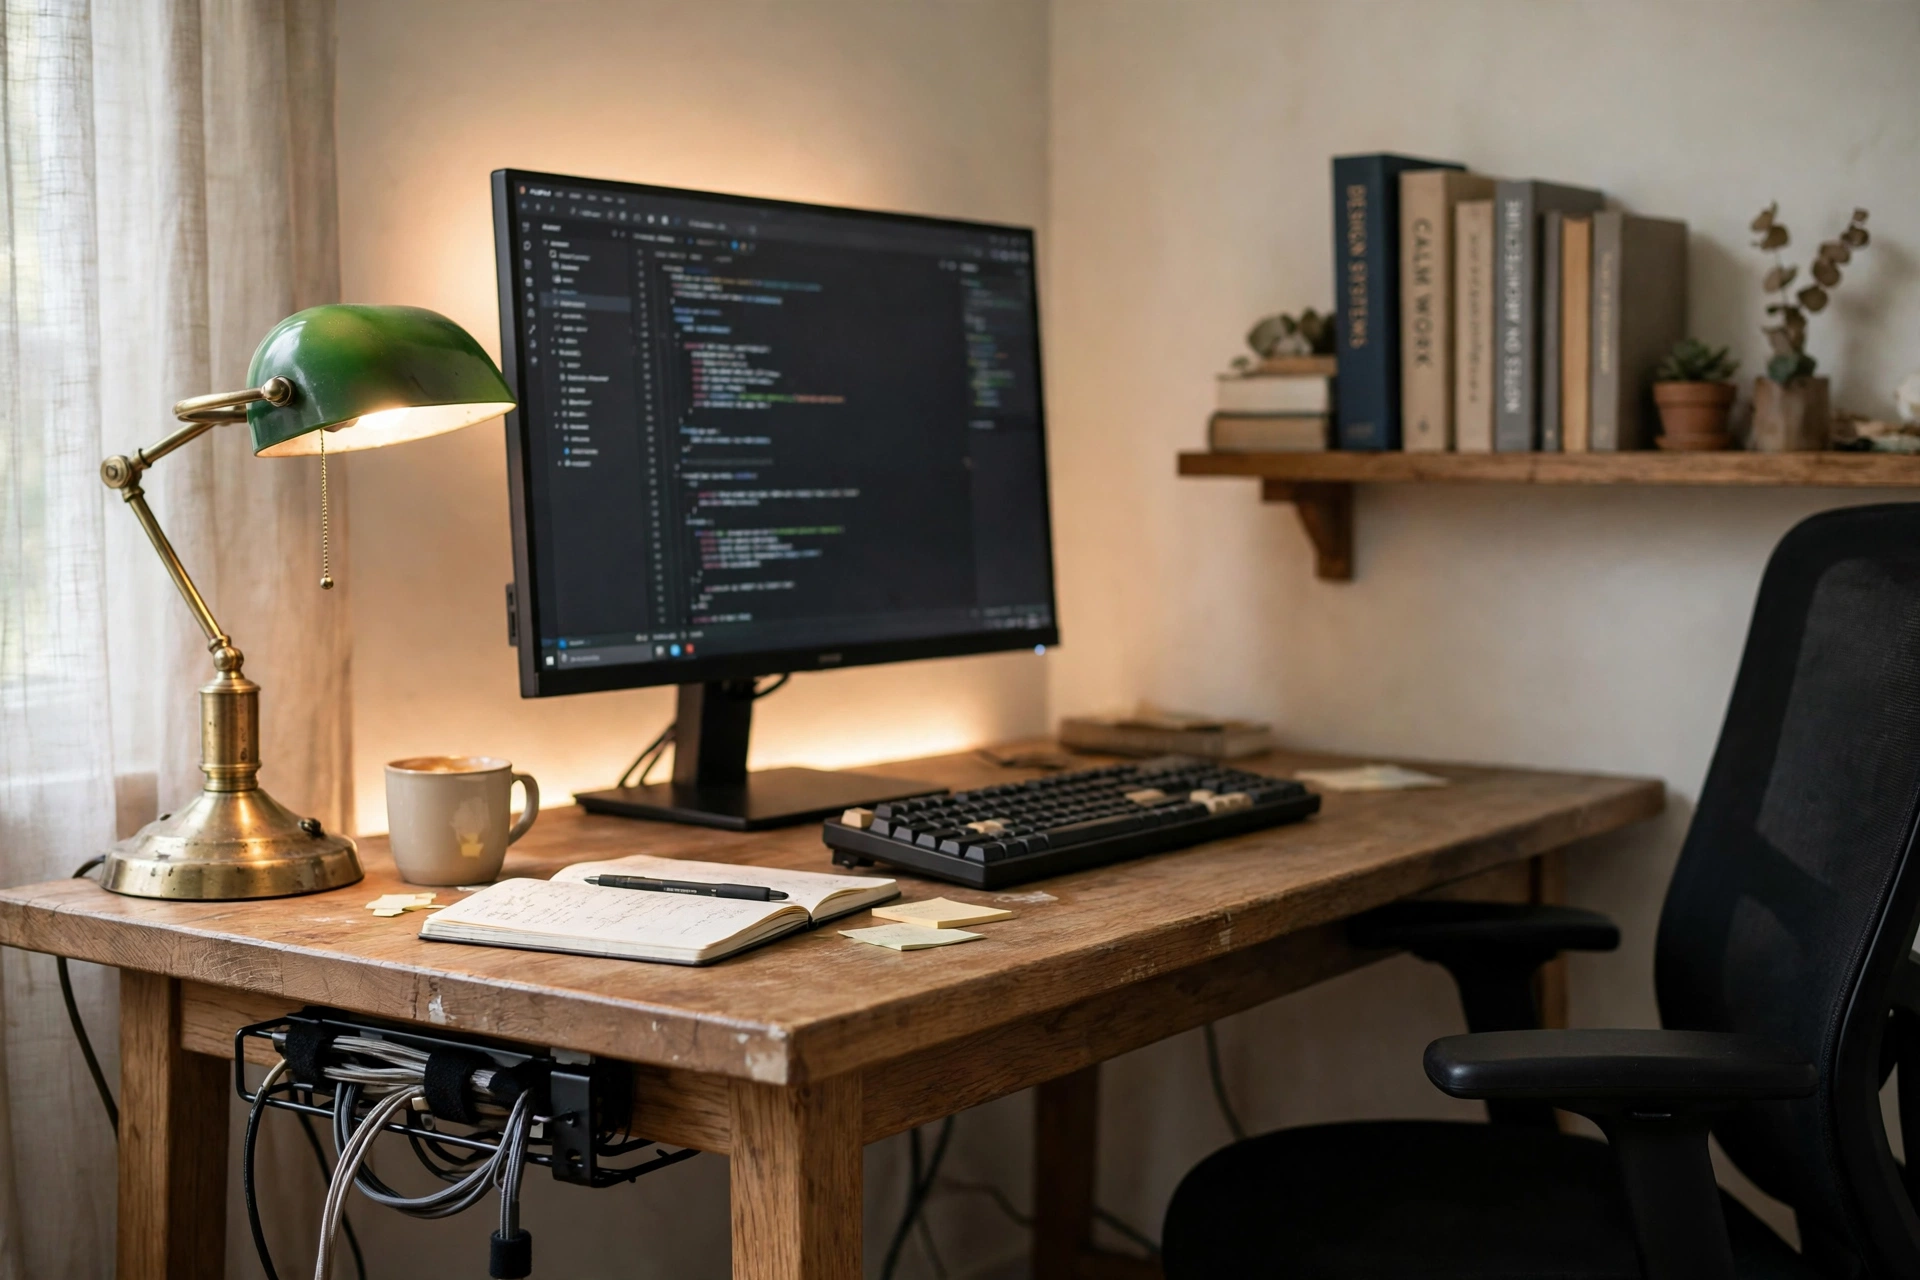
This is a plain desk that got one small addition, and that addition does most of the talking. A USB LED strip runs along the back of the monitor, and in the evening it throws a soft wash of color onto the wall behind the desk. The monitor sits at eye level on a white 55 inch desk, a padded light gray chair waits in front of it, and a warm wood lamp stands at the left end for reading and paperwork. A notebook and a mug live on the right, where they are easy to reach without covering the keyboard.
Storage stays simple. A small tray under the desk holds the power strip, and the strip cable runs down the back of the desk leg, out of sight. The LED strip plugs into the monitor USB port, so it turns on and off with the screen, and there is no extra plug to hunt for behind the desk. Nothing here was rearranged for a photo. The strip is the only new piece, and the rest of the desk is the same desk it was yesterday.
THE UPGRADE
phopollo LED Lights for TV, 15Ft TV LED Backlight, LED Strip Lights for TV 65-75 inch, Bluetooth Color Changing LED TV Lights, App Control, USB Powered
Why this one: A USB powered strip with app and remote control that fits behind a monitor or TV, with shorter sizes for smaller screens.
Worth knowing: The 15 foot length suits a large screen, so pick a shorter size for a small monitor, and wipe the back of the monitor first so the adhesive holds.
THE DESK
Tribesigns Computer Desk, 55 inch Large Office Desk, White
Why this one: A wide white desk that gives the monitor, the lamp, and a notebook room to sit side by side without crowding.
Worth knowing: White tops show pen marks and coffee rings, so keep a desk mat under the writing area.
THE CHAIR
Serta Ashland Home Office Desk Chair, Light Gray
Why this one: A padded light gray chair that looks calm beside a white desk and suits long sits.
Worth knowing: Light fabric shows marks, so keep pens and coffee on the desk, not the chair.
THE LAMP
efind Warm Table Lamp with USB Charging Ports and AC Outlets, Wood, 1-Pack
Why this one: A warm wood table lamp with USB charging ports and AC outlets in the base, so it lights the desk and charges a phone at once.
Worth knowing: The wood base shows dust, so wipe it when you wipe the desk.
■ Where to put the strip
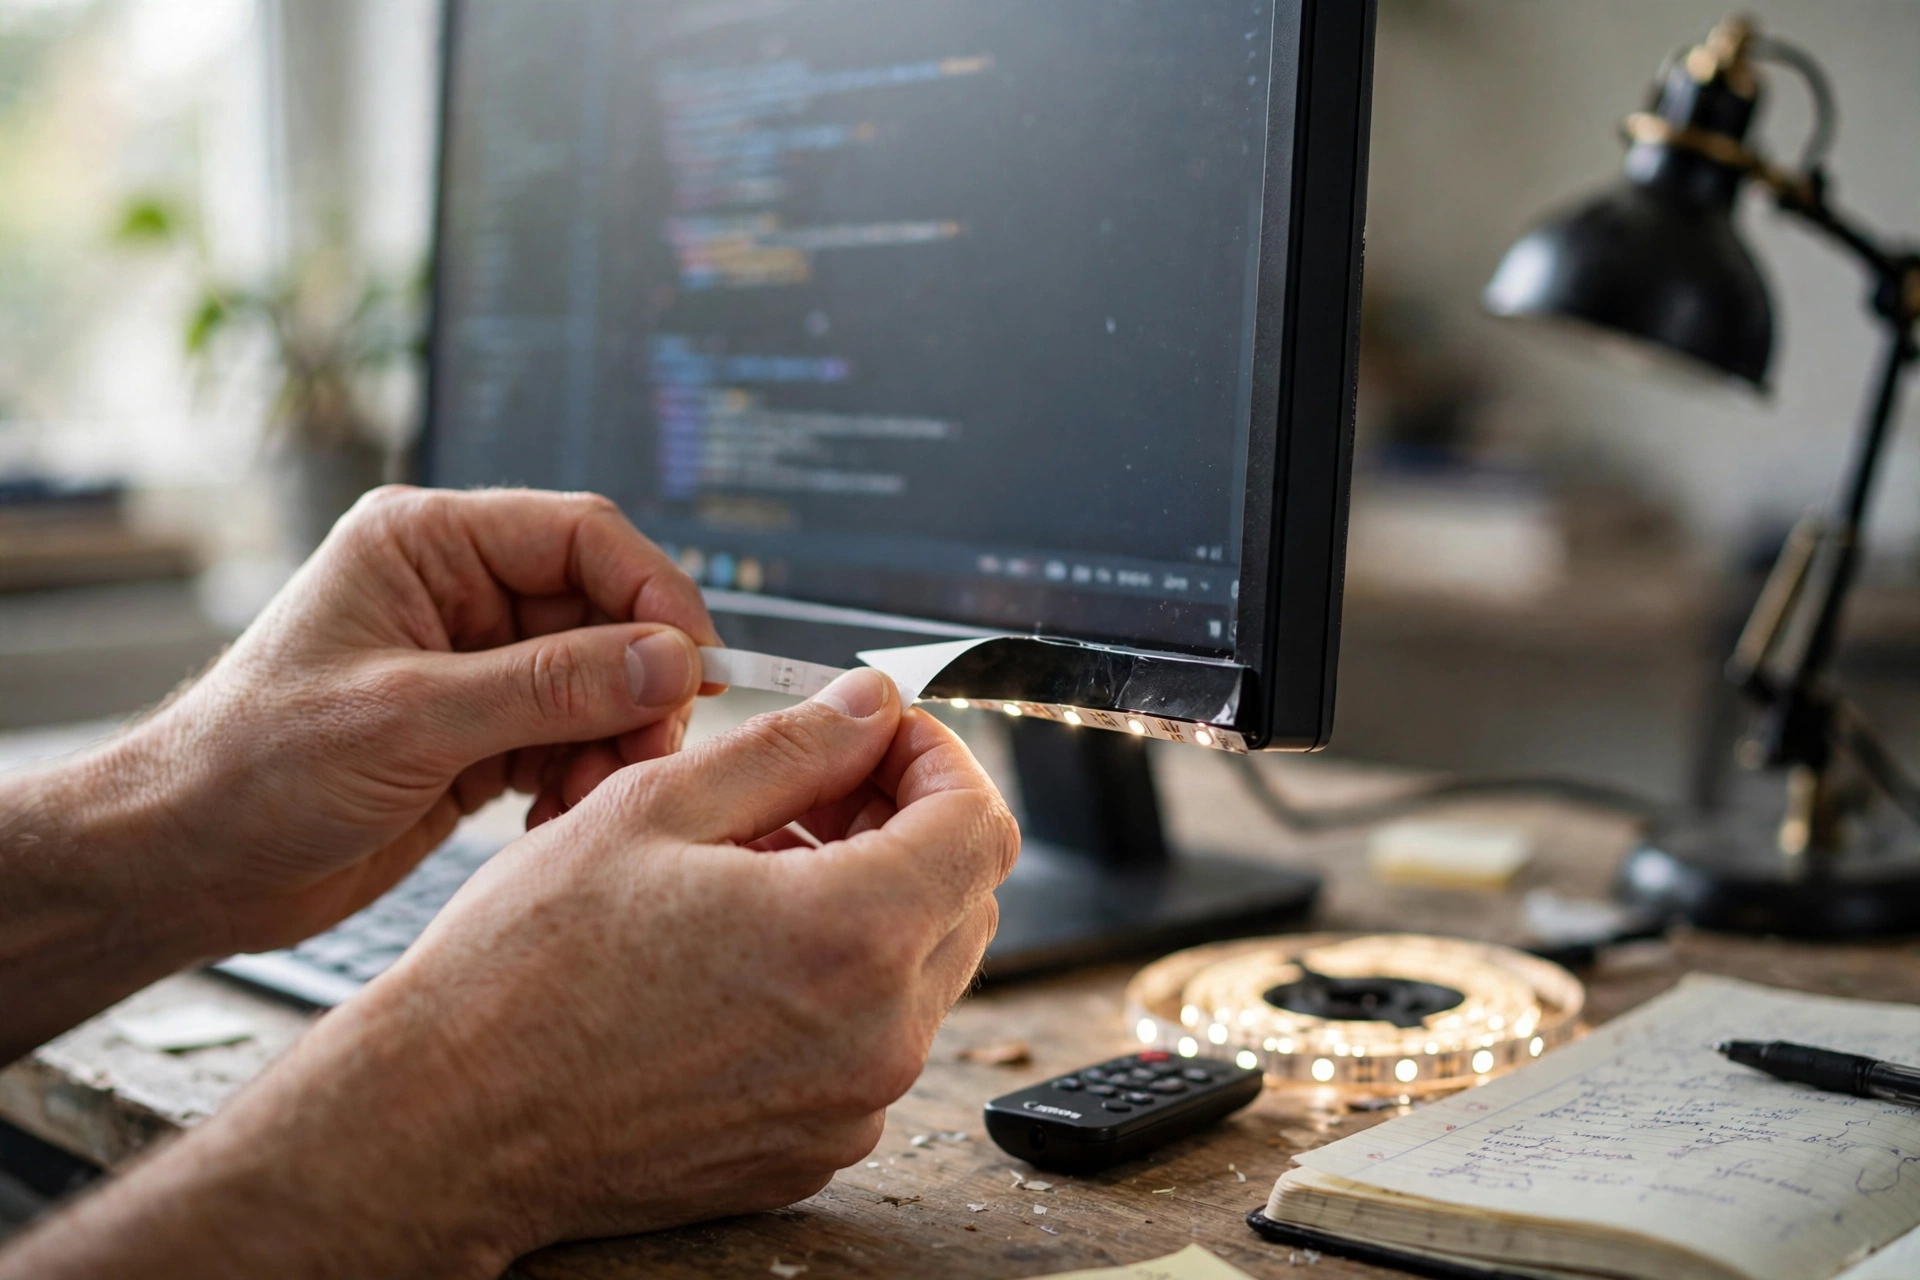
Stick the strip along the back edge of the monitor, about an inch in from the rim, so the light spills onto the wall instead of shining straight at you. Run it across the top and down both sides, and leave the bottom edge clear, since light from the bottom edge lands on the desk and shows every speck of dust. Press each section down for a few seconds as you go, and do not stretch the strip around the corners. A gentle bend holds better than a sharp fold.
- Wipe the back of the monitor with a dry cloth and let it dry.
- Test the strip first, before you peel any backing.
- Start at the top center and work outward to the sides.
- Plug the USB end into the monitor port and check the glow.
If the monitor sits close to the wall, the glow will look stronger and more even. If there is a big gap, pull the desk a little closer or pick a warmer color, which reads softer across a distance. Either way, test it in the evening, when the room is dim enough to judge the real effect.
■ What changes after you add it
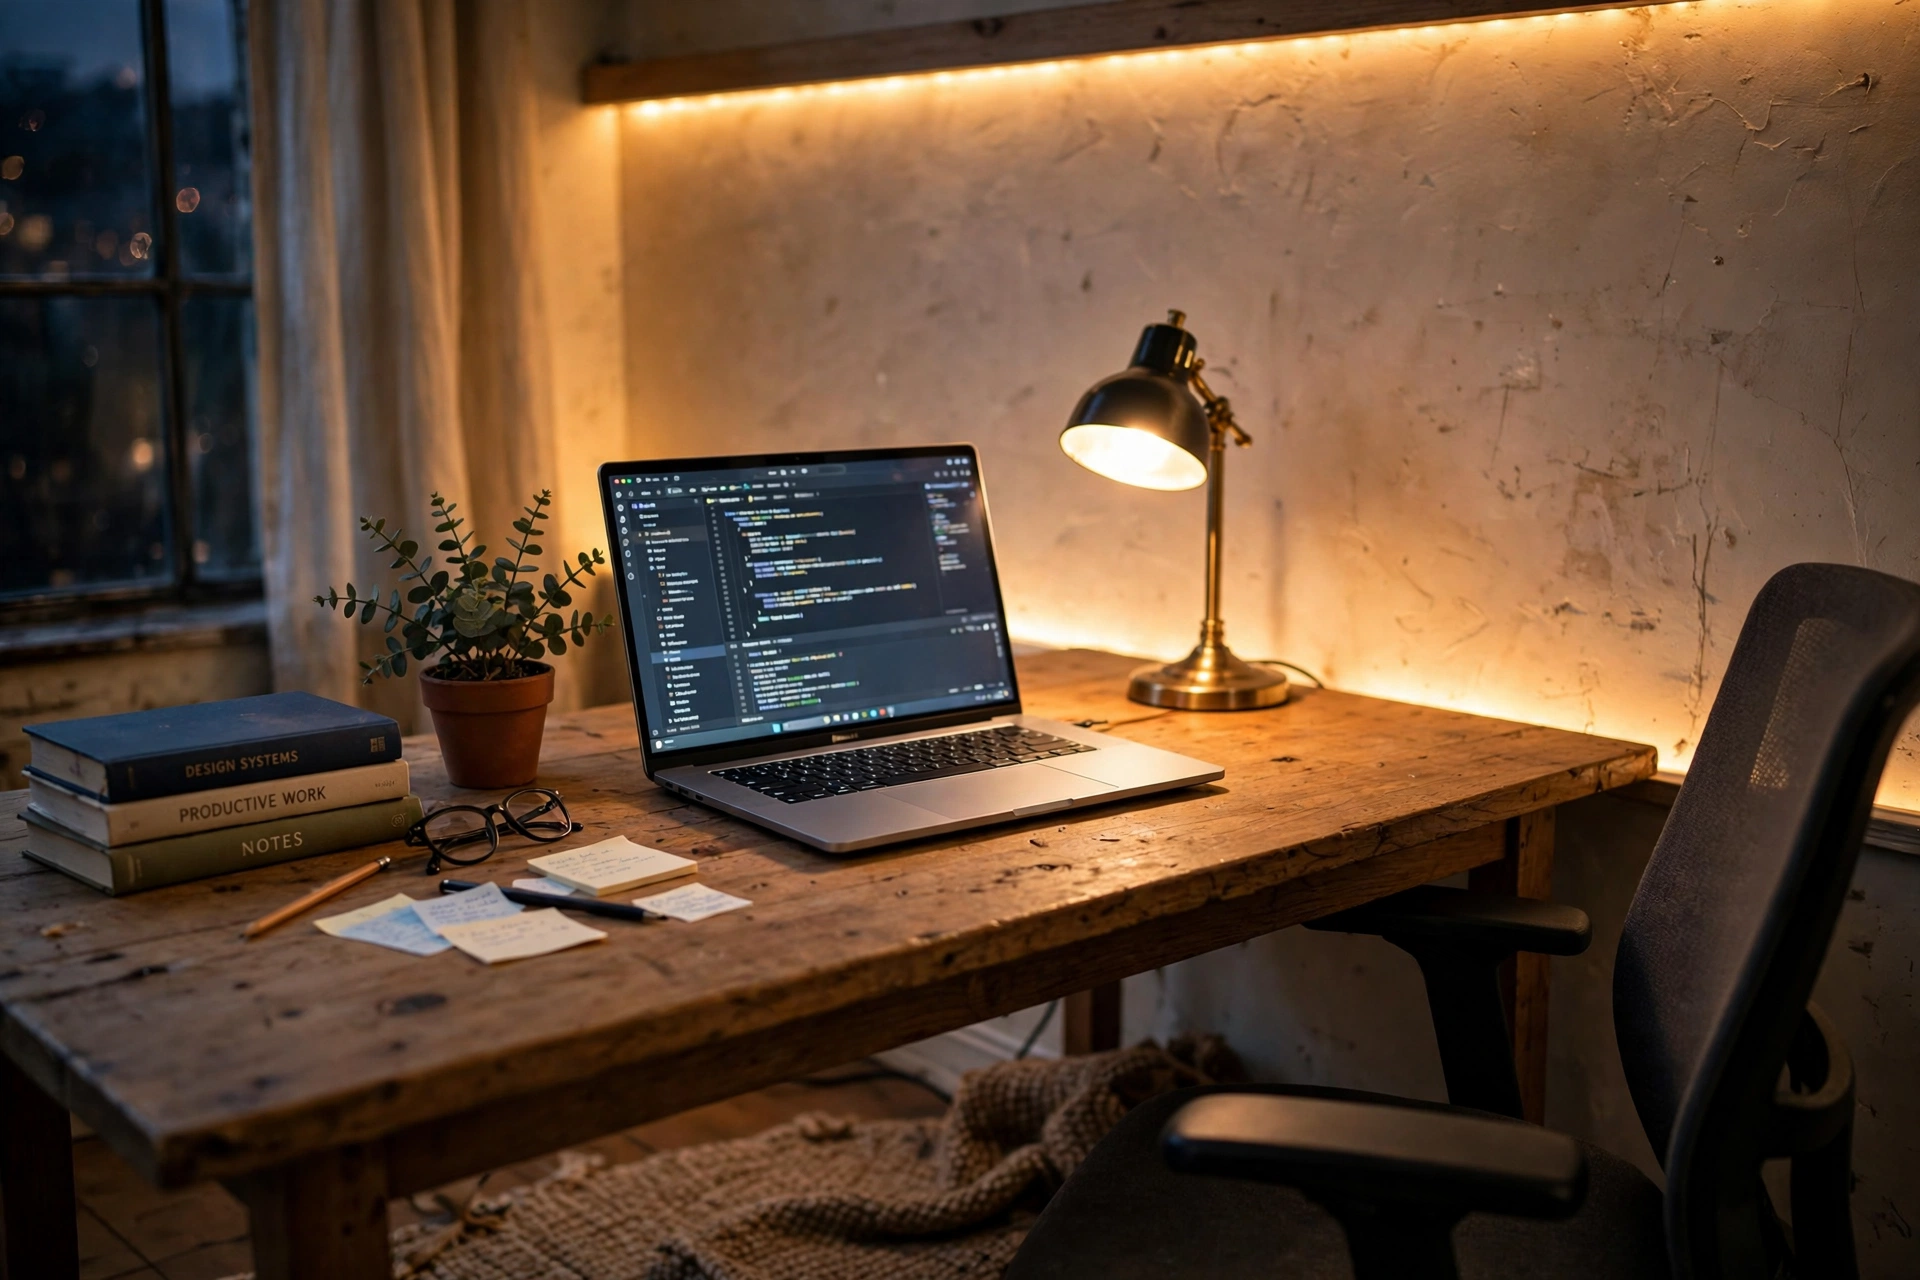
The first thing you notice is that the desk stops looking like a bright screen floating in a dark room. The glow behind the monitor softens the edge between the screen and the wall, and the whole corner feels finished, like the room was planned instead of assembled. It is a small change, but you see it every time you sit down in the evening, which is more than most upgrades can say.
The second change is practical. With the strip on, you can keep the desk lamp low or off during video calls, and the wall behind you reads as a calm background instead of a dark hole. Pick one steady color for work hours and save the color changing modes for the end of the day. A warm white or soft blue works well on camera, while fast flashing modes distract everyone on the call.
Try this: Set the strip to a warm white for work, then switch to a color you like when the workday ends. The desk becomes a signal that the day is done.
■ What to pair it with
The strip works on its own, but three small things make it look better. A desk lamp gives you light for paper and reading, since the strip lights the wall, not the desk. A cable tray or a few clips keep the strip cable and the monitor cable running together down the back of the desk, so no loose wire hangs in the glow. And a plain wall behind the monitor shows the color best, so move the busy poster or the crowded shelf to the side wall if you can.
- A warm desk lamp for reading and paperwork.
- A cable tray or clips to keep wires out of the glow.
- A clear stretch of wall behind the monitor.
- A remote or app preset saved to your usual color.
You do not need to buy all of these at once. Start with the strip, live with it for a week, and add the piece that solves the annoyance you actually notice. For most desks, that annoyance is a loose cable, not a missing lamp. For more small desk ideas, browse the Home Office Ideas collection.
■ Mistakes to avoid
The most common mistake is ordering the wrong length. Measure the back of the monitor first, then pick the size that covers the top and sides with a little to spare. A strip that is too long bunches up at the corners, and a strip that is too short leaves a dark gap on one side. The second mistake is sticking it to a dusty monitor back. Wipe it first, and the adhesive will hold for months instead of days.
The third mistake is brightness. Running the strip at full brightness in a small room looks harsh, and the color washes out the wall. Start at about half brightness and turn it up only if the room still looks dark. And keep the strip off the front of the monitor. Light that points at your face is tiring, while light that points at the wall is the whole point.
■ Frequently asked questions
Does the strip work with any monitor?
Yes, if the monitor has a flat back edge for the adhesive and a USB port for power. If the monitor has no free USB port, use a phone charger plug or a USB port on the computer instead.
How long does it take to install?
About twenty minutes, including wiping the monitor back and testing the strip before you stick it down. Most of that time is measuring and testing, not the sticking itself.
Will it use much power?
A USB LED strip draws a small amount of power, similar to charging a phone slowly. Plugged into the monitor USB port, it runs only while the monitor is on.
Can I cut the strip to fit my monitor?
Most strips can be cut only at marked cut points, so check the listing for the cut marks before you cut. If in doubt, pick the shorter size instead of cutting.
What if the adhesive comes loose?
Clean the spot, let it dry, and press the strip back down. Small clips or a few dots of mounting tape hold a loose section without replacing the whole strip.
Does the whole setup cost under $20?
No. Only the LED strip upgrade itself costs under $20. The desk, chair, and lamp are the regular pieces of a home office and are priced separately, so check each listing before you buy.
■ Conclusion
A home office does not always need a big change. One USB LED strip behind the monitor, fitted in twenty minutes, gives the desk a finished look after dark and a calmer background on calls. Measure the monitor, wipe the back, start at half brightness, and keep the cables tidy, and the upgrade will look like it was always part of the room. For more ideas to shape the rest of your workspace, browse the Home Office Ideas collection.
