How to Set Up a Home Office on a Budget
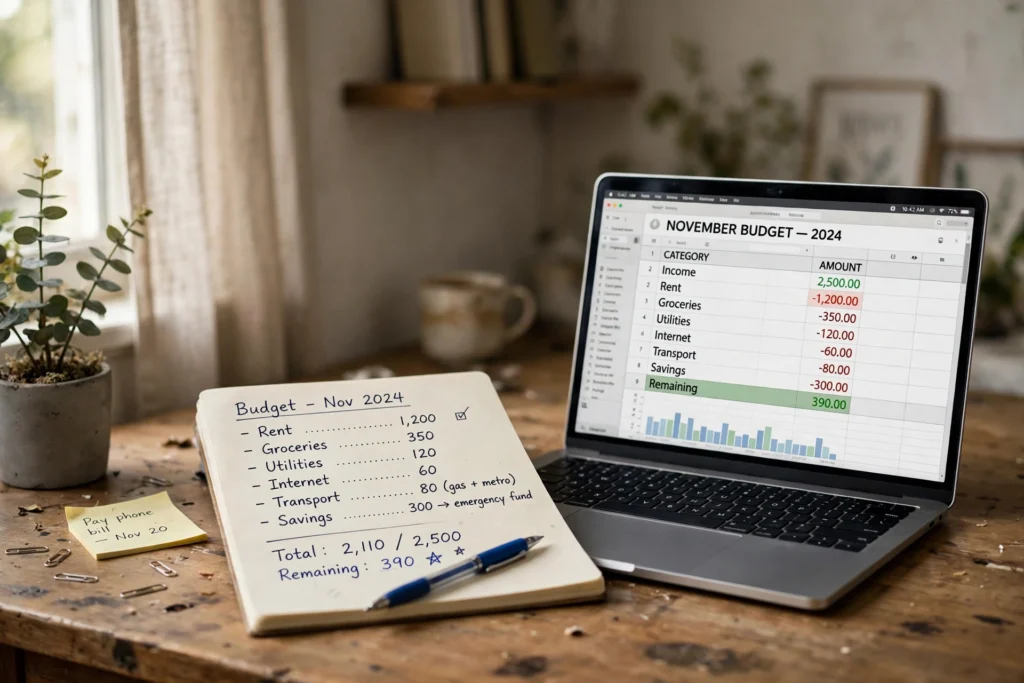
A home office on a budget is built in the right order, not bought all at once. Start with a number you can live with, measure the space you actually have, then spend on the pieces that touch your body and your screen first. The rest can wait, and a lot of it can come from things you already own. This guide walks through seven steps, from budget to tidy cables, so the setup works on day one and can grow later. Browse more room ideas in the Home Office Ideas collection on desk and glow.
As an Amazon Associate I earn from qualifying purchases. Read our affiliate disclosure for details.
In this guide
1. Set a budget and measure
2. Pick a budget desk
3. Pick a budget chair
4. Add a monitor riser
5. Add affordable lighting
6. Add budget storage
7. Tidy power and cables
FAQ
Conclusion
At a glance
| Step | What it does |
|---|---|
| 1. Set a budget and measure | Fixes the limit before any shopping |
| 2. Pick a budget desk | Gives you a steady work surface |
| 3. Pick a budget chair | Keeps sitting comfortable all day |
| 4. Add a monitor riser | Lifts the screen to eye level |
| 5. Add affordable lighting | Brightens the desk for evening work |
| 6. Add budget storage | Keeps supplies close but out of the way |
| 7. Tidy power and cables | Makes the finished setup safe and calm |
Step 1. Set a budget and measure the space
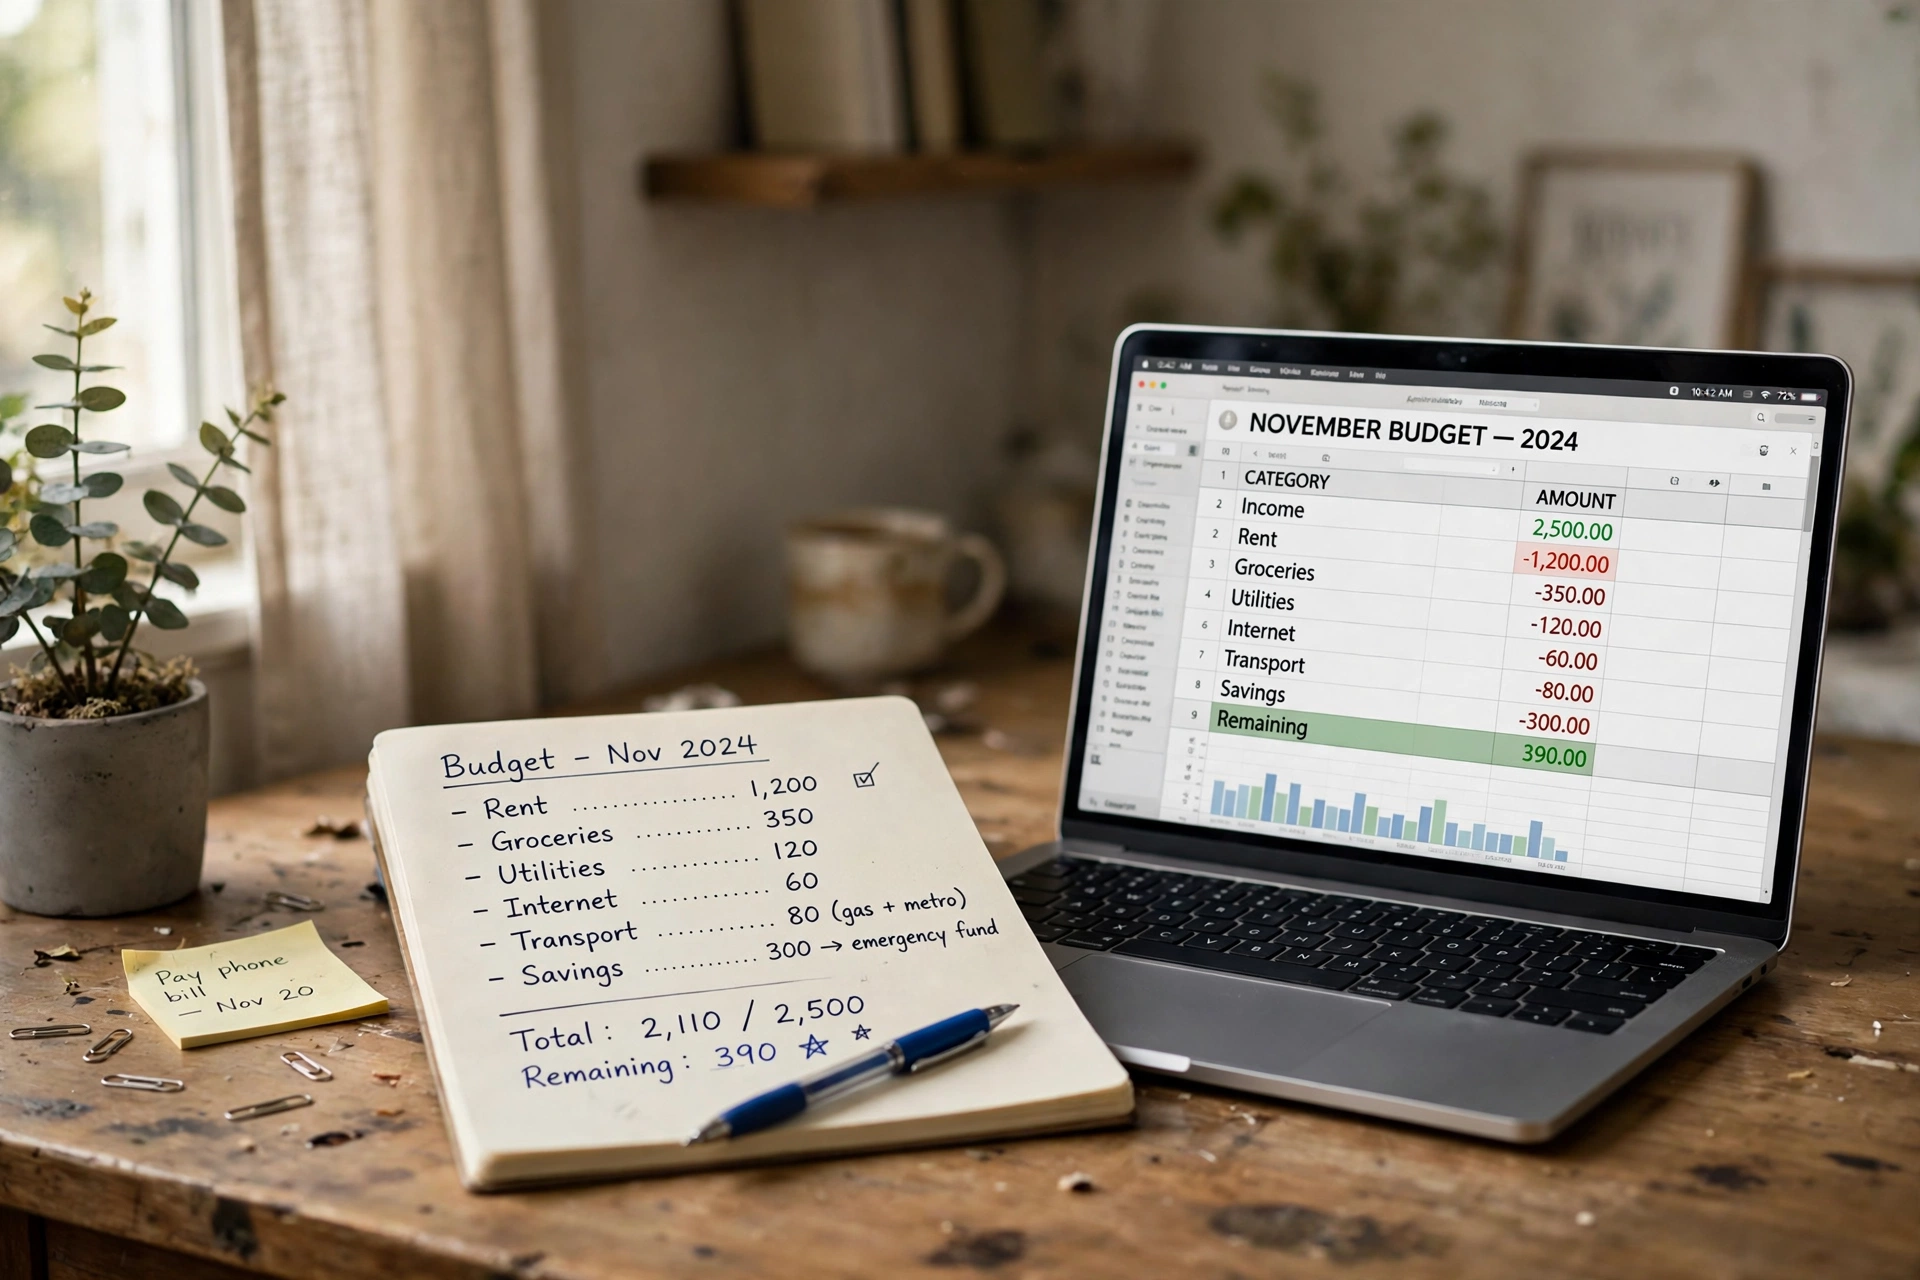
Write down one total number for the whole setup before you look at a single product. Split it into three parts: desk, chair, and everything else. The desk and chair take most of the money, because they are the pieces you touch all day. Then measure the space with a tape measure, not by eye. Note the width of the wall, the depth you can spare, and where the nearest power socket sits. A desk that is two inches too wide will not fit, and no bargain fixes that.
- Set one total budget and split it: desk, chair, everything else.
- Measure width, depth, and the distance to the nearest socket.
- Check the chair can pull out and you can still walk past.
- Leave a small amount unspent for cables, hooks, or a lamp bulb.
Step 2. Pick a budget desk
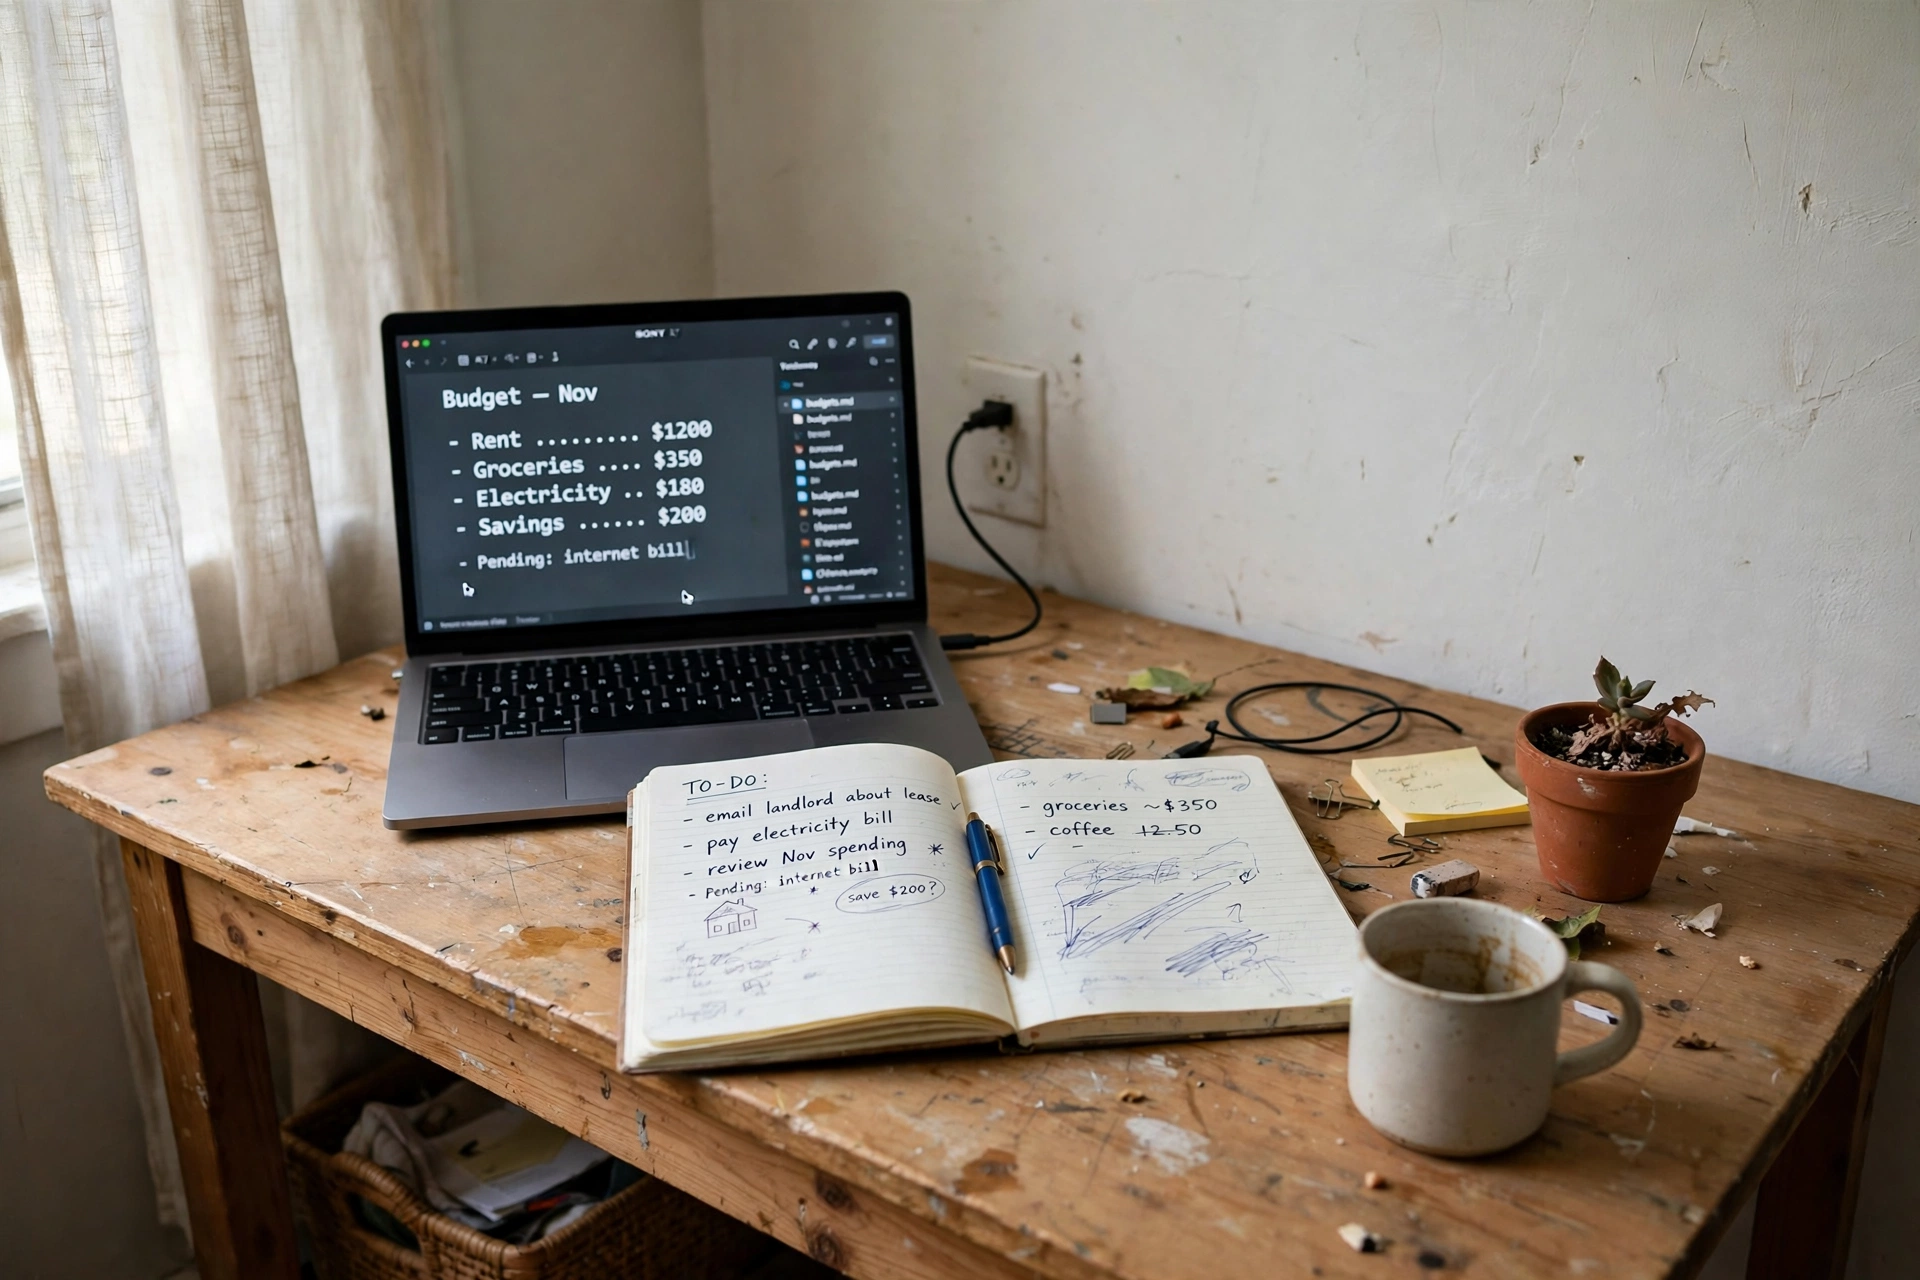
A budget desk needs to do three things: hold your screen and keyboard, stay steady when you type, and fit the space you measured in step one. A plain writing desk does that well. Skip drawers and extras at this stage, because they add cost and take up legroom. Check the desk depth before you buy, since a shallow top leaves no room for a keyboard in front of a laptop. If the desk wobbles, tighten every bolt and push it against a wall, which steadies most light desks straight away.
Step 3. Pick a budget chair
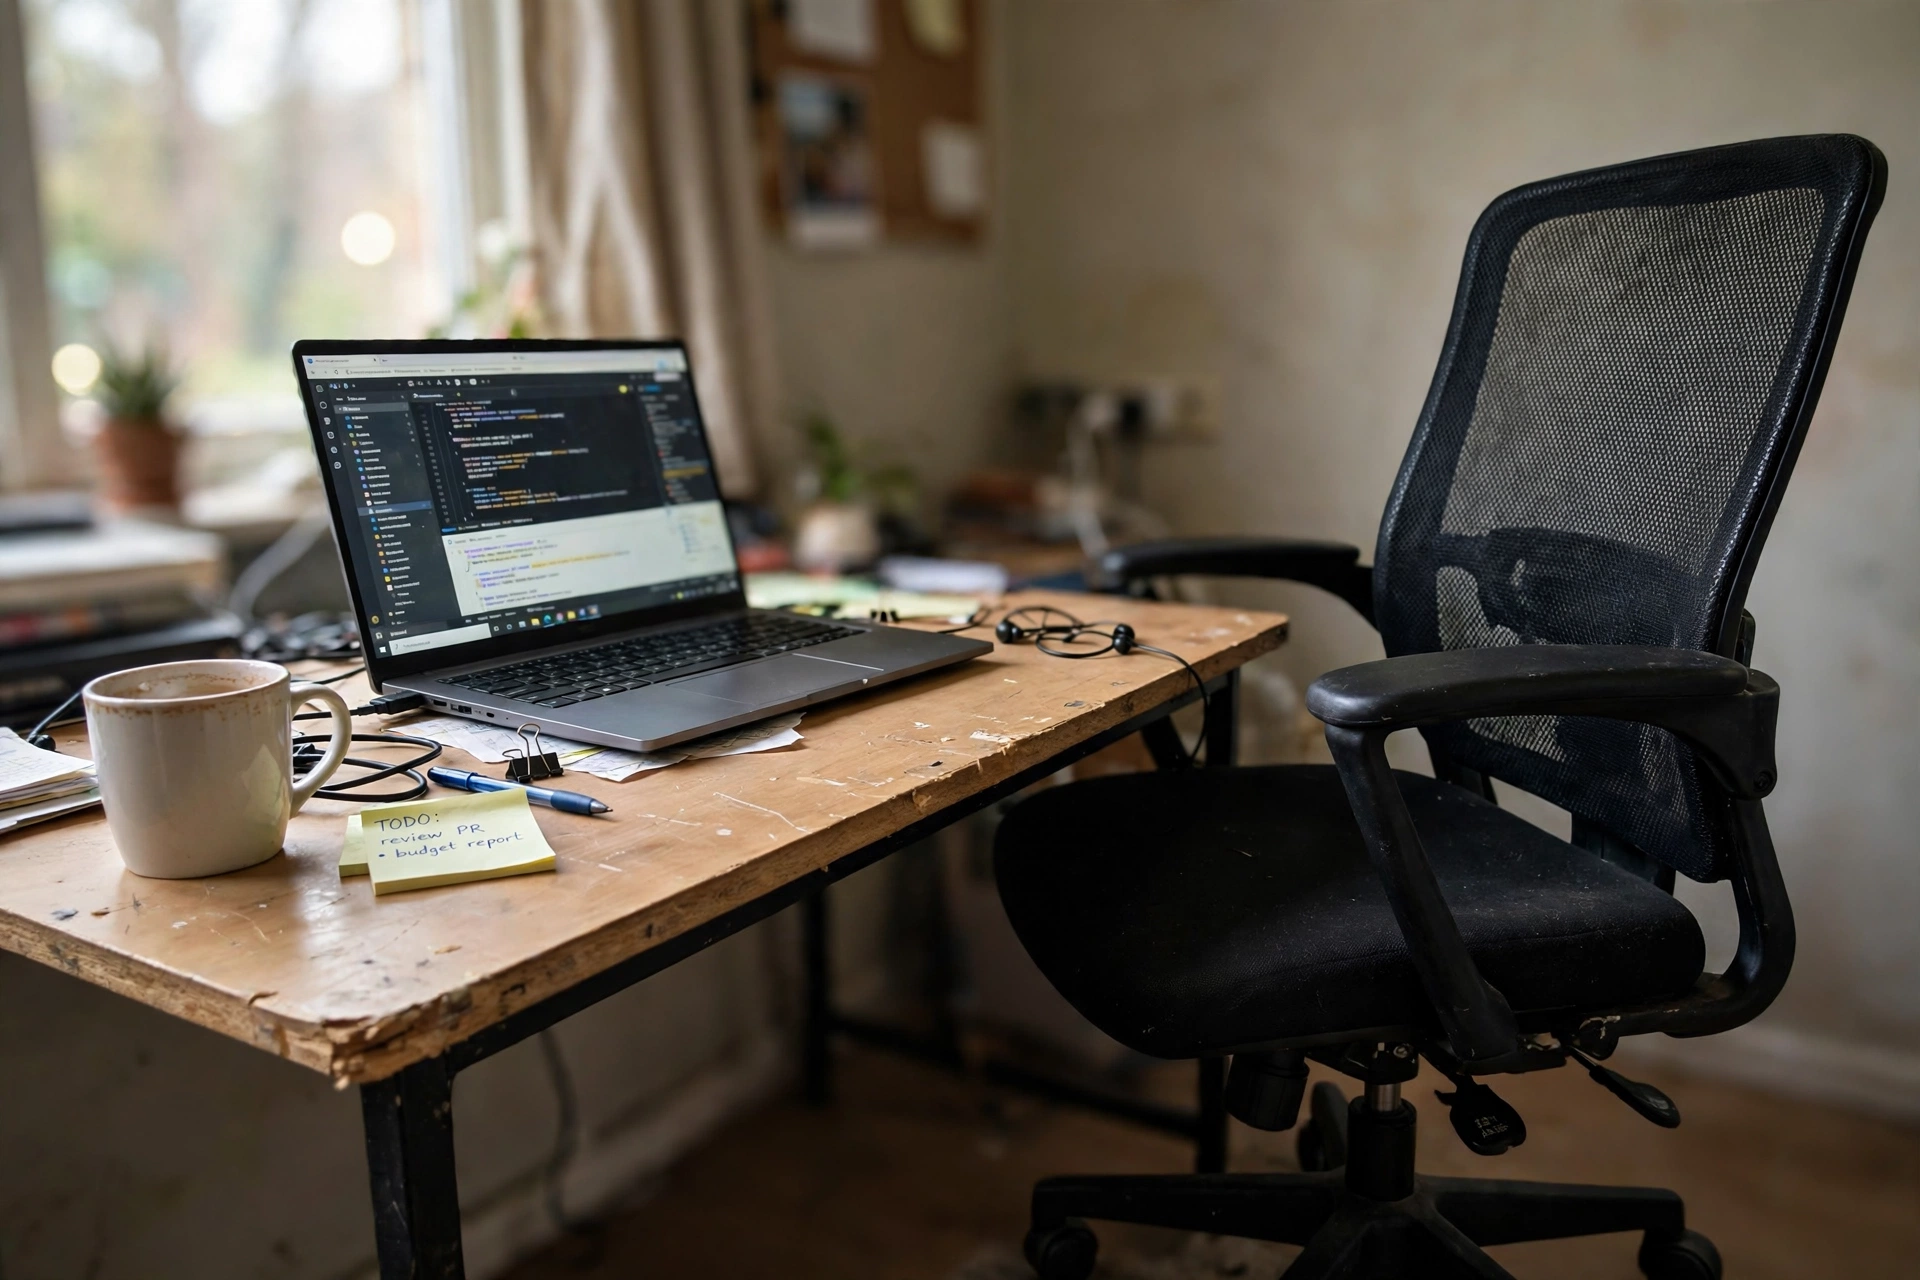
Spend the biggest share of the chair budget on adjustability, not on looks. Height adjustment matters most, because your feet should rest flat while your elbows sit near desk height. A mesh back helps on warm days, and lumbar support keeps long sessions easier to sit through. Sit in the chair at the desk before you decide, even if that means a quick test at a store. If the seat is too deep, a small cushion behind your back closes the gap for very little money.
Step 4. Add a monitor riser
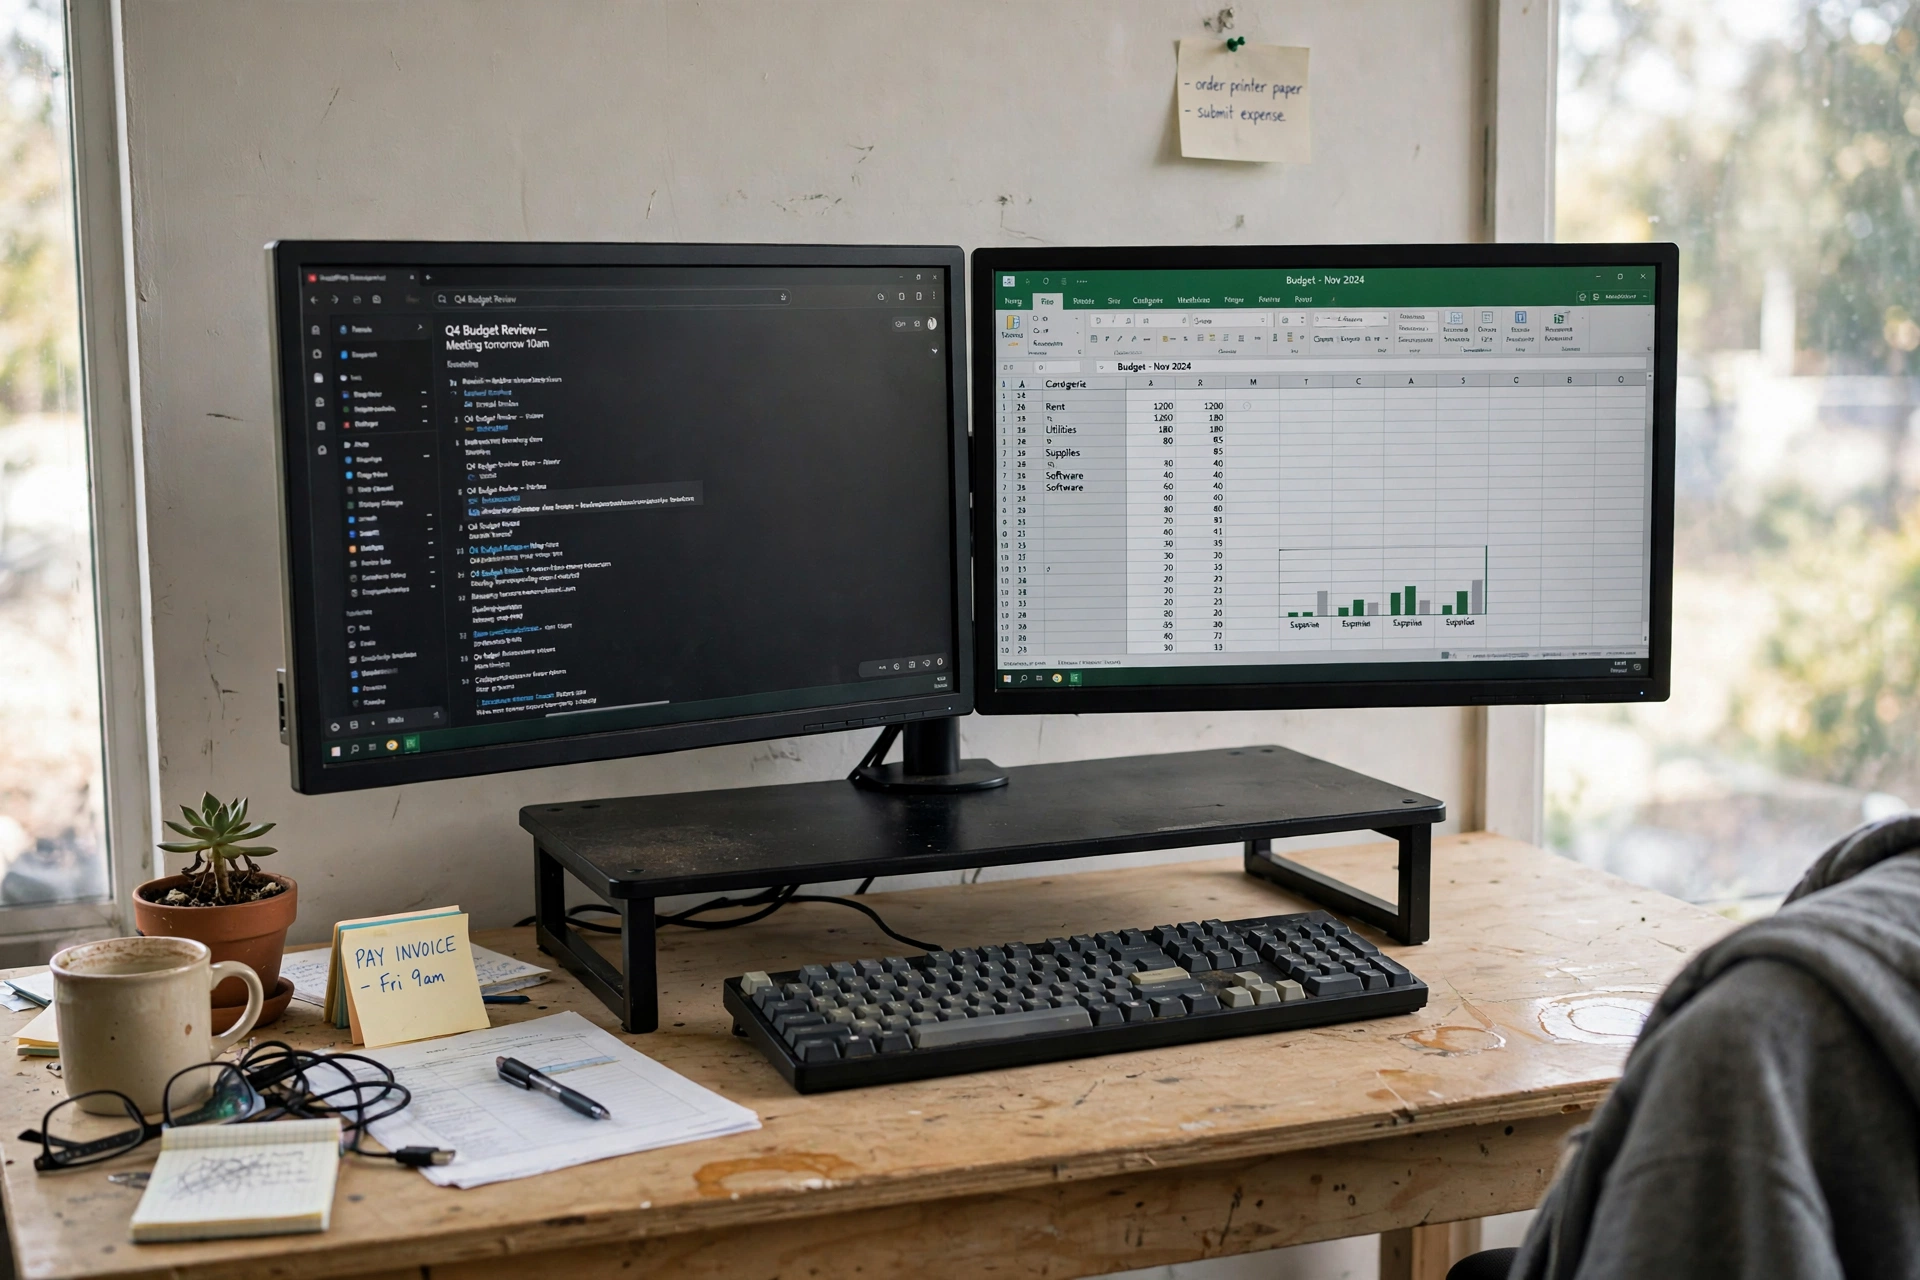
A screen that sits too low pulls your head down all day. A riser lifts it to eye level, and the space underneath holds a keyboard, a notebook, or a phone when you are not using them. A dual riser also works for one monitor and a laptop side by side, which is a cheap way to get a second screen feel without buying a second monitor. Measure your screens before you order, because a riser that is too narrow will not hold both. Books can stand in for a week, but a proper riser is steadier and tidier.
Step 5. Add affordable lighting
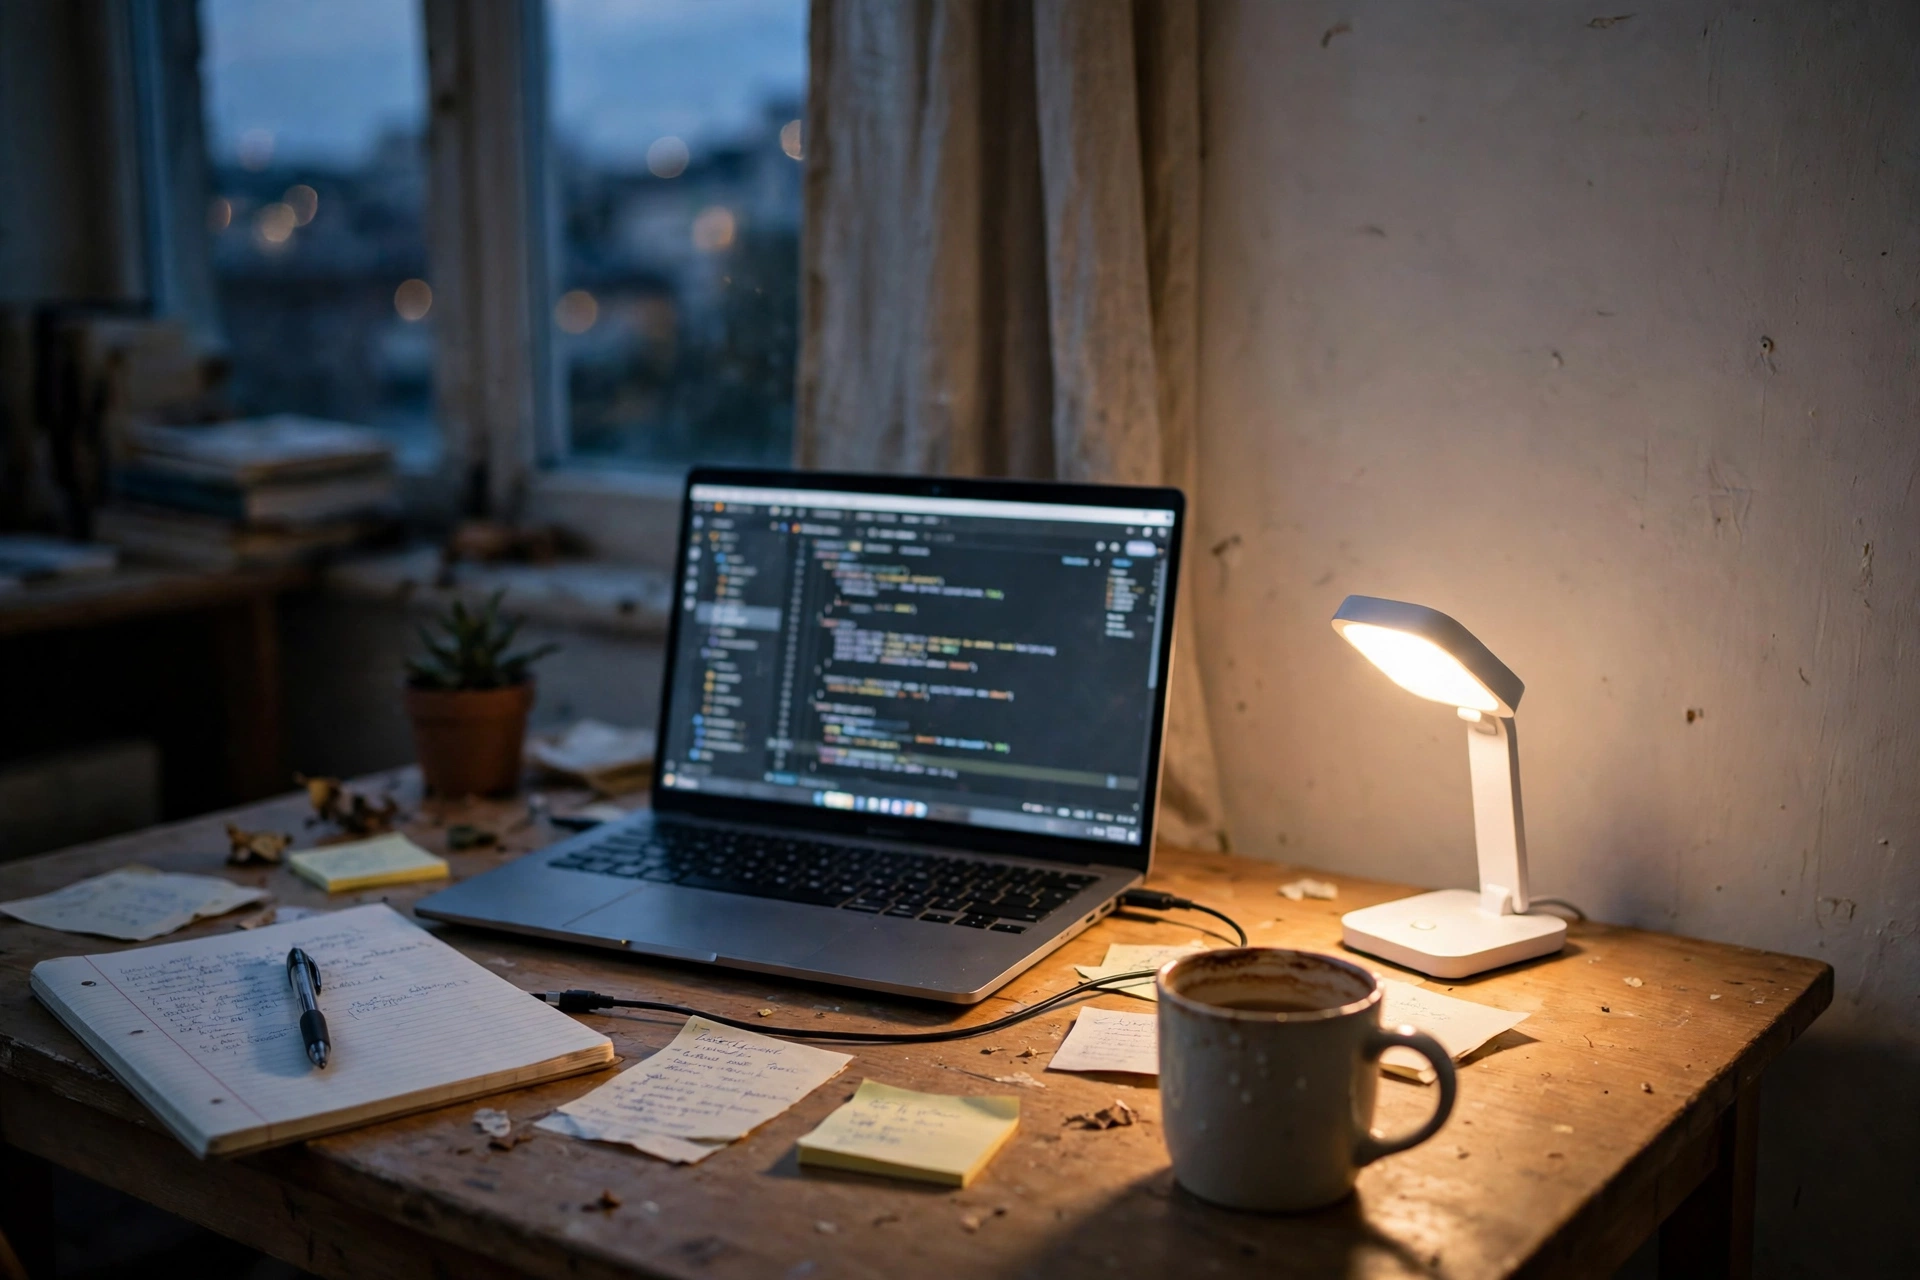
Good light does not need to be expensive. Place the desk near a window for daylight, then add one small desk lamp for evenings and cloudy days. Put the lamp on the opposite side from your writing hand so your arm does not cast a shadow over the page or keyboard. A simple LED lamp is enough for most desks, and it costs far less than a fancy light bar. If the room light glares on your screen, move the lamp lower or angle the screen slightly until the glare is gone.
Step 6. Add budget storage
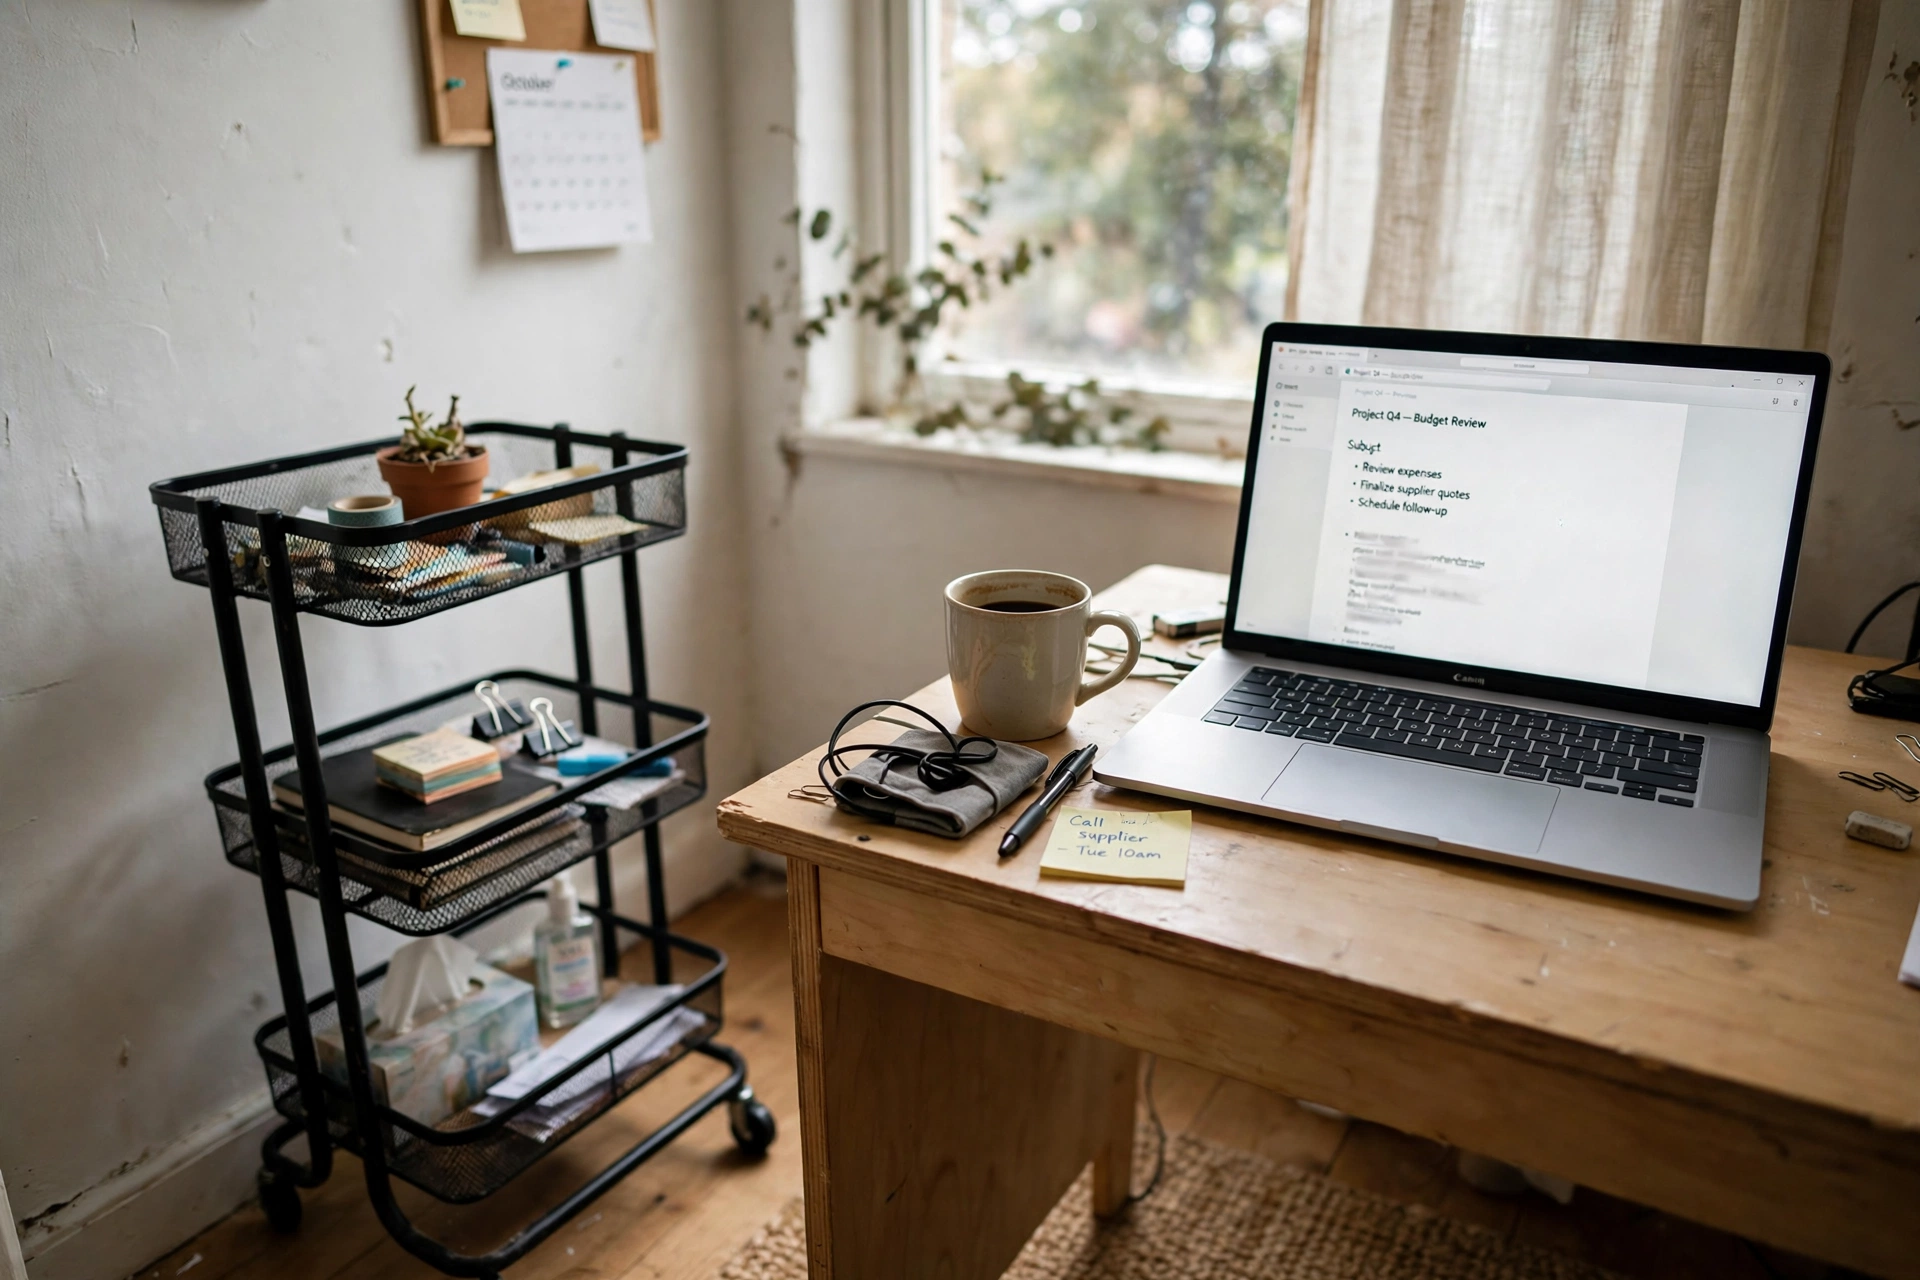
A budget office needs somewhere for the small things to live, or they end up spread across the desk. A slim rolling cart slides into a gap beside the desk and holds notebooks, chargers, pens, and paper. Keep only the things you use every day within reach, and move the rest to a shelf or a box in another room. Label each tier if you share the cart with anyone else, so supplies come back to the same place. When the desk stays clear, the room feels bigger than it is.
Step 7. Tidy power and cables
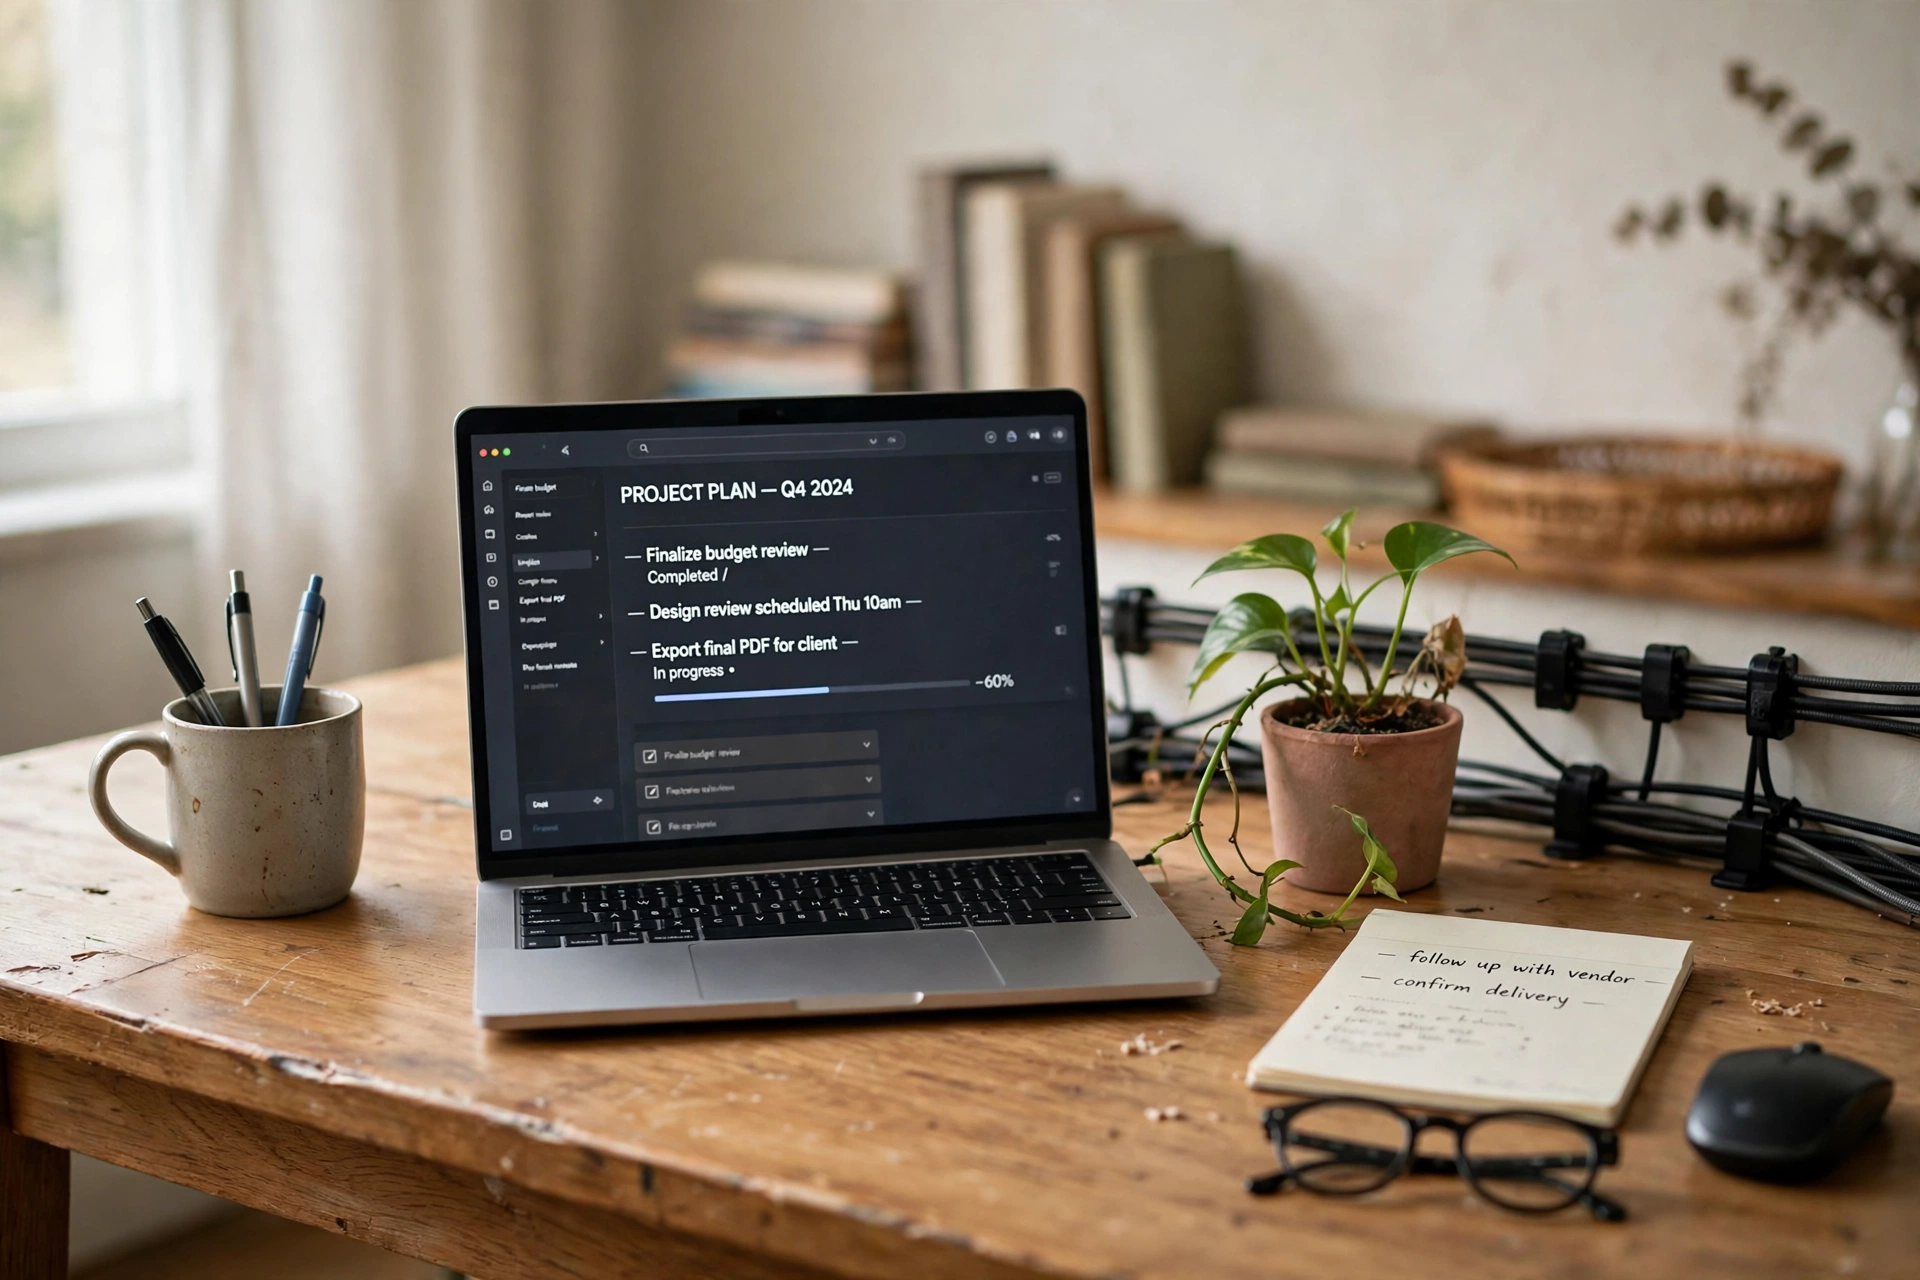
The last step costs almost nothing and changes how the whole setup feels. Gather the charger, lamp, and monitor cables into one run along the back of the desk, and fix them with reusable ties or small clips. Keep the power strip on the floor or clipped under the desk, never tangled on the desktop. Leave a little slack in each cable so nothing pulls when you move the chair or adjust the screen. A tidy desk is easier to clean, safer to walk past, and much nicer to sit down to each morning.
- Unplug everything and lay the cables out in one line.
- Route them along the back edge of the desk.
- Bundle with reusable ties, leaving a little slack.
- Put the power strip where you can reach its switch.
Frequently asked questions
How much should I budget for a first home office?
It depends on what you already own. If you have a laptop and a spare chair, a desk, a lamp, and a riser can cover the basics. Put most of the money into the desk and chair first, then add the smaller pieces over time.
What should I buy first, desk or chair?
Buy the chair first if you already have any flat surface to work on, even a table. A good chair affects every hour you sit. Then buy the desk that fits your space.
Can I use a kitchen table as a desk to save money?
Yes, for a while. A kitchen table works if the height suits your chair and you can leave your setup in place. A dedicated desk helps when you need to pack everything away each day.
Is secondhand furniture worth it for a budget office?
Often yes for desks and shelves, which are simple to check for wobble and damage. Be pickier with chairs, and test the height adjustment and wheels before you pay.
What is the one upgrade worth saving for?
A better chair, or a monitor at eye level. Both change how comfortable a full workday feels, and both last longer than most small accessories.
Conclusion
A budget home office is a sequence, not a shopping spree: set the number, measure the space, buy a simple desk and an adjustable chair, lift the screen, add light and storage, then tidy the cables. Each step is small on its own, and together they make a setup you can sit down to every day without thinking about it. For more ideas to shape the rest of your workspace, browse the Home Office Ideas collection.
