What Makes a Home Office Feel Professional on Camera
A professional look on camera is rarely about one big purchase. It comes from a tidy frame, steady light, a camera at eye level and a background that stays calm while you talk. This guide walks through seven small steps you can do in one afternoon, using the desk and room you already have. Browse more room ideas in the Home Office Ideas collection on desk and glow.
As an Amazon Associate I earn from qualifying purchases. Read our affiliate disclosure for details.
In this guide
1. Frame first
2. Light your face
3. Camera at eye level
4. Tidy the background
5. Add a simple backdrop
6. Clear the desk edge
7. Do a test recording
FAQ
Conclusion
At a glance
| Step | What it does |
|---|---|
| 1. Frame first | Sets how much of you and the room the camera shows |
| 2. Light your face | Puts soft, even light on your face |
| 3. Camera at eye level | Stops the up the nose camera angle |
| 4. Tidy the background | Removes clutter and movement behind you |
| 5. Add a simple backdrop | Gives a plain room a neat, finished look |
| 6. Clear the desk edge | Keeps the front of the frame calm |
| 7. Do a test recording | Checks sound, light and framing before a real call |
Step 1. Frame first
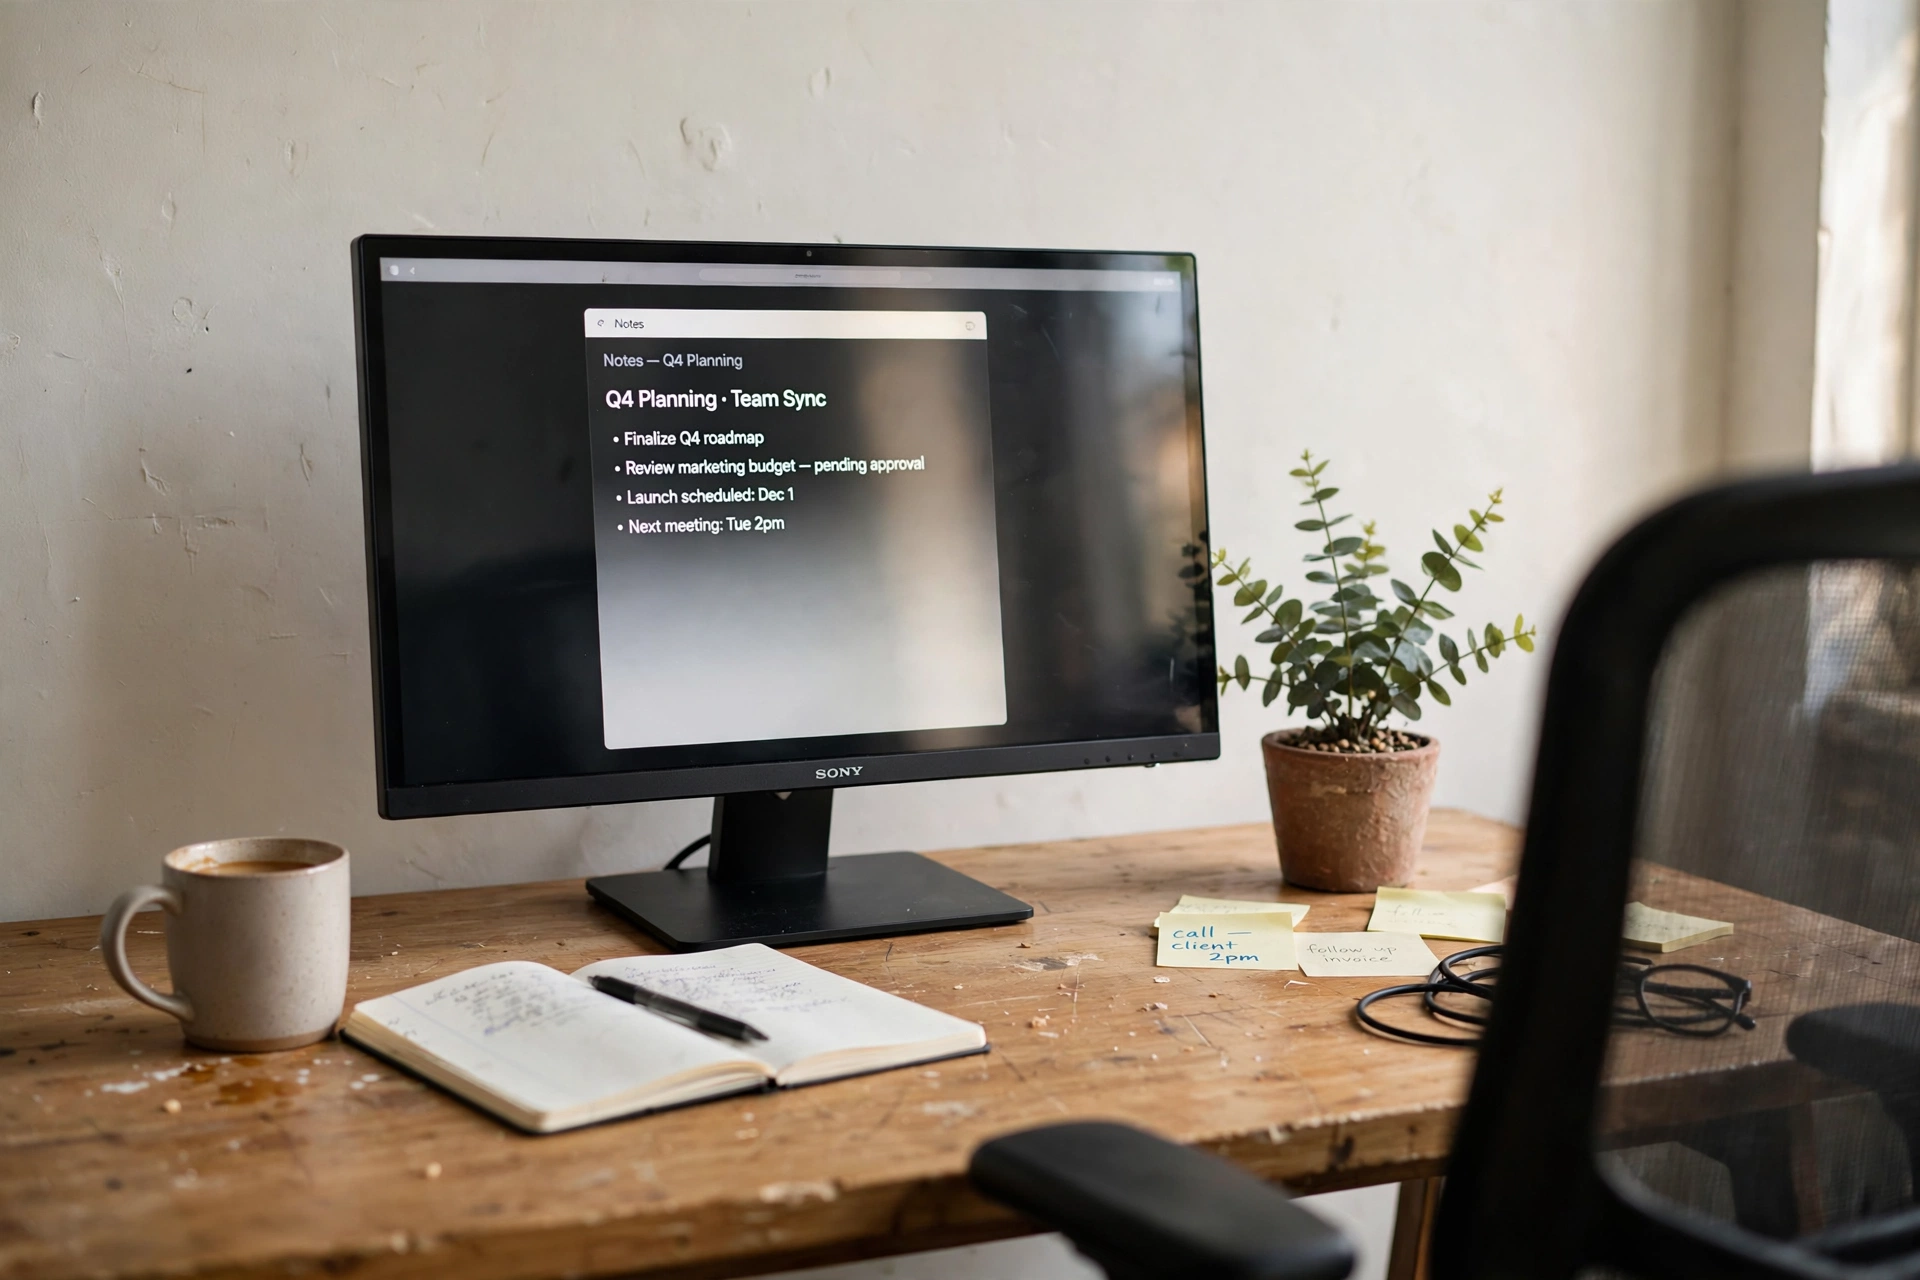
Start with the frame, not the gear. Open your camera app, sit where you normally sit, and look at what the other person will see. Aim for your head and shoulders in the middle of the frame, with a little space above your head and your eyes about a third of the way down from the top. Move the camera closer or further away until the shot feels balanced, then note where the chair and desk sit. A good frame hides the messy corner and keeps the door out of the shot, so a person walking past does not steal the scene.
Step 2. Light your face
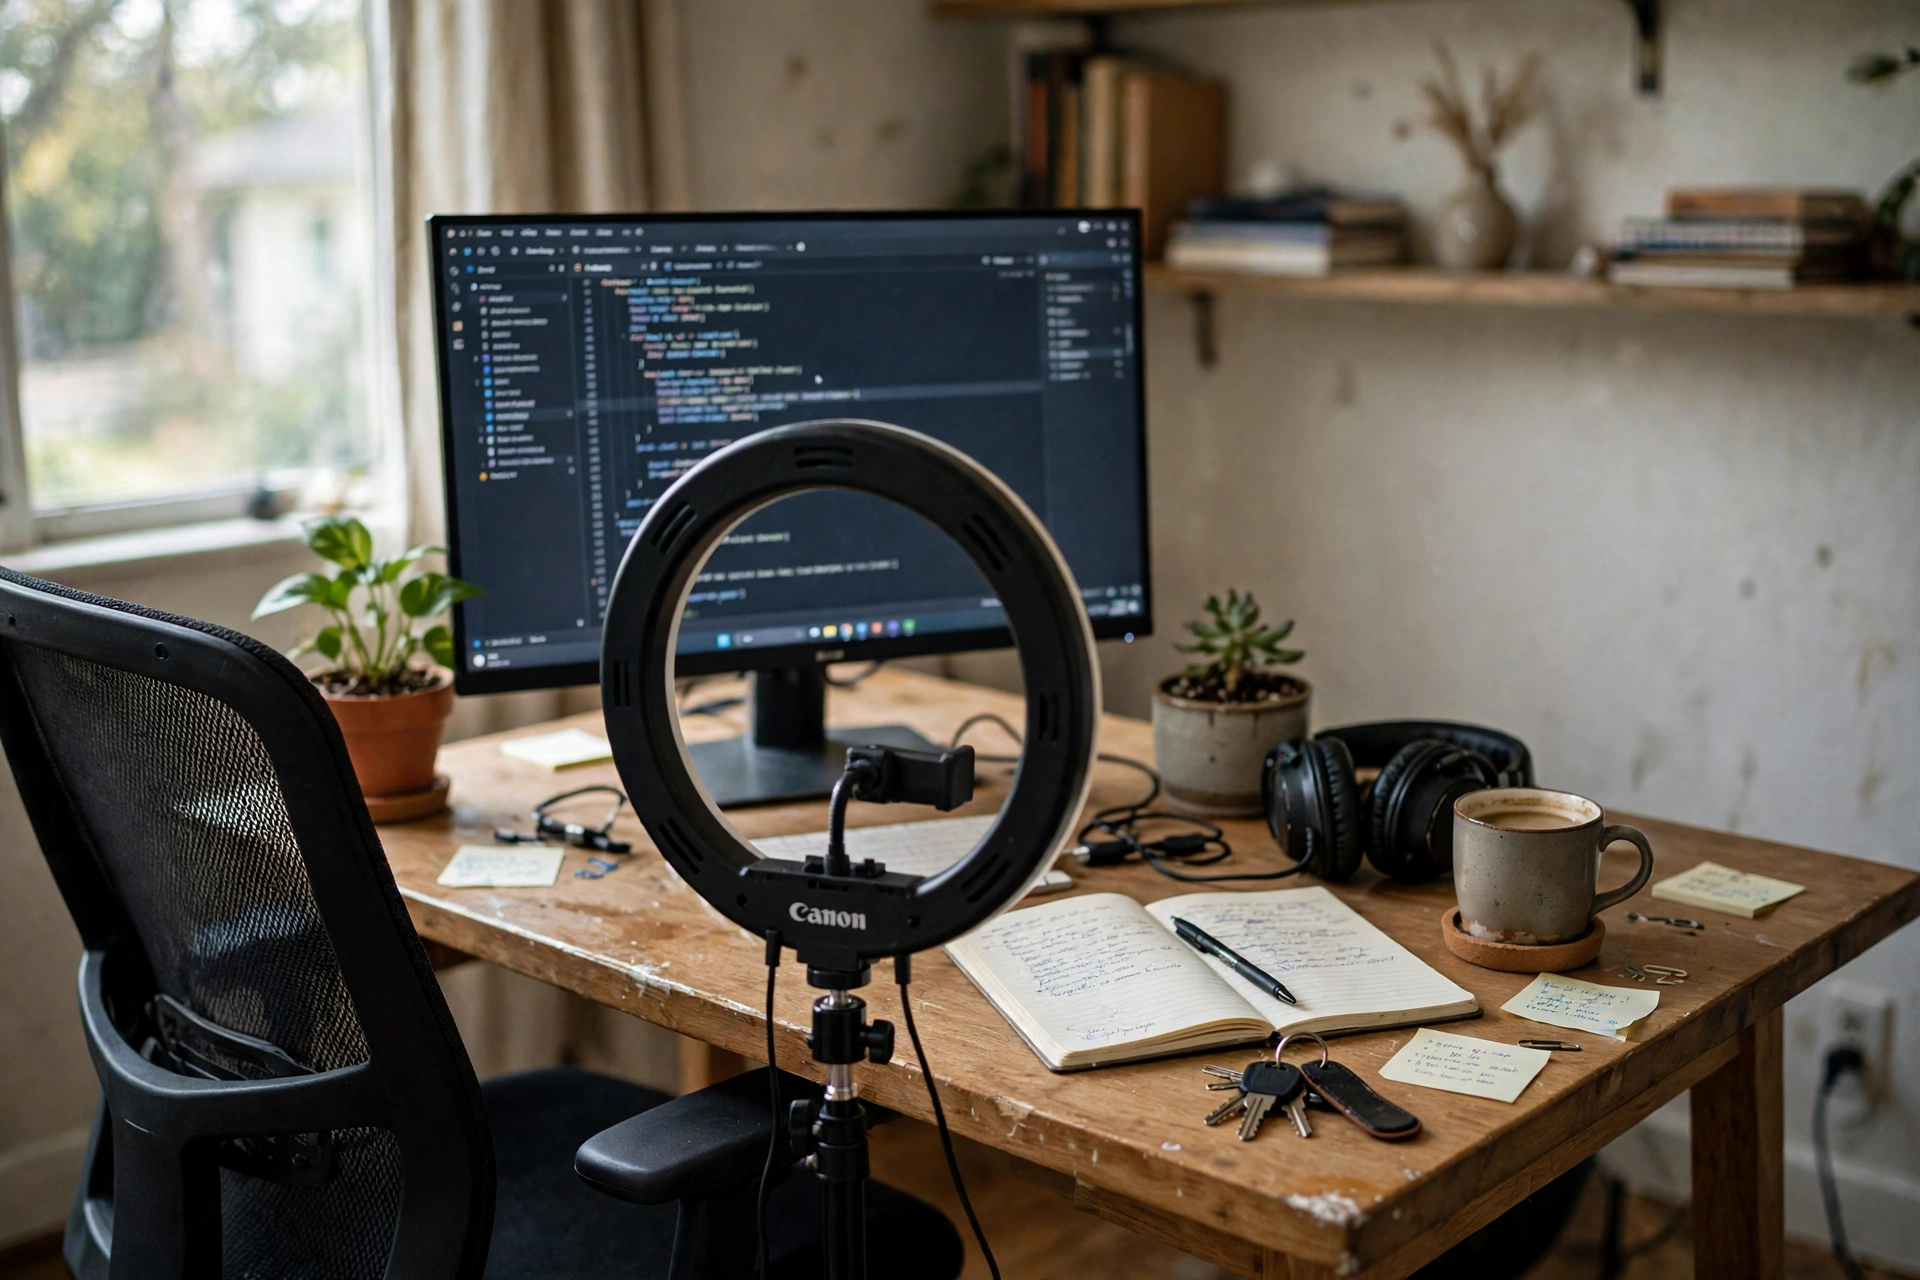
Light should fall on your face, not behind you. A bright window behind you turns you into a dark shape, so face the window when you can, or sit at a slight angle to it. On a dull day, a lamp in front of you fills the gap.
- Put the main light just behind the camera, at about face height.
- Keep the light soft and steady, with no bare bulb in the shot.
- Turn off a harsh ceiling light that casts shadows under your eyes.
- Test the light at the same time of day as your usual calls.
Small changes matter here. Move the lamp a few inches left or right and watch how the shadows on your face change in the camera preview.
Our pick: NEEWER 55W 18 inch Ring Light Kit, RL-18
Why this one: The large ring gives even light across the face, and the stand lets you place it behind the camera.
Worth knowing: The full kit with stand takes up floor space, so it suits a room where it can stay set up.
Step 3. Camera at eye level
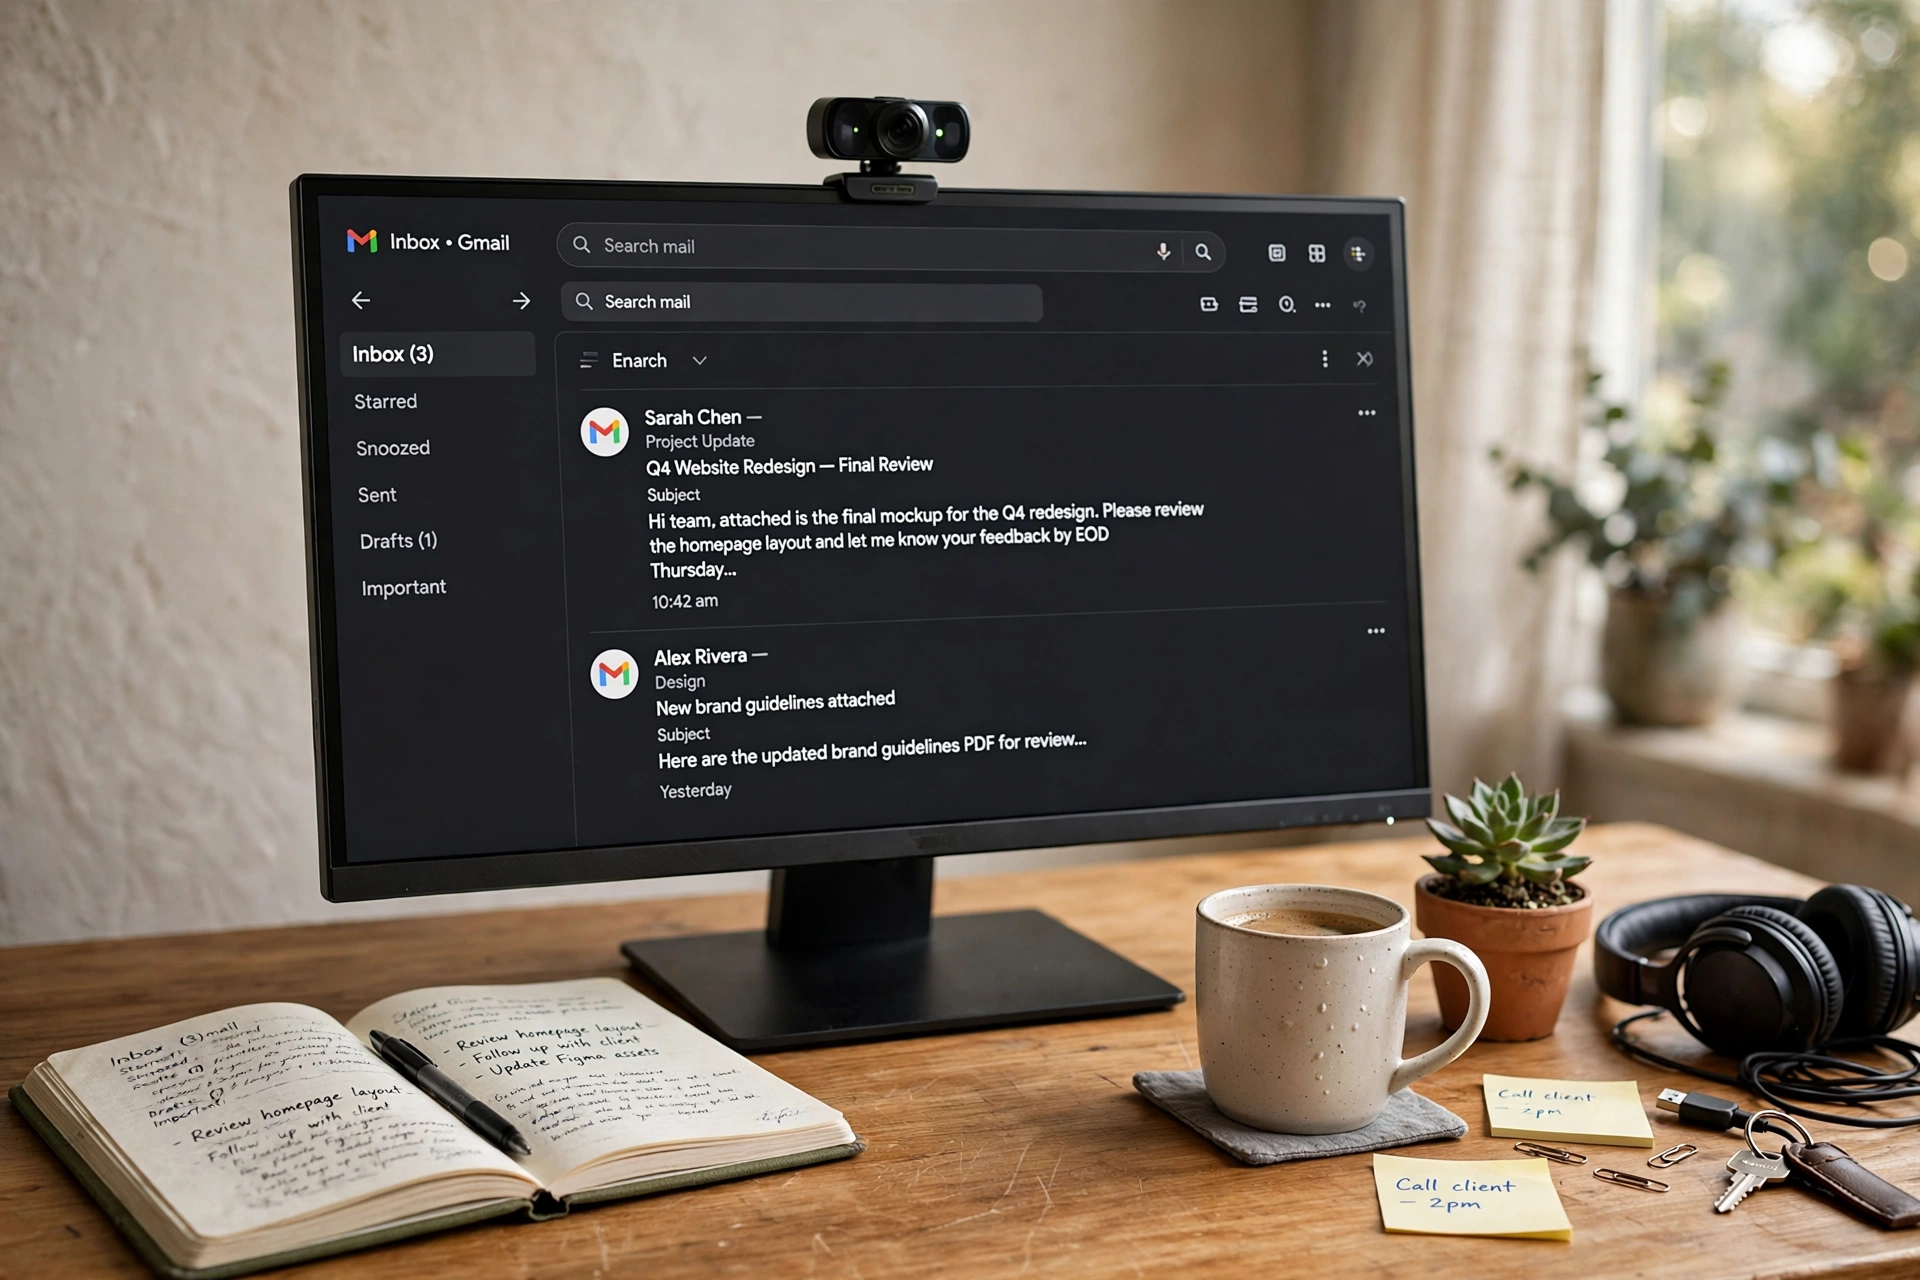
A laptop camera on a desk looks up at you, and that angle is rarely kind. Raise the camera until the lens sits level with your eyes. A stack of books, a monitor stand or a small riser all work, as long as the camera stays steady when you type. Look at the lens when you speak, not at the faces on your screen, and glance down only to check notes. Here is a quick order to follow:
- Raise the camera to eye level and lock it in place.
- Sit back so your shoulders stay in the frame.
- Check the angle in the preview, then leave it alone.
- Keep a small light or the ring light close to the lens.
Our pick: Logitech C920S HD Pro Webcam, Full HD 1080p
Why this one: It clips on top of a monitor at eye level and gives a clear Full HD picture with a privacy shutter.
Worth knowing: It needs a free USB port and a monitor top or stand to sit on, so check the fit first.
Step 4. Tidy the background
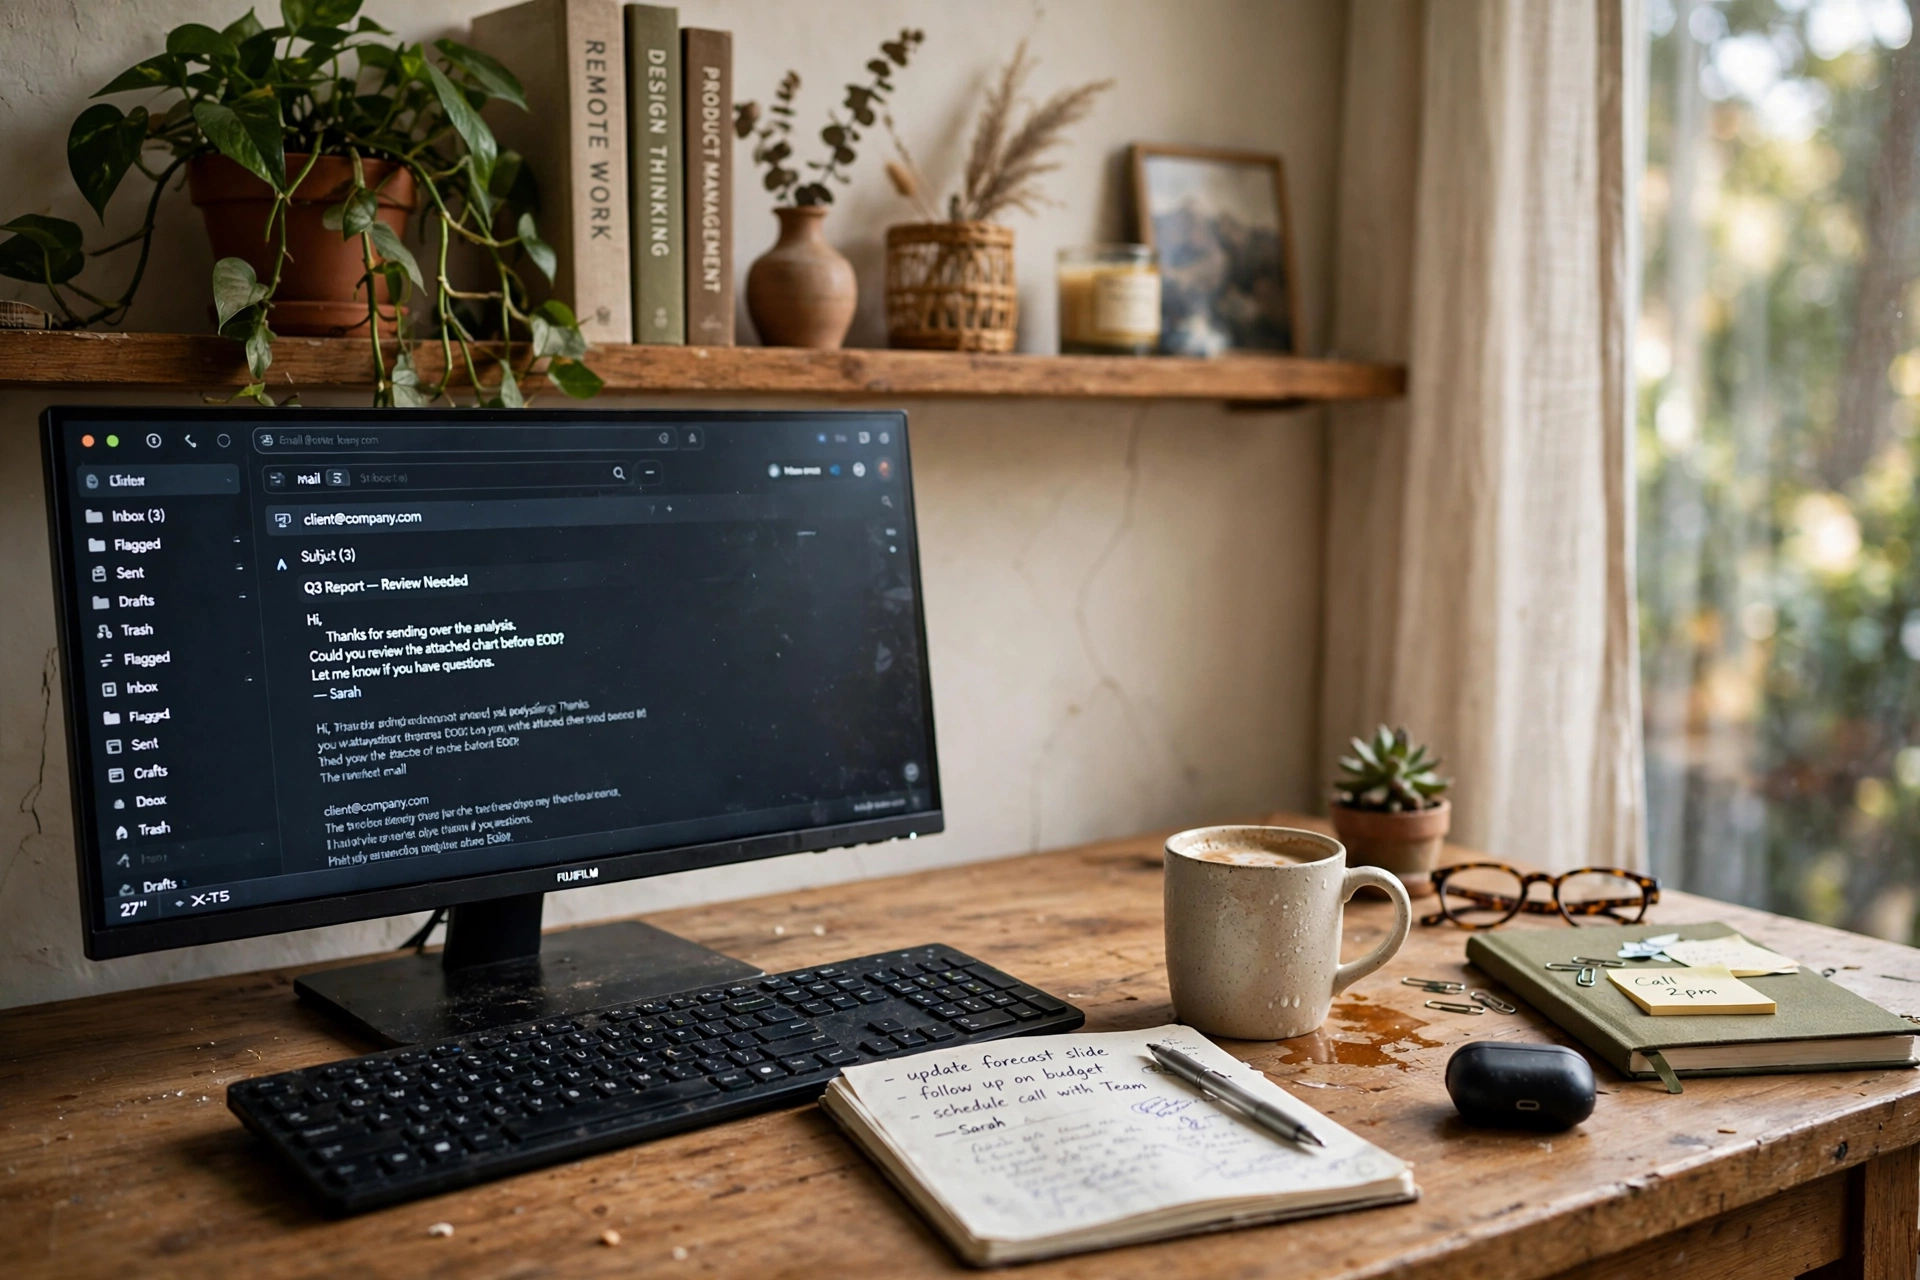
Your background should be quiet. That does not mean empty, it means nothing in it moves, shines or shouts for attention. Take a photo of the frame and look at it as a stranger would. Move laundry, cables and half finished projects out of view, and straighten the shelf or picture that sits behind you. A few books, one plant and a plain wall read as calm and organised. A bright poster, a mirror that catches the light, or a window with passing traffic will pull eyes away from you. If the room is shared, agree on a simple rule: when the door is closed, the space behind you stays as it is.
What works here: a plain wall with one shelf, a closed door, and a plant at the edge of the frame. What to skip: open wardrobes, drying racks, and anything with flashing lights.
Step 5. Add a simple backdrop
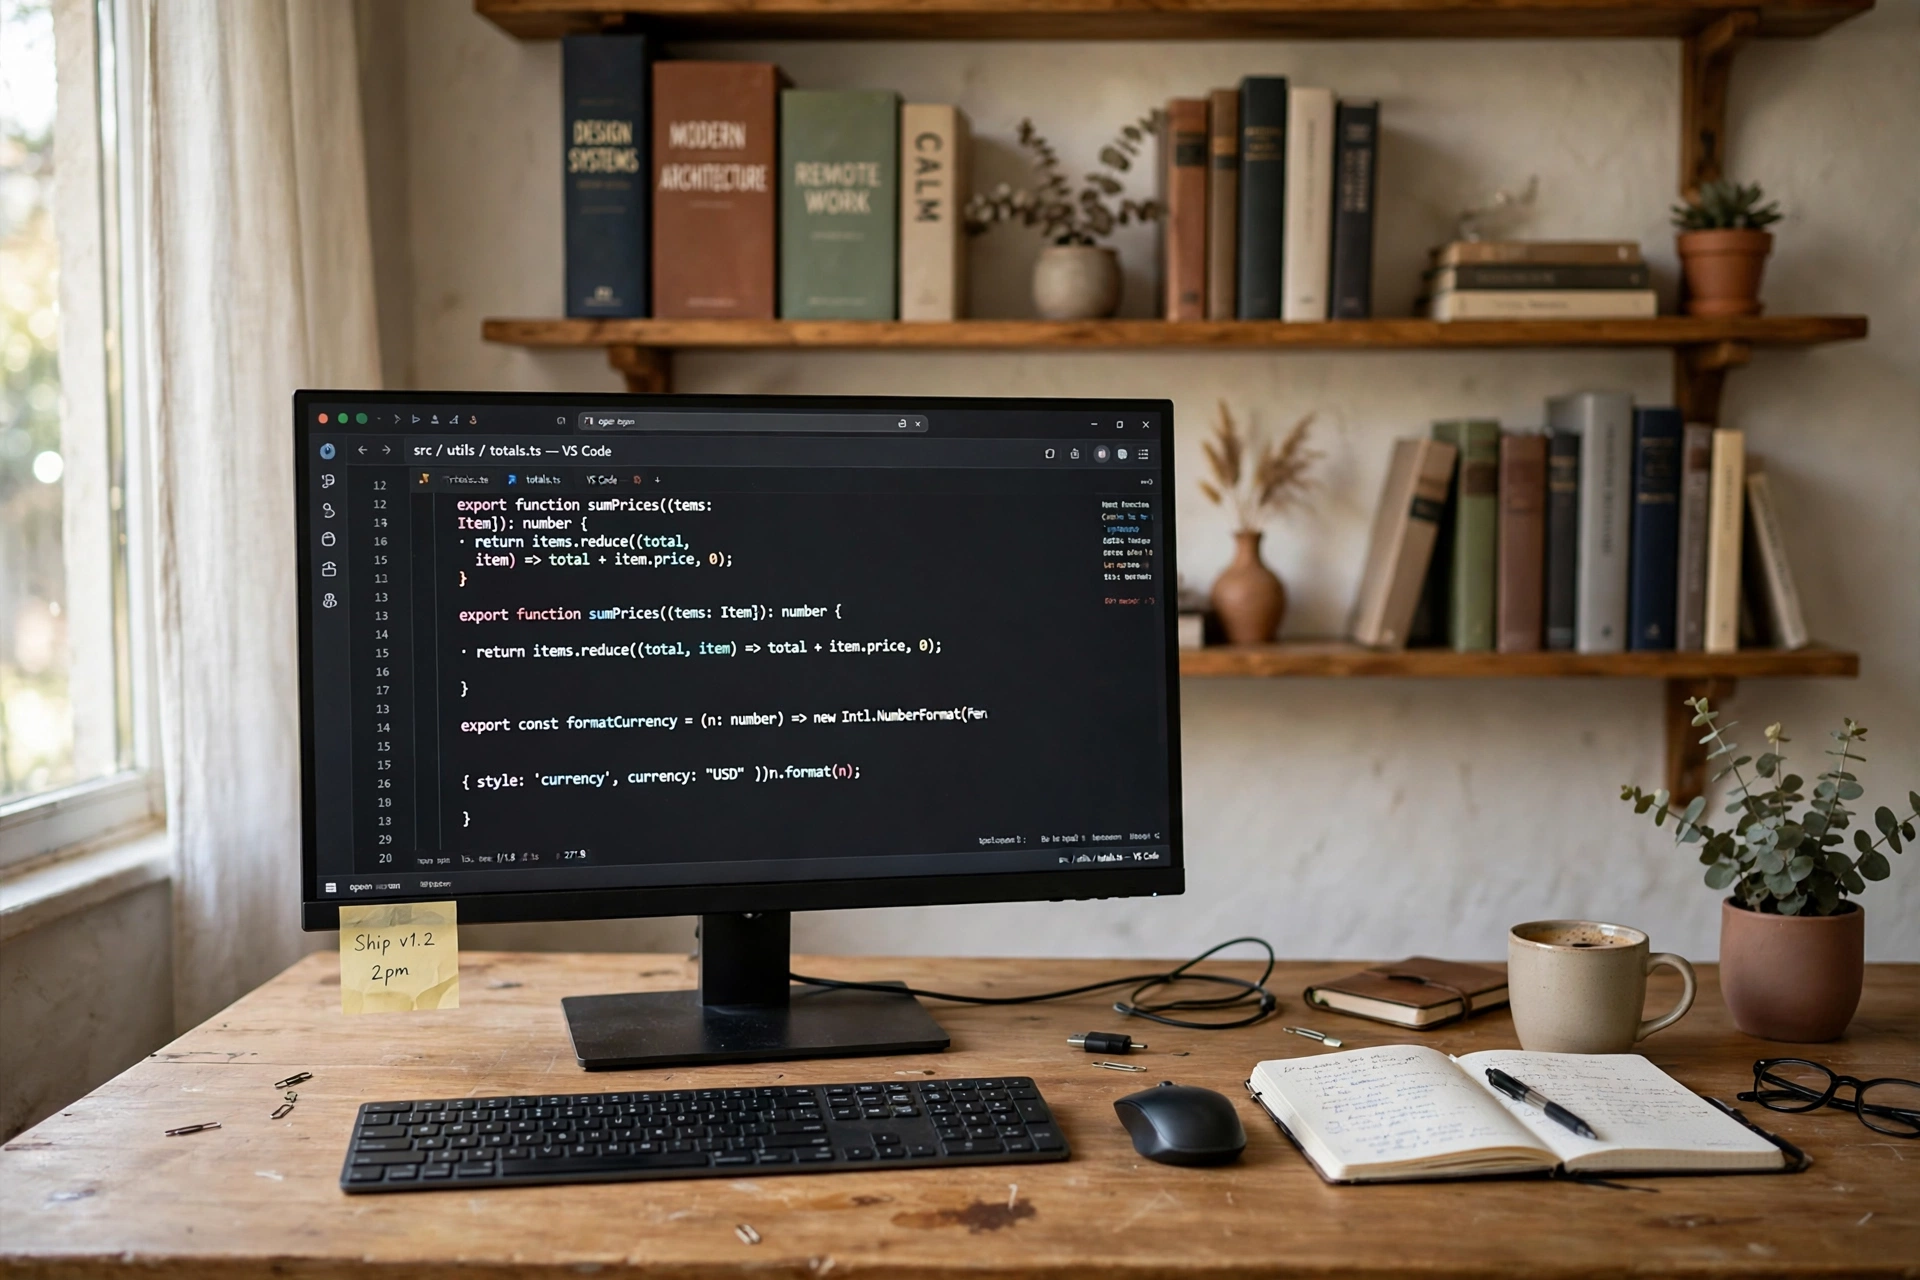
When the room behind you cannot be tidied, a backdrop solves it in one move. Hang it flat, smooth out the creases, and check that it covers the full width of the frame with a little to spare on each side. A bookshelf print gives a lived in feel without showing your real shelves. Keep the backdrop plain enough that it does not fight with your face for attention, and keep it far enough behind you that it stays slightly soft in the shot. Store it rolled, not folded, so the creases stay out.
Our pick: CHNYWORK 9x6ft Home Office Backdrop, White Bookshelves
Why this one: The bookshelf print looks tidy on camera and the large size covers a wide frame.
Worth knowing: No stand or clips are included, so you need a way to hang it flat.
Step 6. Clear the desk edge

The front edge of your desk sits at the bottom of the frame, so it deserves a quick tidy before every call. Keep only what you need for that call: a notebook, a pen and a glass of water. Move mugs, cables and snack wrappers to the side or into a drawer. A clear edge also gives your hands somewhere to rest without knocking things over, and it keeps the camera from catching a tangle of wires in the foreground. Make it a habit that takes less than a minute, and the desk will look ready even when the rest of the day has been busy.
- Notebook and pen, on the left or right, not in the centre.
- Water in a plain glass, away from the keyboard.
- Cables tucked behind the monitor, not across the desk.
- One small object at most, such as a plant or a clock.
Step 7. Do a test recording
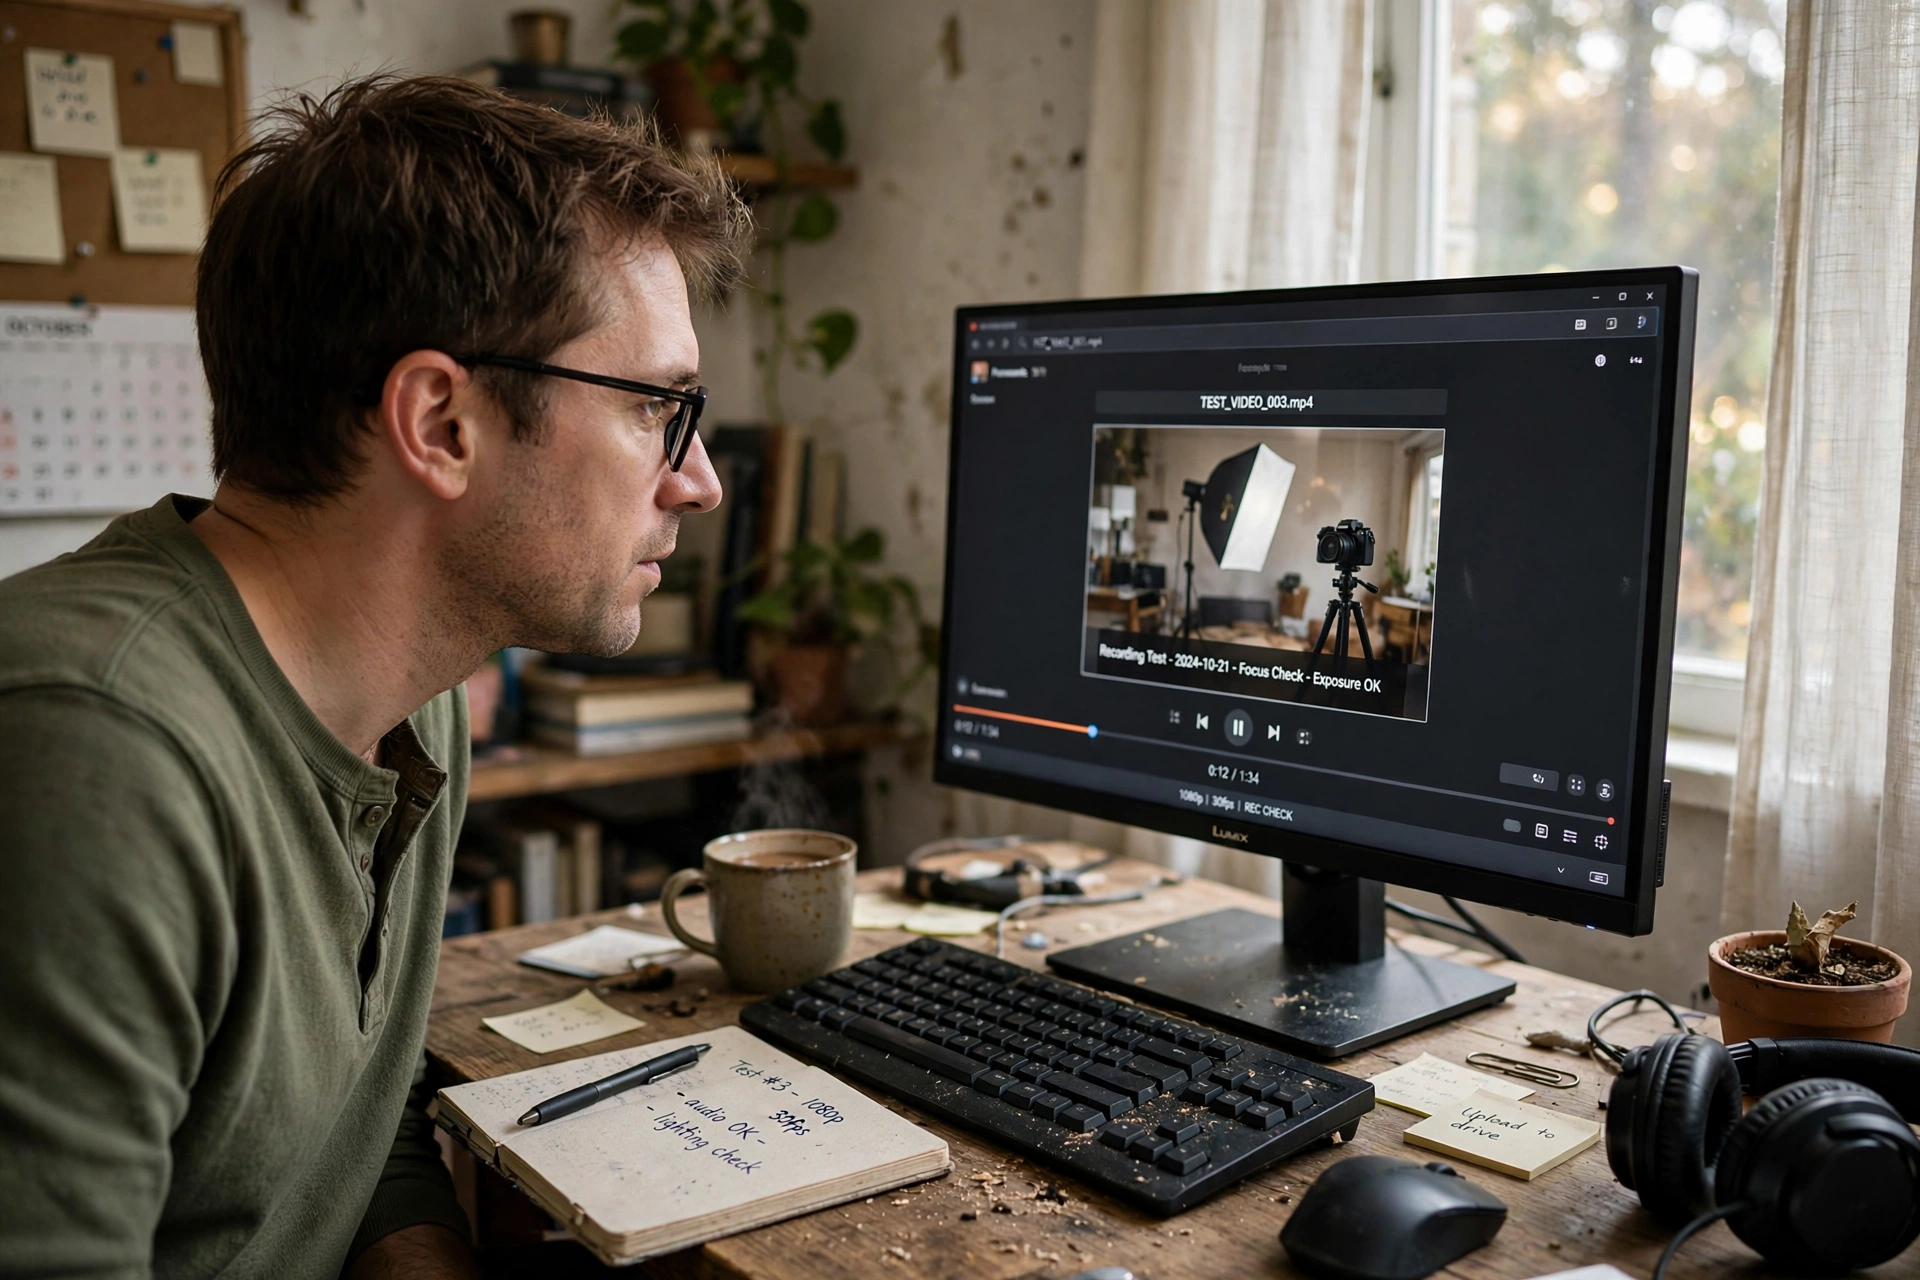
Before your next real call, record a short test. Speak for a minute as you would on a call, then play it back and watch it once, all the way through. Listen for echo, a humming fan or a keyboard that sounds louder than your voice. Look for a bright window, a dark face or a background object you missed. Fix one thing at a time, then record again. Two short tests are enough to catch most problems, and they cost far less than finding them live in front of colleagues. Keep a note of the settings that worked, so you can repeat them without starting from scratch.
Frequently asked questions
Do I need a ring light to look professional on camera?
No. A window in front of you or a soft lamp at face height can work well. A ring light helps when daylight is weak or your calls fall after dark.
Where should the camera sit?
At eye level, with your head and shoulders centred in the frame. Raise a laptop on books or a stand until the lens lines up with your eyes.
What is the best background for video calls?
A plain wall with one or two calm objects, such as a shelf or a plant. Avoid busy patterns, mirrors and open doors behind you.
Should I sit facing the window?
Yes, when you can. Light on your face keeps you visible, while a window behind you can turn you into a dark shape.
How long does this setup take?
Most of the steps take a few minutes each. Plan for one afternoon to set the frame, light and background, then a short test recording.
Conclusion
Looking professional on camera is a set of small habits: frame the shot, light your face, raise the camera, tidy the background, clear the desk edge and test it once. Do those steps in order and your calls will look calm and organised, even in a small room. For more ideas to shape the rest of your workspace, browse the Home Office Ideas collection.
