Gaming Room Ideas
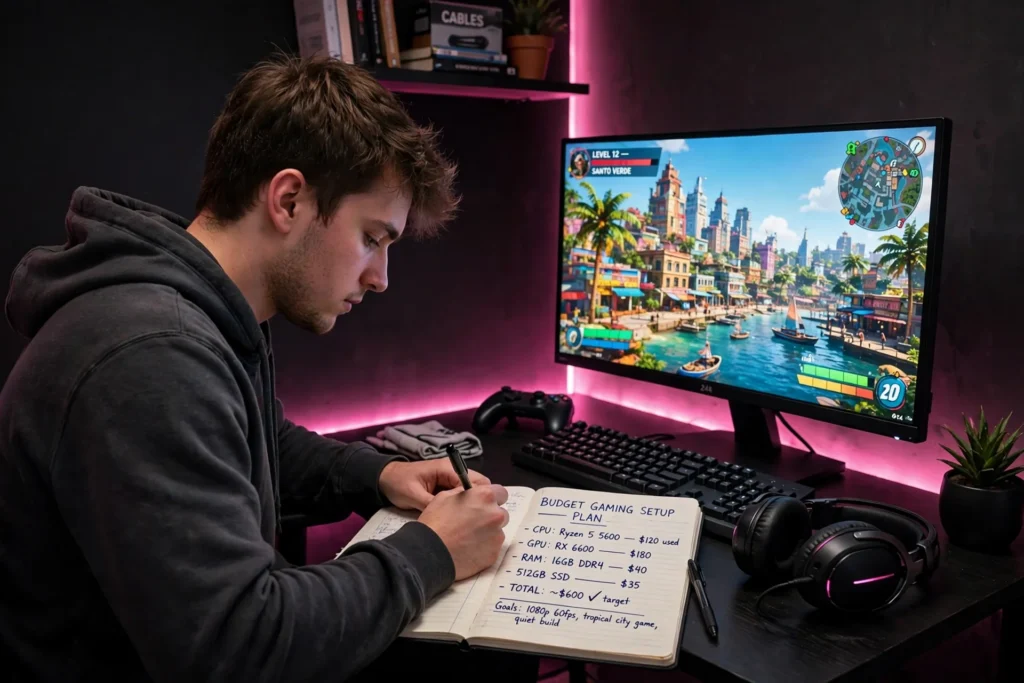
GTA 6 is taking us back to Vice City, and you do not need a big budget to feel it. A good screen, a chair that does not hurt, one LED strip, and a small neon sign will get you most of the way there, and the rest is just patience and the right order of buying. This guide walks you through the build step by step, so you spend money where it matters and save it where it does not.
Every step below is one part of a complete setup you can copy whole, desk, seat, screen, light, storage, and power included. Work through the steps in order, because each one sets up the next, and skip the product boxes that do not fit your room. If you want the finished look first, the 9 GTA 6 neon Vice City gaming setup ideas show the same glow at full size.
As an Amazon Associate I earn from qualifying purchases. Read our full affiliate disclosure for more detail.
In This Article
- Step 1: Set Your Budget and Pick Your Platform
- Step 2: Pick the Screen First
- Step 3: Choose the Desk and Chair
- Step 4: Add the Vice City Lighting
- Step 5: Sort Sound and Controllers
- Step 6: Tame Cables and Power
- Step 7: Add the Finishing Touches
- At a Glance Comparison
- Frequently Asked Questions
- Conclusion
At a Glance Comparison
| Setup | Best For | Key Piece | Light |
|---|---|---|---|
| Step 1: Set the budget | Every builder | Budget tiers | No buy yet |
| Step 2: Pick the screen | PC and console | 24 inch monitor | Bias light |
| Step 3: Desk and chair | Small rooms | Compact desk | Light bar |
| Step 4: Vice City lighting | All budgets | LED strip | Pink and cyan |
| Step 5: Sound and controllers | Console players | Headset stand | Neon sign |
| Step 6: Cables and power | Every builder | Power strip | Strip glow |
| Step 7: Finishing touches | All budgets | Neon sign | Neon glow |
Step 1: Set Your Budget and Pick Your Platform
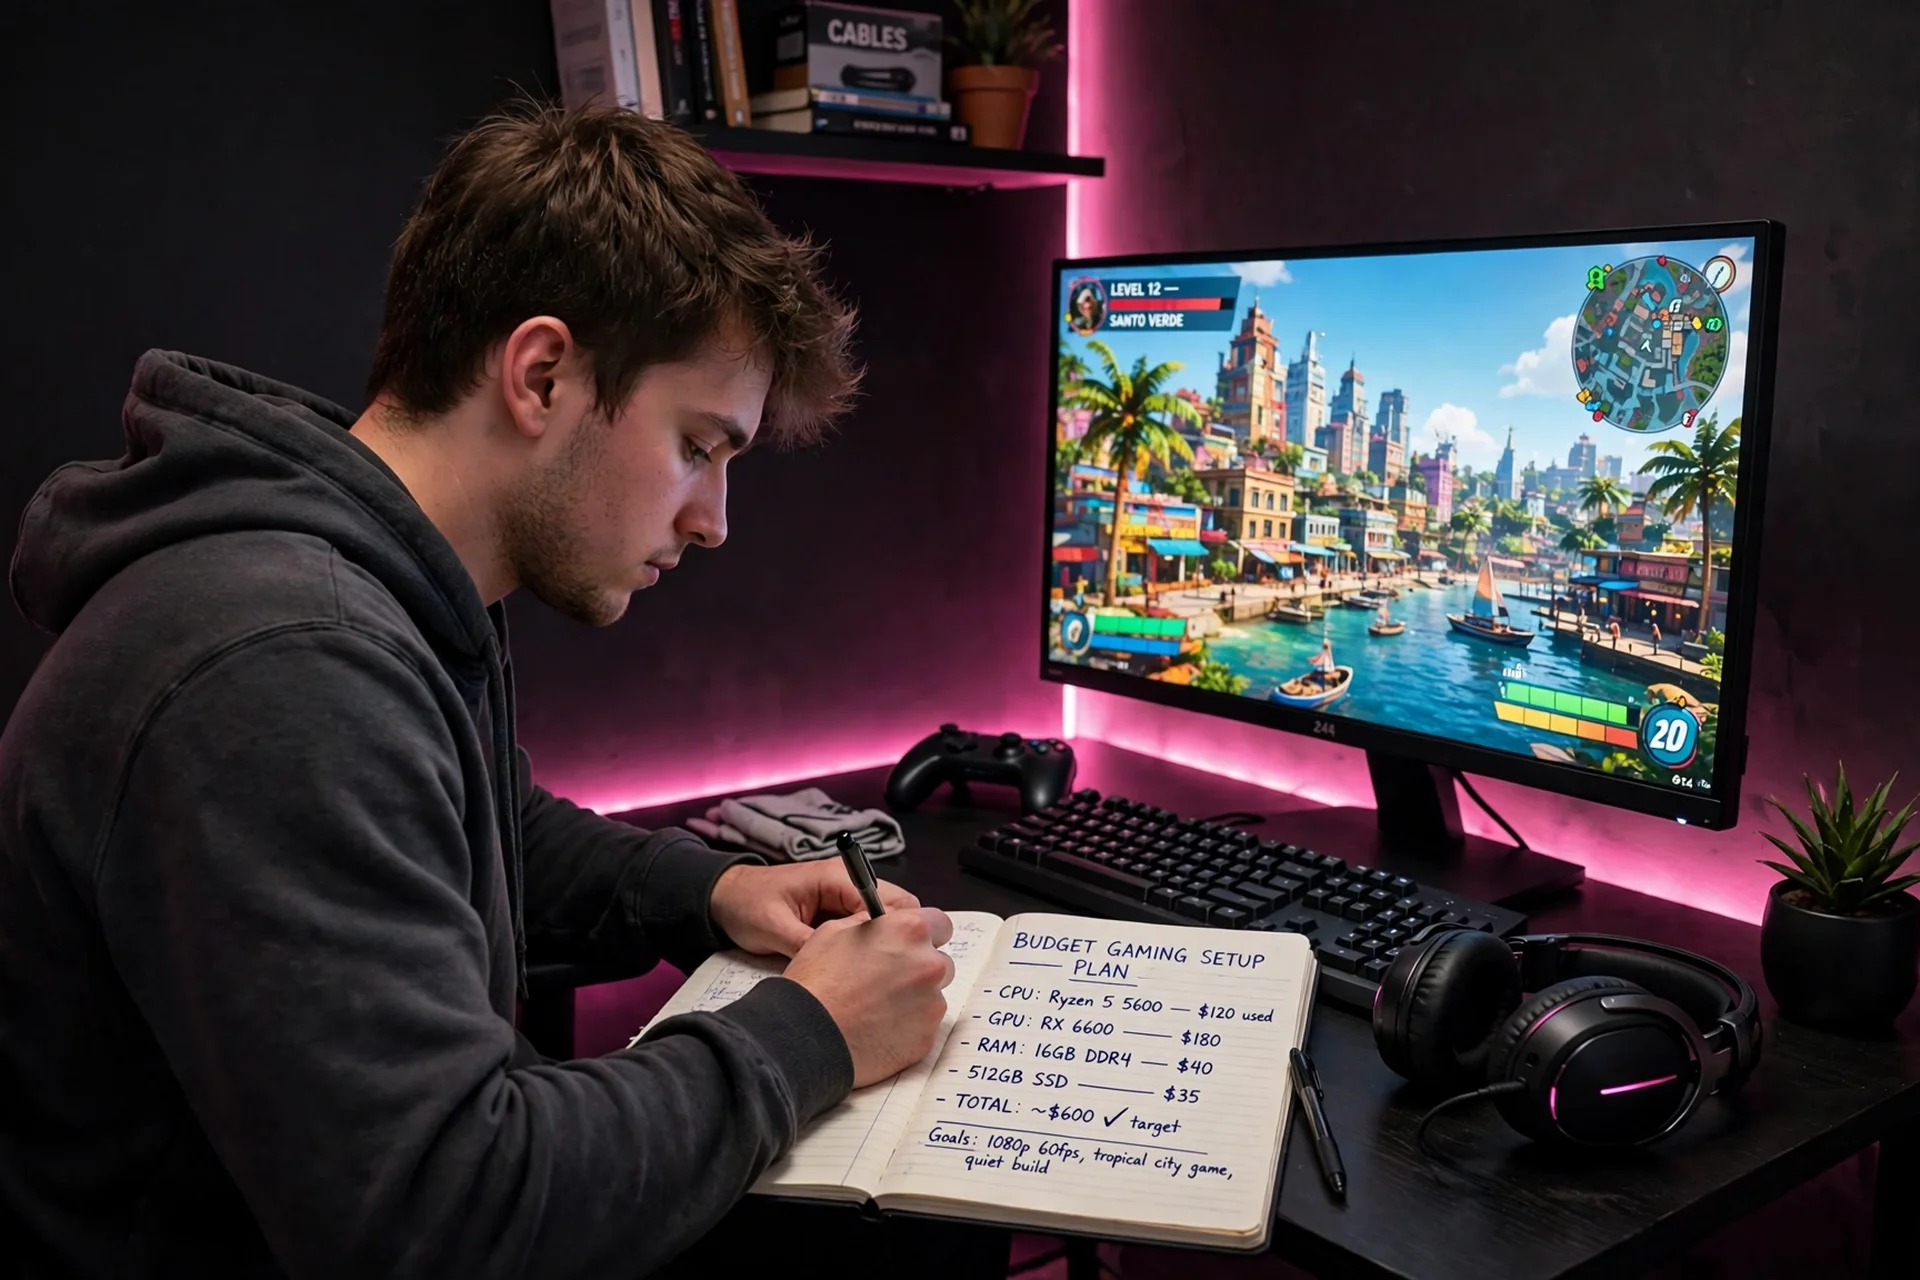
Before you buy anything, write down three numbers: the total budget, the platform, and the room size. The total budget decides everything else, so set it first and do not let one shiny part eat it. The platform matters because a console setup needs a TV stand and a sofa, while a PC setup needs a desk, a monitor, and a chair. The room size decides the screen: a 24 inch monitor fits a compact desk, a 27 inch needs at least a 40 inch desk, and a TV needs a sofa at the right distance. Split the budget into three parts, with the biggest share for the screen and the chair, a middle share for the desk, and the smallest share for lighting and decor. Write the split down, stick it on the wall, and check every purchase against it before you buy.
Step 2: Pick the Screen First
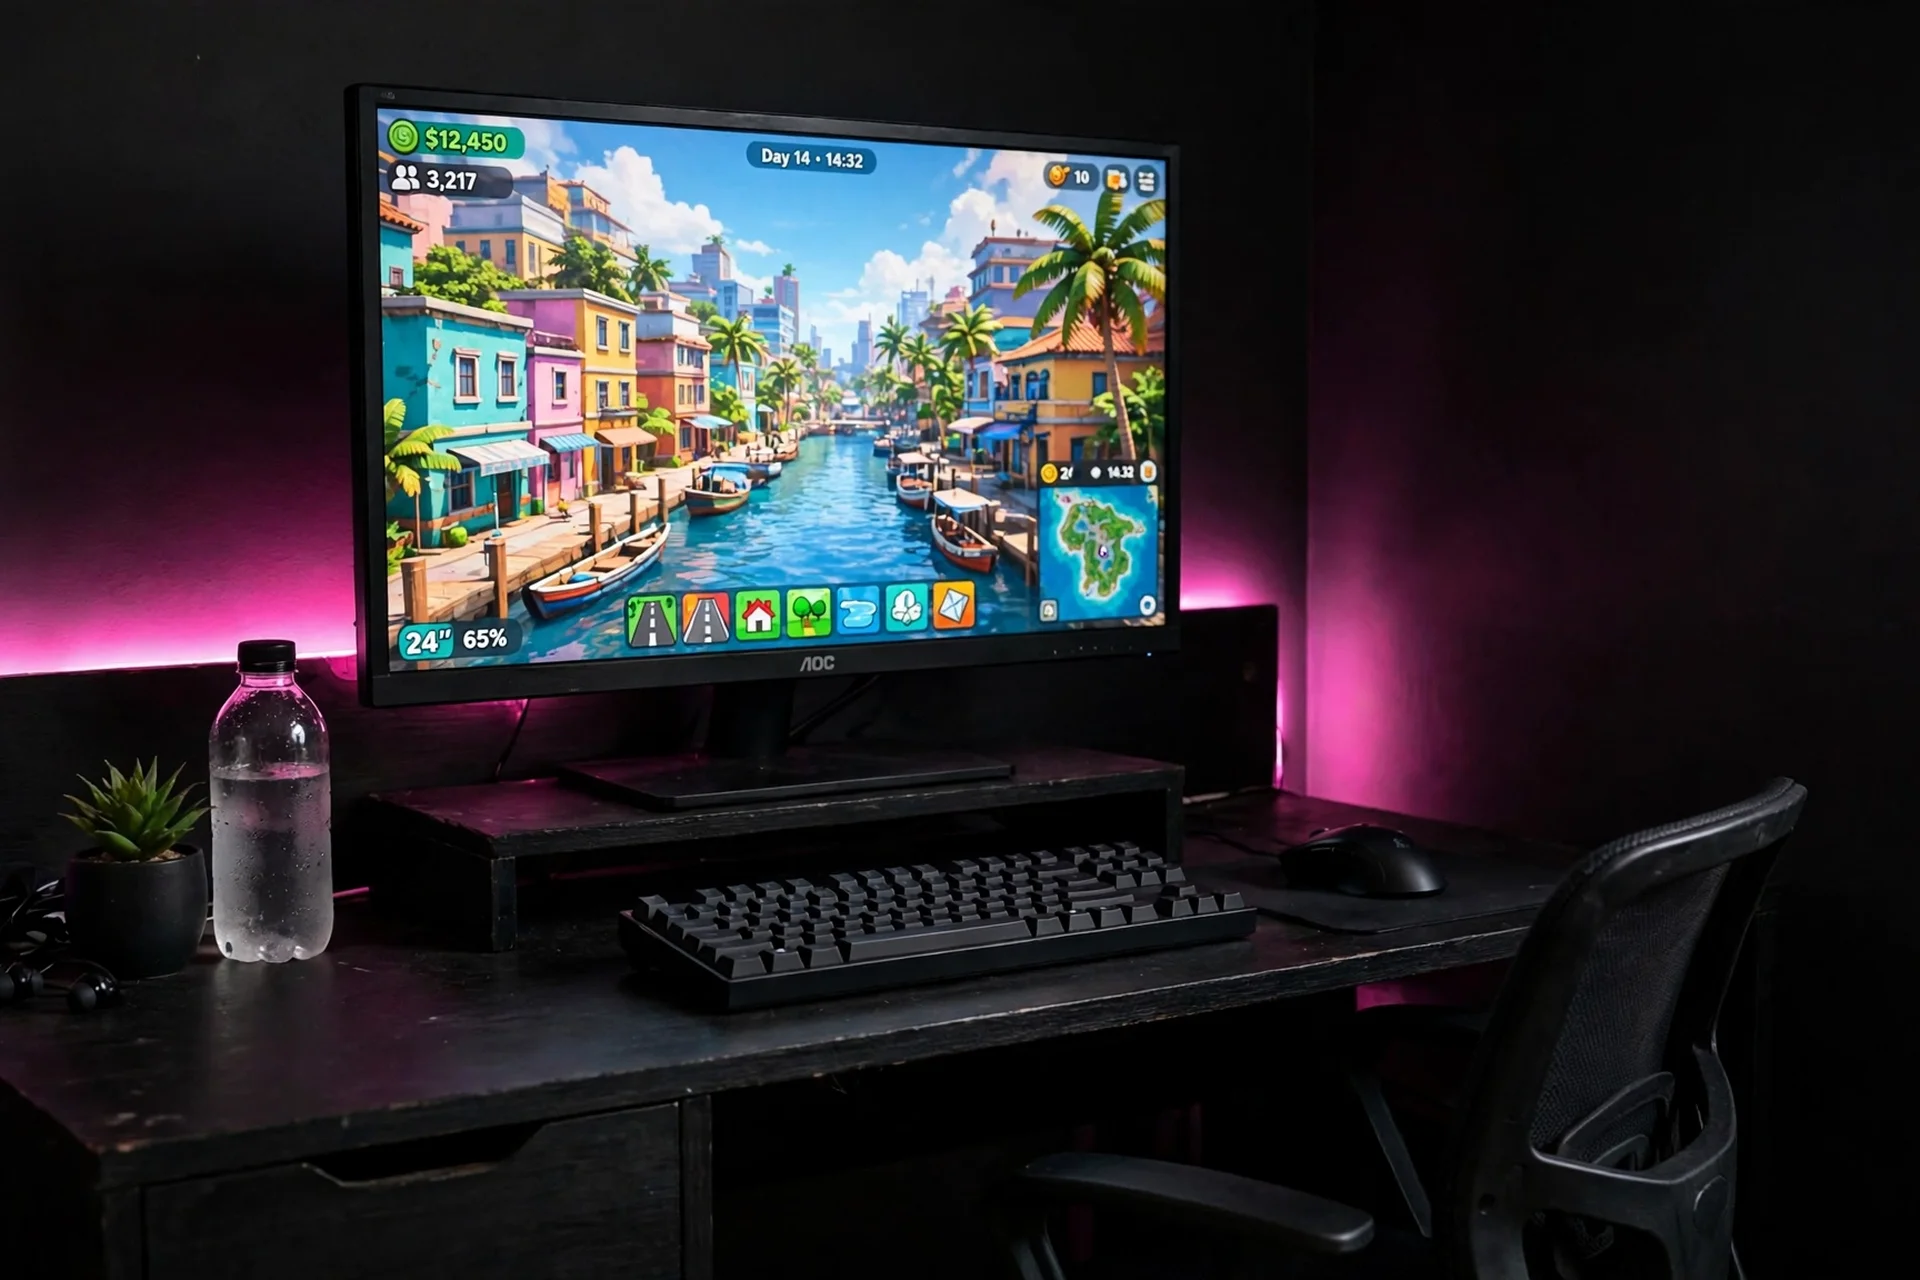
The screen is where the money goes first, because it is what you look at for every hour you play. For a budget GTA 6 build, a 24 inch 1080p monitor with a fast refresh rate is the sweet spot: it is smooth enough for driving and shooting, it fits a compact desk, and it leaves wall space for the neon strips. Put it on a slim riser so it sits at eye level, and keep the keyboard centered under it with the mouse on a dark mat. If you play on console, the same rule applies to the TV: buy the smallest good TV that fills your view from the sofa, not the biggest one that crowds the wall. Measure the desk or the stand first, then buy the screen, because a screen that does not fit is money you cannot get back.
ASUS TUF Gaming 24 inch 1080P Monitor VG247Q1A, 165Hz, 1ms, FreeSync Premium
Why this one: The fast 165Hz panel and 1ms response keep fast driving and shooting smooth, and the 24 inch size fits a compact desk without crowding.
Worth knowing: It is a 1080p panel, so it will not show the sharpest 4K detail, and the stand has limited height adjustment, so a riser helps.
Step 3: Choose the Desk and Chair
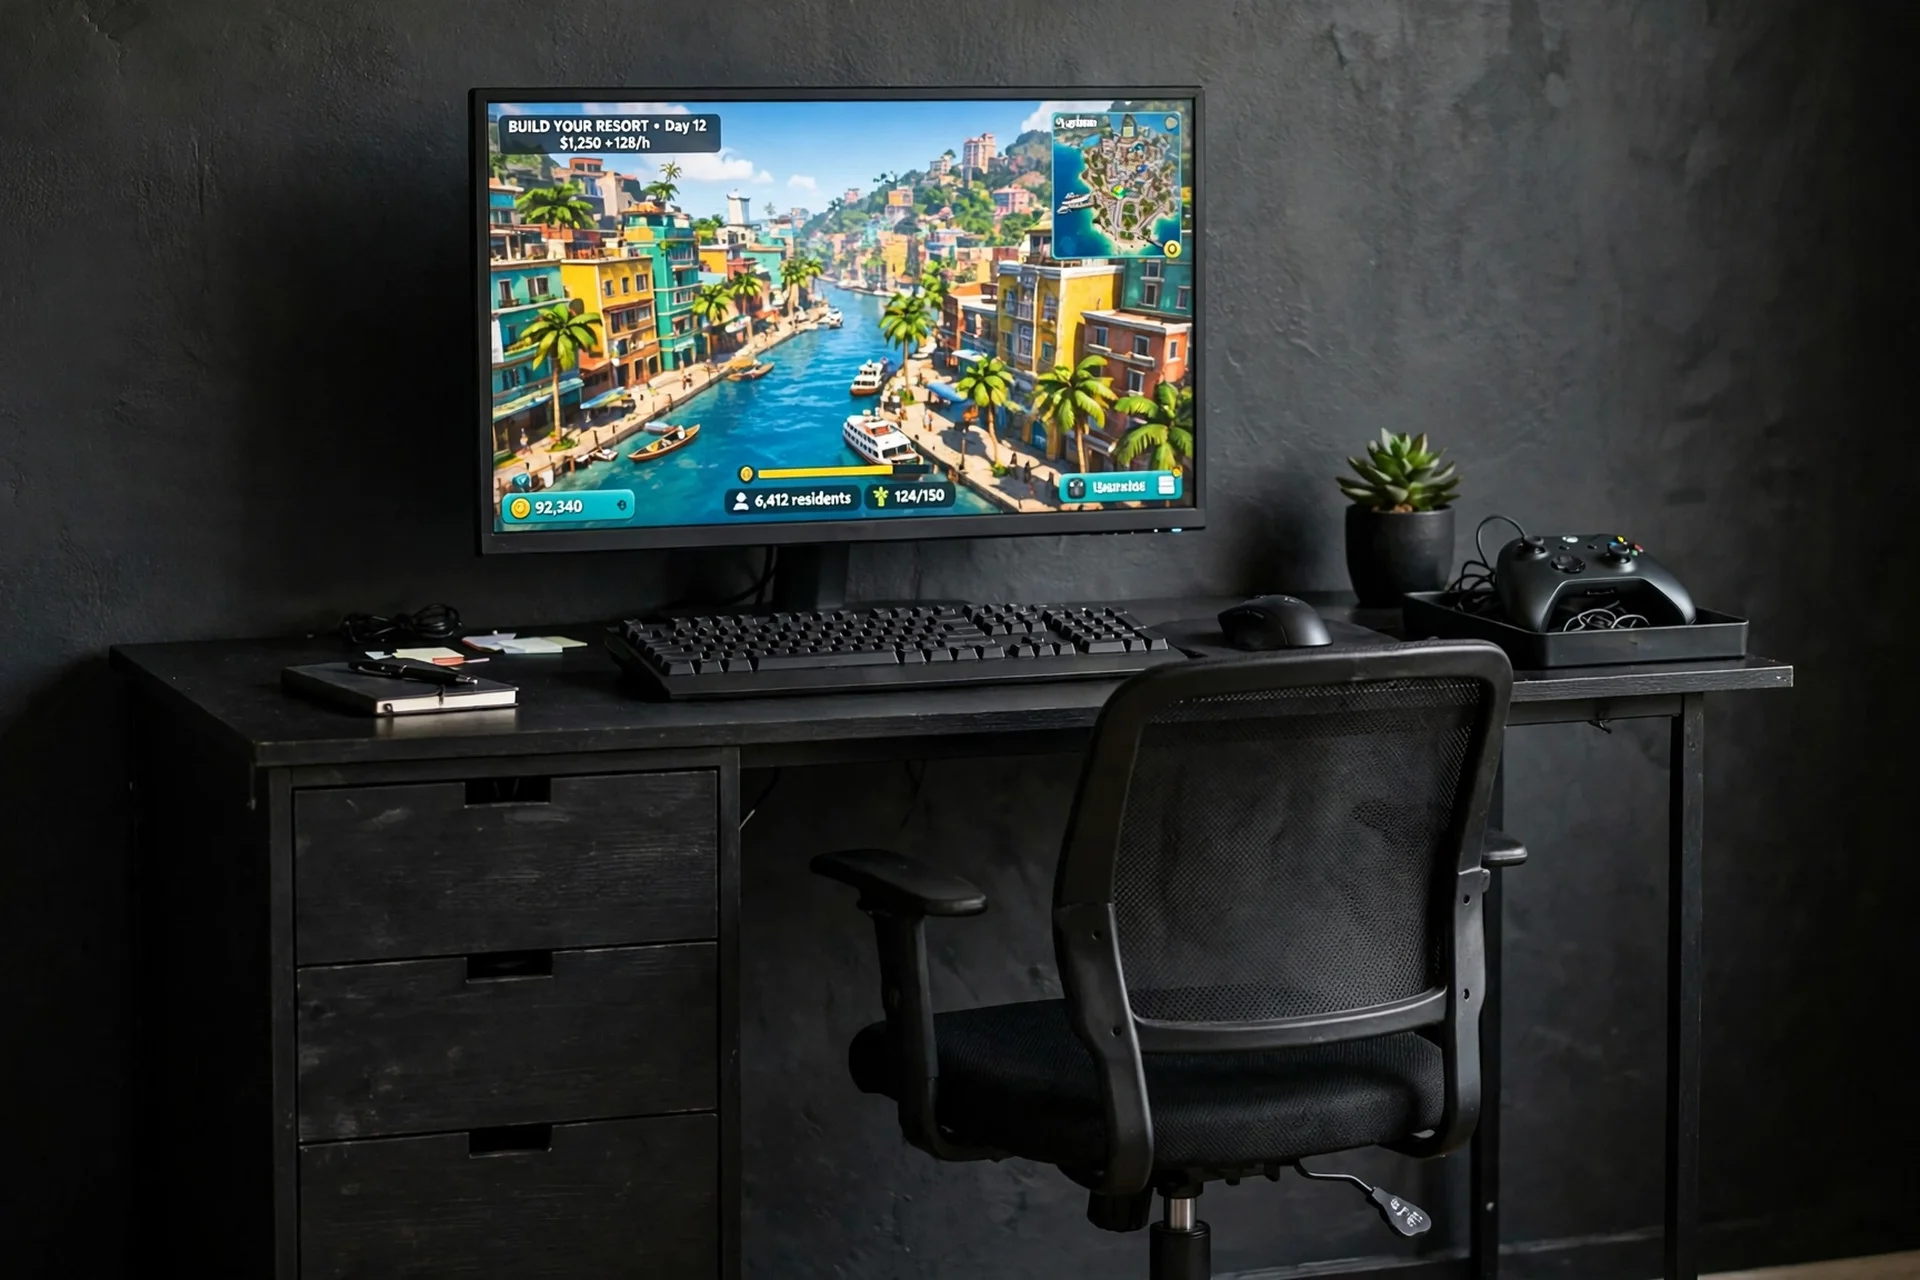
The desk and the chair are the frame of the whole setup, so buy them for fit, not for looks. A compact 32 inch desk fits a monitor, keyboard, and a small neon sign, and it leaves room to walk around a small room. Put the monitor on a low riser, centered on the desk, with the keyboard and mouse in front, and keep a small tray for the controller. Choose a simple black chair with adjustable height and lumbar support, light enough to pull in close and tuck under the desk when you are done. If the budget is tight, buy the chair new and the desk used, because a worn desk still holds a monitor, but a bad chair hurts every session. Keep storage simple: one drawer unit or one box under the desk for games and cables.
CubiCubi Computer Desk, 32 inch Small Home Office Desk for Small Spaces, Vintage
Why this one: The compact 32 inch desk fits a monitor, keyboard, and a small neon sign in a tight room, and the vintage finish suits the retro Vice City mood.
Worth knowing: The small top leaves little room for a second monitor or a large speaker set, so it suits one screen best.
Why this one: The small armless chair with lumbar support fits a compact desk and slides fully under it when you are done.
Worth knowing: It is an armless chair with a light frame, so it gives less support than a full gaming chair for very long sessions.
Step 4: Add the Vice City Lighting
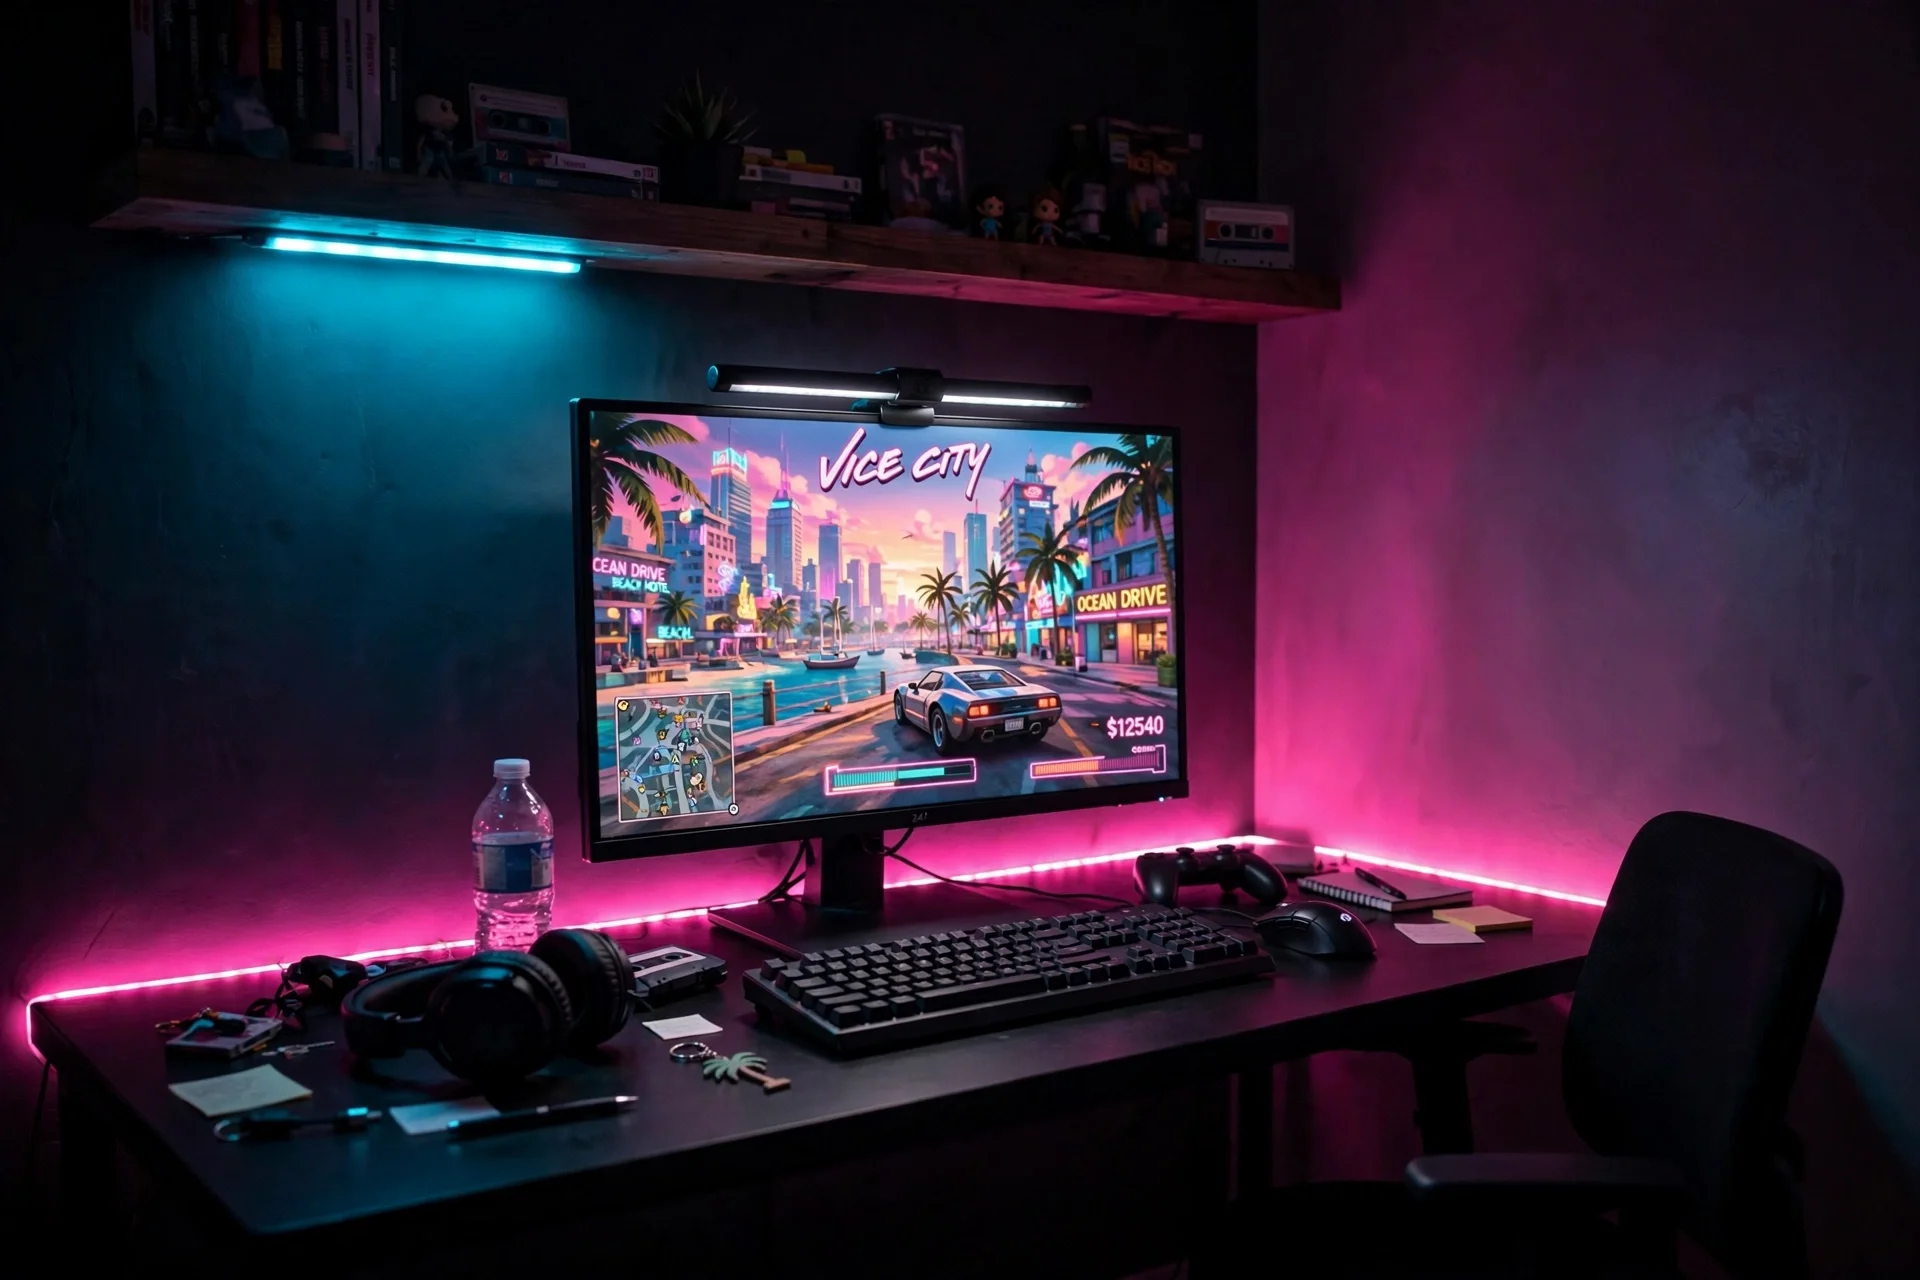
Lighting is the cheapest Vice City in this guide, and one strip does most of the work. Run a pink LED strip along the back edge of the desk and a short cyan strip under a wall shelf, so the wall behind the monitor fades from sunset pink to ocean cyan. Dim them to half brightness, use one neon colour per wall, and keep the ceiling light off while you play, so the room glows instead of glaring. Add a monitor light bar for the keyboard, which lights your hands without adding screen glare, and keep a small warm lamp for the times the neon is off. Do not buy real glass neon on a budget: LED strips and USB neon signs give the same glow with no heat, no fragile glass, and a fraction of the cost.
Govee 16.4ft RGBIC LED Strip Lights, Work with Alexa and Google Assistant
Why this one: The RGBIC segments let different parts of the strip show pink and cyan at once, which is exactly the Vice City sunset fade, and app control makes it easy to dim.
Worth knowing: It needs the app and a Wi-Fi connection for smart features, and the adhesive backing can peel on textured or dusty walls, so clean the surface first.
Step 5: Sort Sound and Controllers
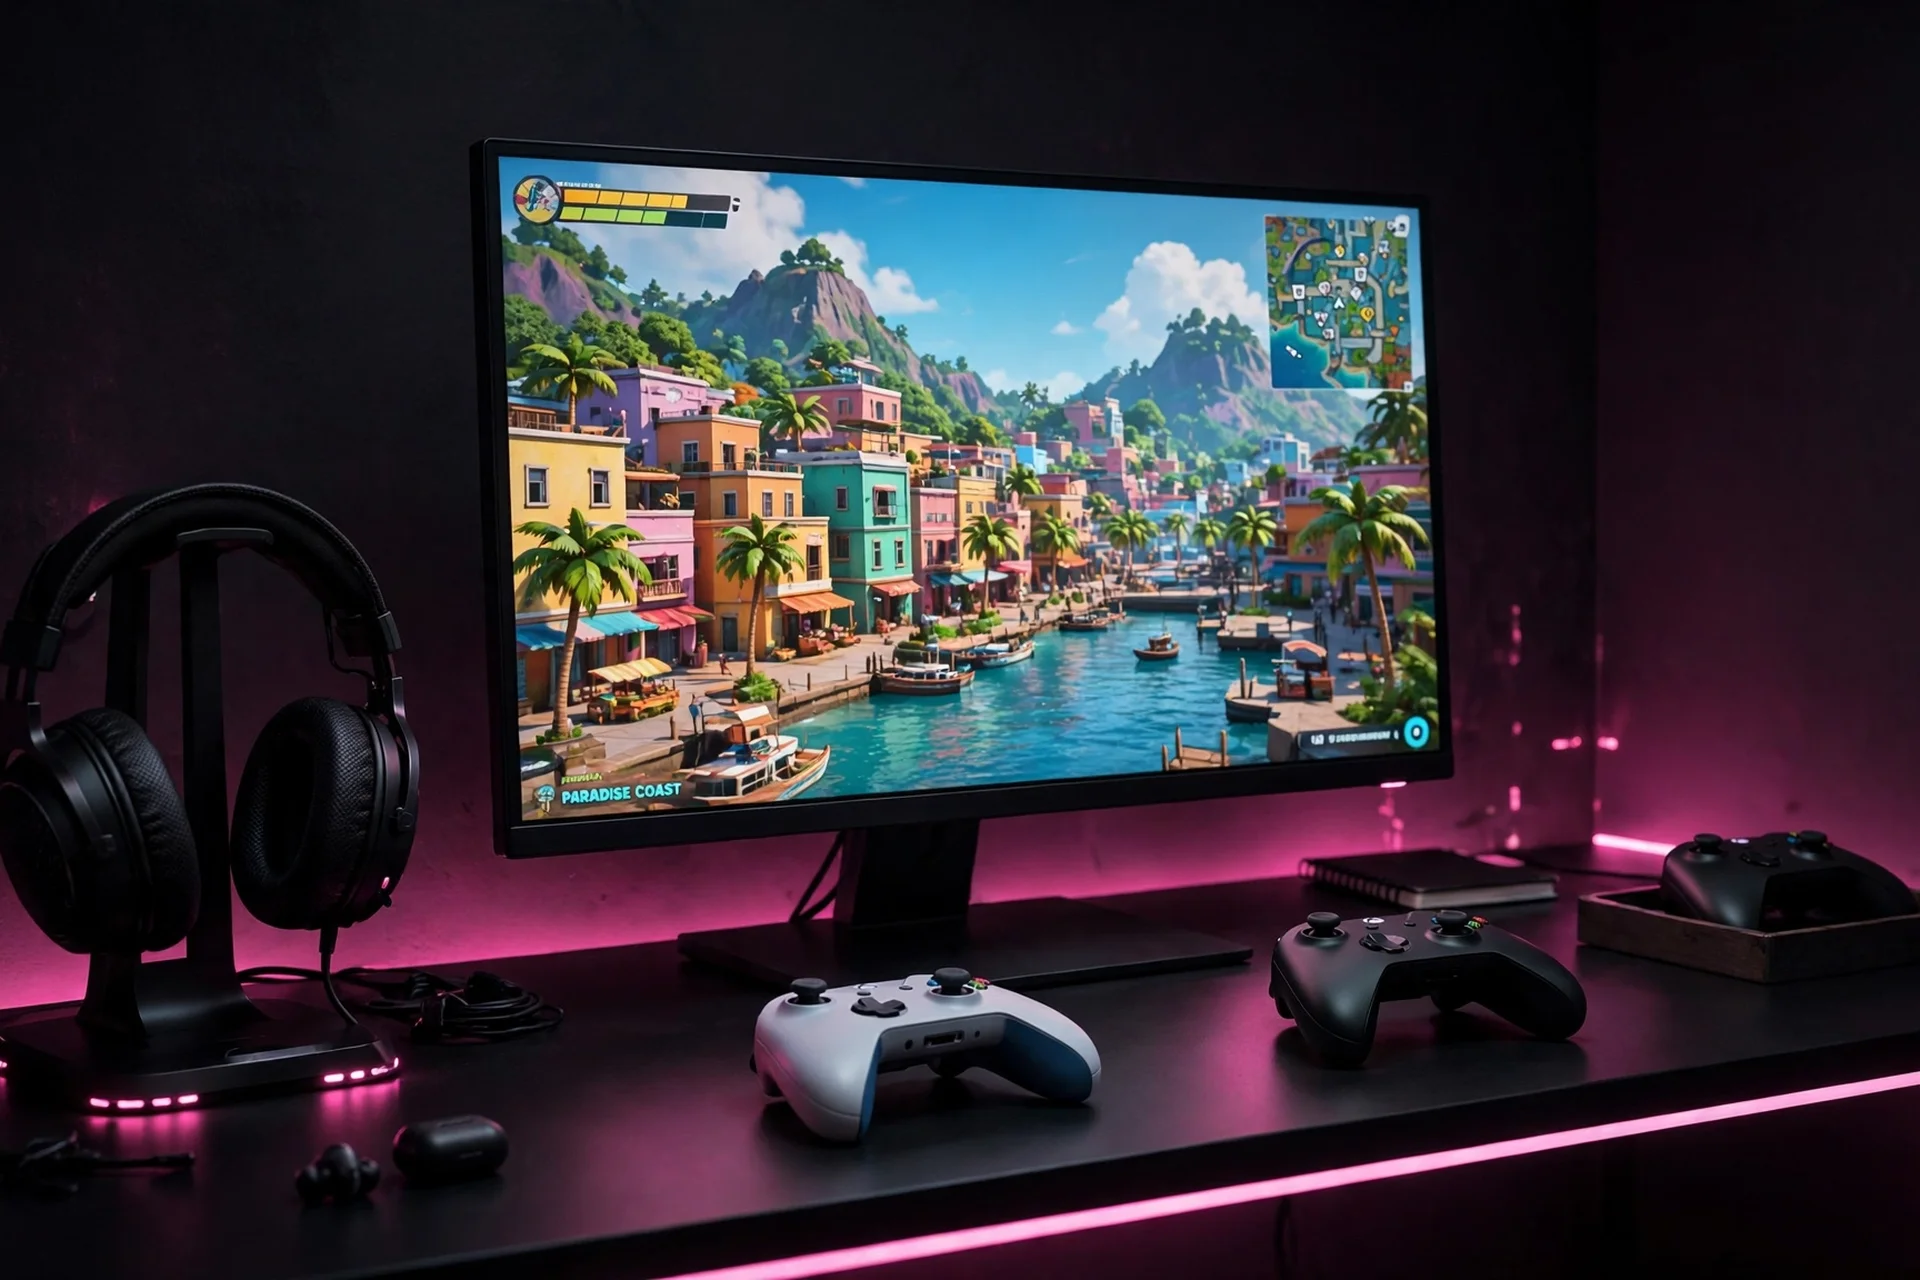
Sound and controllers are the parts players forget to budget for, and they are the parts you touch every session. A headset on a stand keeps the desk tidy and the headset safe, and a controller holder keeps the controller off the desk surface where it can be knocked over. Put the headset stand to the right of the monitor, next to a small tray for the controller, and keep spare cables in the drawer unit. If you play on console, the same stand holds the controller between sessions, and a small charging cable from the power strip keeps it ready. Do not buy a second controller until the first one is stored properly, because a tidy desk is worth more than a spare you cannot find.
Why this one: The headset and controller stand keeps the desk tidy, with a solid base that does not tip when you grab the headset mid game.
Worth knowing: It holds one headset and one controller, so a second controller needs its own spot.
Step 6: Tame Cables and Power
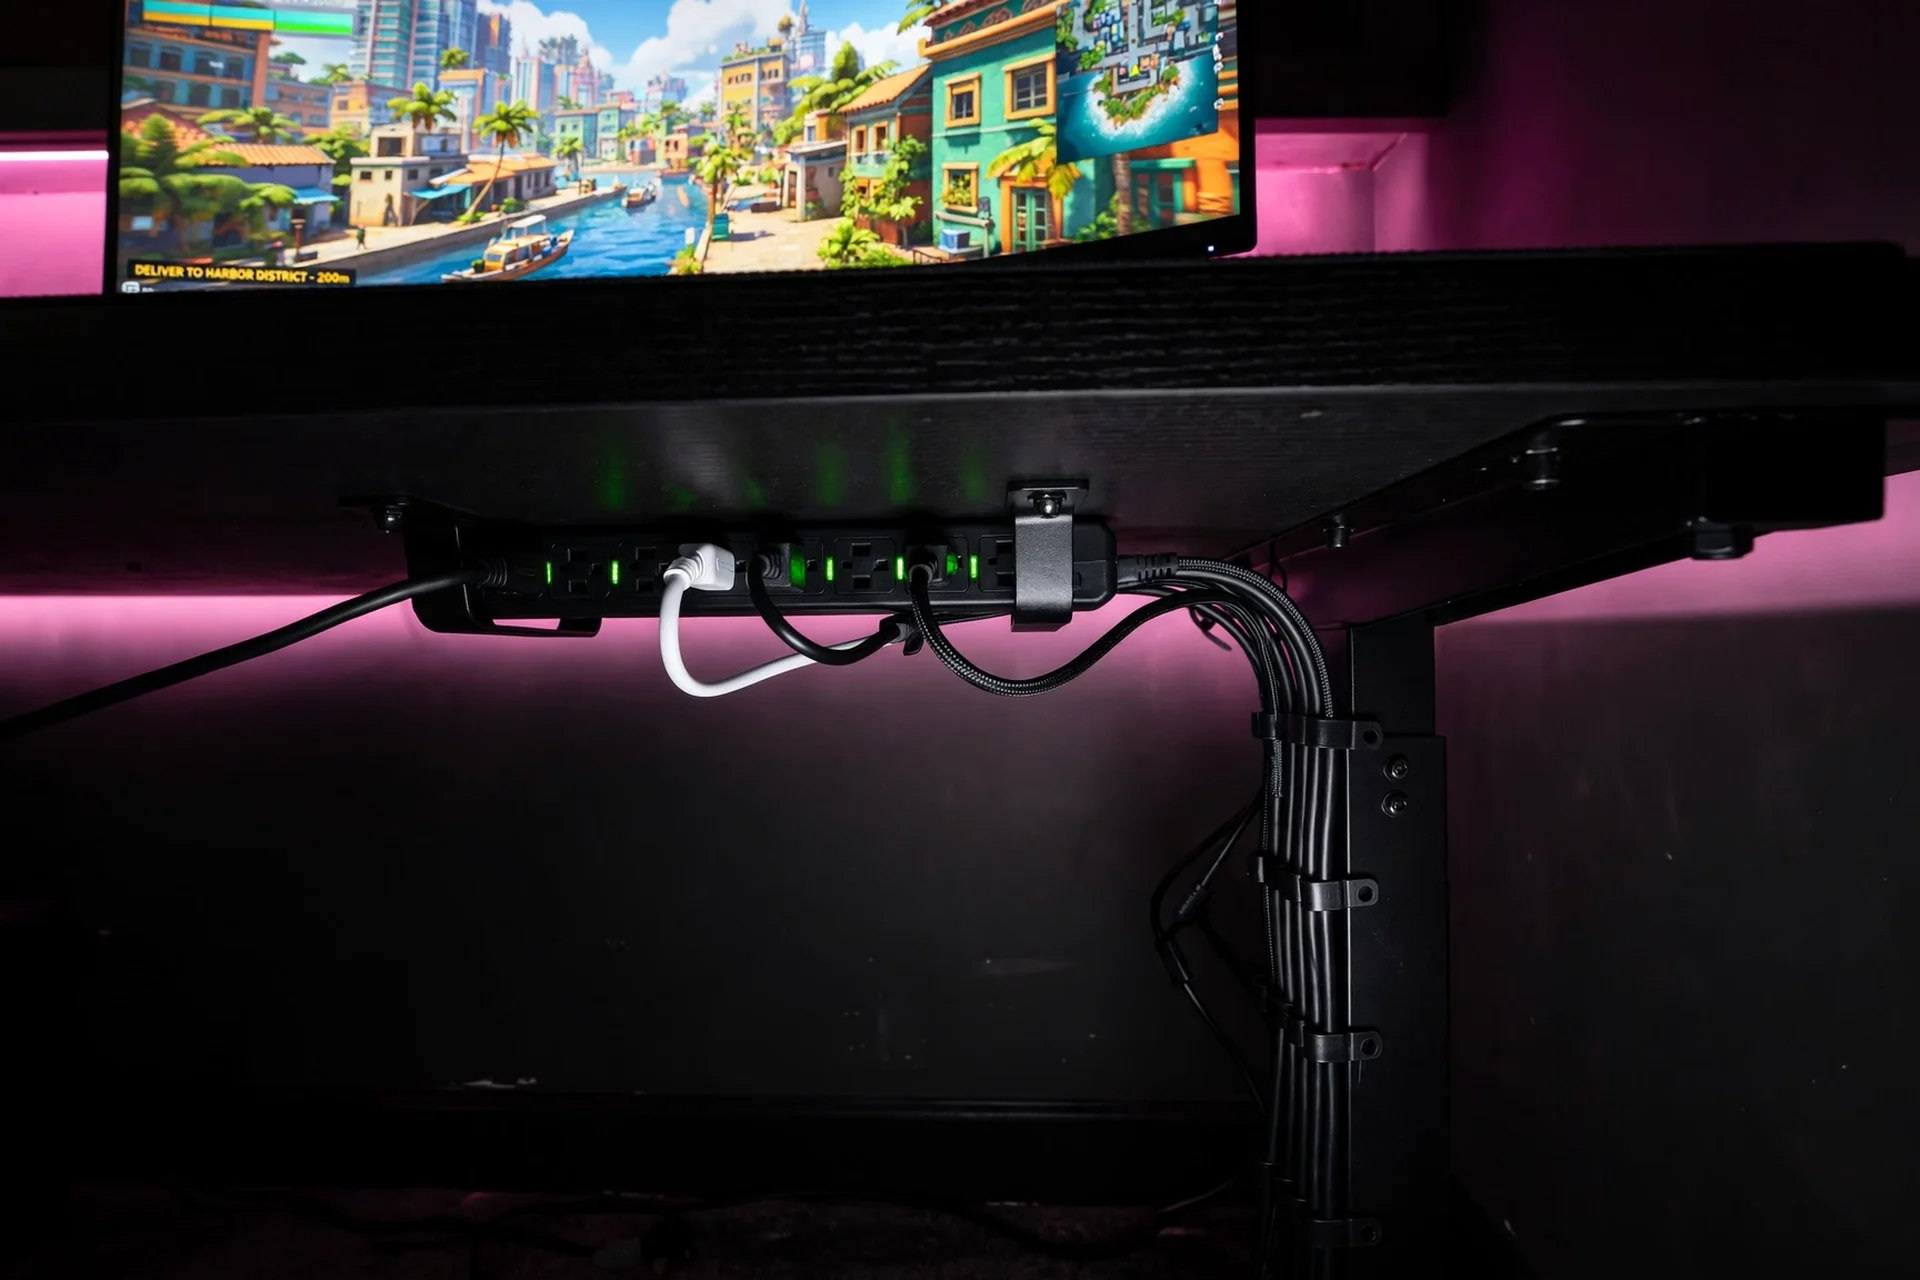
Cables are the part of a budget build that makes it look expensive, and they cost almost nothing. Fix a slim power strip under the desktop, run the monitor, the strips, and the sign from it, and clip every cable in a straight line down the back leg. Use a cable tray or a lidded box under the desk for the spare cables, and keep the headset cable on a hook so it never drags across the desk. One switch on the strip should turn the whole setup on and off, so you never have to reach behind the desk. Check the strip is surge protected, because one surge can cost more than the whole lighting budget, and a protected strip is the cheapest insurance in this guide.
Why this one: The six outlets and three USB ports cover a monitor, strips, a sign, and a charger from one strip, and the flat plug sits neatly against the wall.
Worth knowing: The cord is a fixed length, so the strip needs to sit near a wall outlet or use an extension.
Step 7: Add the Finishing Touches
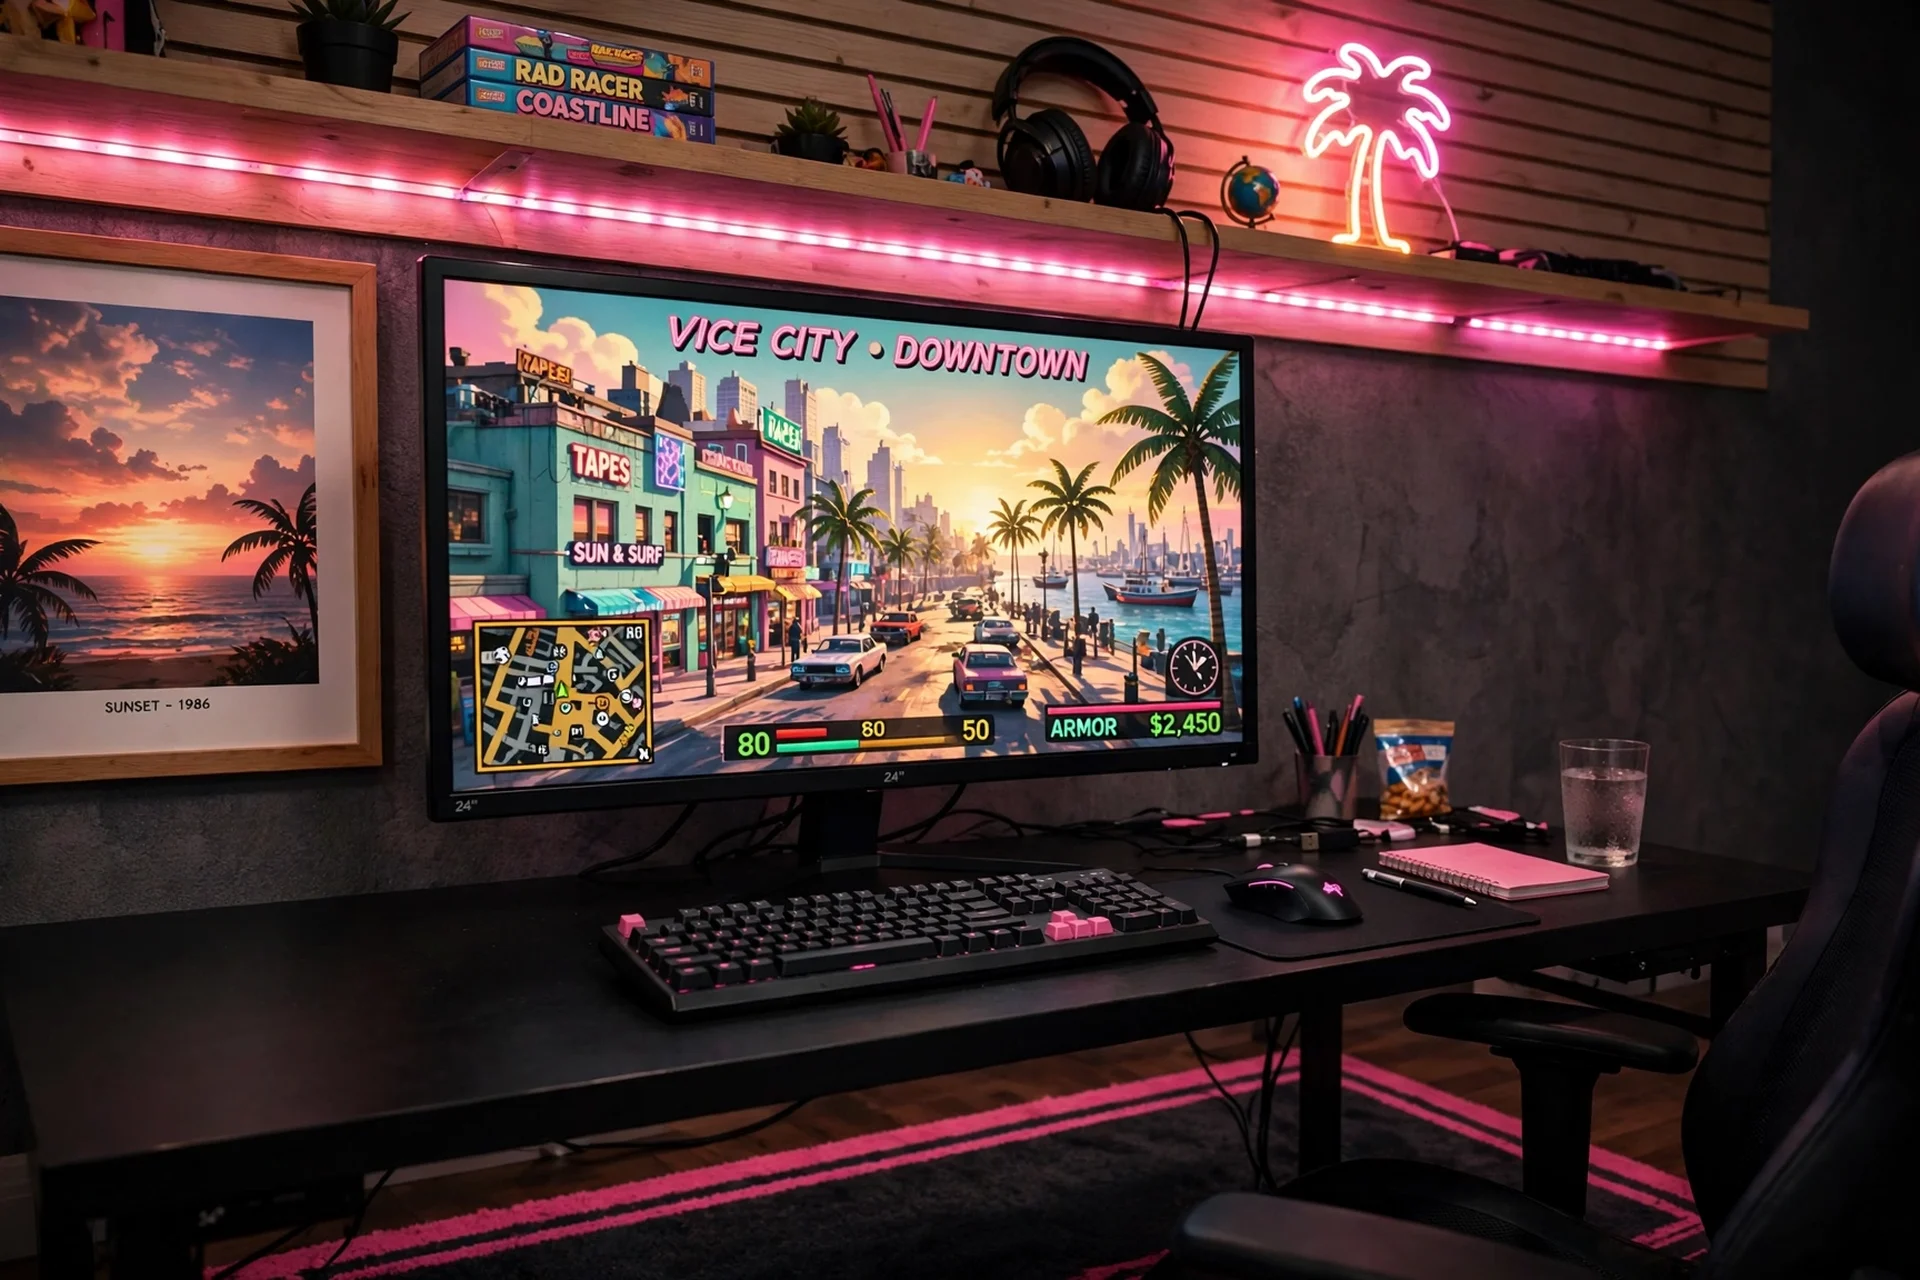
The finishing touches are the last step, not the first, and they are the cheapest part of the build. Add one small neon palm sign on the wall shelf, USB powered from the desk, and one framed sunset print beside the monitor, and the wall is done. Keep the rest of the wall bare and dark, so the sign and the print do the talking, and add a dark rug with a pink border to anchor the desk. Check the whole setup once more: the screen at eye level, the chair comfortable, the strips dimmed, the cables hidden, and one switch turning it all on. If all five are true, the build is finished, and the money you saved can go toward the game itself.
Why this one: The pink flamingo and green palm neon pair is the fastest way to get a Vice City wall, and the USB power means it runs straight from the desk setup.
Worth knowing: The signs are small tabletop pieces rather than large wall signs, so they work as accents, not as the main light in a big room.
Frequently Asked Questions
What is the cheapest good monitor for a GTA 6 setup?
A 24 inch 1080p monitor is the budget sweet spot, with a fast refresh rate for smooth driving and shooting. It fits a compact desk, it leaves wall space for the neon strips, and it costs far less than a 4K panel you do not need yet. For more small room layouts, see the 13 gaming room ideas for small bedrooms, which show how to fit a full setup into a tight footprint.
Can I build a GTA 6 setup on a tight budget?
Yes, if you buy in the right order. A used or compact desk, a basic adjustable chair, one LED strip, and one small neon sign give you the Vice City look for far less than a full RGB room. The screen and the chair are where the money should go, because they affect every hour you play.
What is the cheapest way to get the Vice City neon look?
LED strips and USB neon signs are the cheapest glow in this guide, and one strip behind the desk plus one small sign on the wall is enough. Dim them to half brightness and use one neon colour per wall, so the room glows instead of glaring. The 12 RGB lighting ideas for gaming rooms show how to mix pink and cyan on a budget.
What should I buy first for a budget GTA 6 setup?
Buy the monitor and the chair first, then the desk, then the lighting, then the decor. The screen and the seat affect every session, the desk holds everything together, and the neon is the finishing touch that can wait a week without hurting your game.
Is cheap LED lighting good enough for gaming?
Yes, when it sits behind the screen or along the wall rather than shining in your eyes. A soft pink bias glow cuts screen glare and makes long sessions easier on the eyes, and the 7 bias lighting ideas for TV and monitor show how to place it well on a budget.
Conclusion
A budget GTA 6 setup works because it is a system, not a shopping list. Set the budget, pick the screen, then build around a desk, a seat, light, storage, and power, in that order. Spend on the screen and the chair first, save on the desk and the decor, and add the neon last, in small touches. Do that, and your room will feel like Vice City every time you sit down, not just on the day you finish building it.
